gMotor Max Plugins: Quick Start Guide
Installation
The 3ds Max Plugins are distributed with the game by default and can be found at the following directory:
steamapps\common\rFactor 2\Support\Tools\Plugins
They should be copied into the plugins folder of 3ds Max. For example:
C:\Program Files\Autodesk\3ds Max 2017\Plugins
Now open Max, there's a couple of other things we have to do to get things working.
Utilities
In the top right of the screen, select the Utilities tab and click on the Configure button.
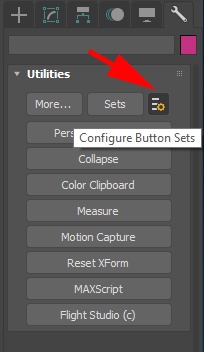
There are a limited number of slots so you are going to have to choose which utility you are going to replace.
Scroll down to the bottom of the Utilities list until you find the GMT converter. Drag it on to your selected slot.

Renderer
To be able to use (and see!) the gMotorMaterial (gMat) we need to be using the right renderer.
Click on Rendering and select Render Setup...

Use the drop down list to select Scanline Renderer.
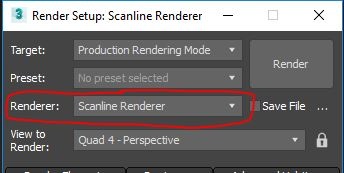
Important: There is a bug where this setting is not saved if you do not save your scene. If you can no longer see your gMotorMaterial (as described in the next section) then check your renderer settings.
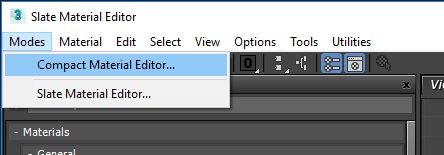
Material Editor
Open the Material Editor. If you are in the Slate view, switch to the Compact view.
Click on the "Physical Material" button which will open the Material Map Browser. Scroll down to see the gMotorMaterial and double click on it. (If you cannot see the material, check your render settings - see above.)
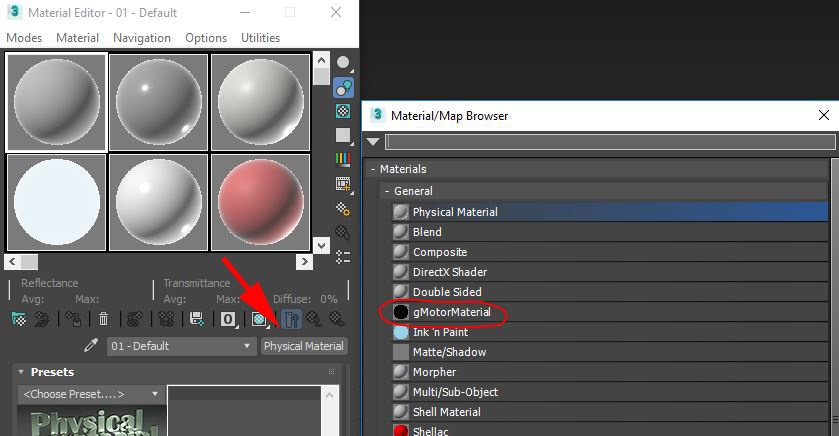
You will be asked to select the shaders directory.
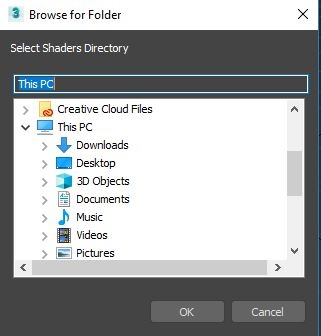
Browse to SteamLibrary\steamapps\common\rFactor 2\ModDev\Shared and press OK.
Reset Shader Path
With a gMotorMaterial (gMat) selected, scroll down to the bottom of the Material Editor window so you can see the button "Reset Shader MAS File Location".
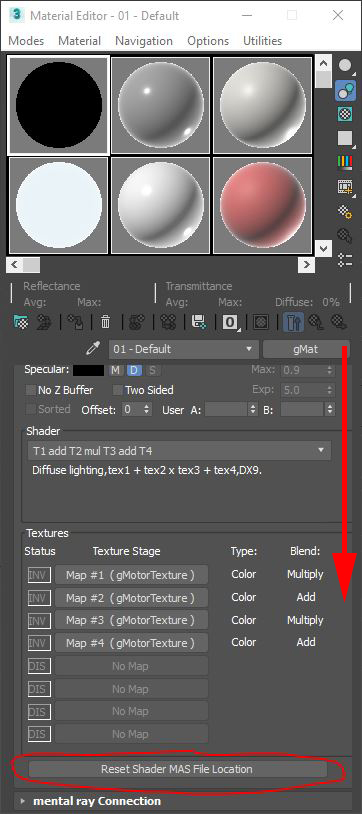
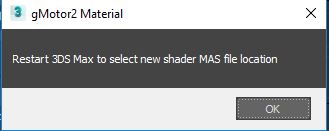
Press this. You will then be told you need to restart Max. Press ok and do this!
When you have restarted, follow the steps regarding the Material Editor again.
Setting up Materials
Materials must be setup with a Multi/Sub Material and each sub material must be of gMaterial type. If this is not the case the exporter will complain.
The basic configuration for a gMaterial is to select the shader you wish to use from the drop down box. Select the blending mode for transparency, and then assign textures to each slot of the shader.

You can make use of 3ds Max Material Library to get the object basics into place easier.
Further details on gMaterials and gTextures can be found on sub pages.
Preparing Objects for Export
For an object to be exported it must have the following:
- A Multi/Sub material assigned, and only use materials of type gMaterial.
- Have smoothing groups detached to elements in order to export most optimally using gMotor "normals".
Exporting Objects
In order to export objects we just need to expand the GMT Converter roll out from the Utilities page, and setup an export directory and configure the options for this object.
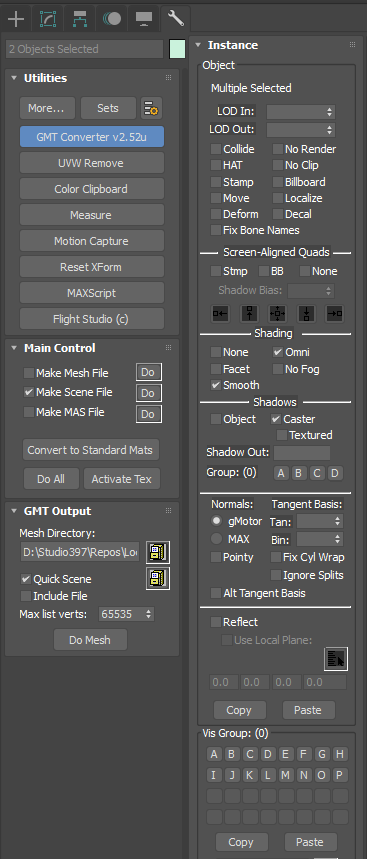
- Under the GMT Output roll out configure the Mesh Directory to export the GMT to.
- Then tick Quick Scene and click the File Icon to choose an output file. This is a temporary location to export SCN snippets to, which you will then copy into the locations main SCN file.
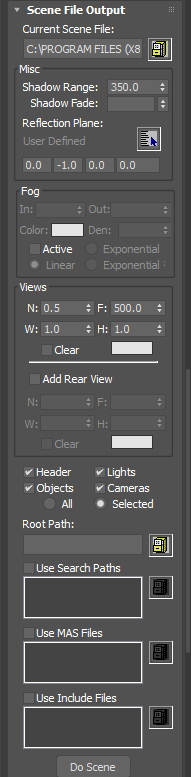
- Next scroll down to the Scene File Output roll out. And ensure the Selected bullet point underneath Header, Lights, Objects and Cameras is selected. The tool offers the ability to export all supplementary data for the SCN, however normally we just use a template file.
- Finally we can configure the objects export settings, such as if we wish to enable collisions (Collide), night lights (Omni), shadow casting (Caster) or more. These settings are explained in detail on other pages.
- Once we are ready to export hit Do Mesh under the GMT Output rollout. This will create the mesh and write the temporary SCN file.
- The final step is to copy the SCN entry from Quick Scene to the Master Scene file. SCN files should be setup with categories for objects in order to allow for proper organisation of objects. Try to place it in the right place!
- You can now load the scene in the Scene Viewer or Mod Dev and check out your handy work.