PBR - Using Standard Shader
You can find the technical documentation for the Standard Shader here: IBL Standard Shader
This page serves to offer some hints and tips to some ways you can make most use of the Standard shader.
Default Maps Configuration
By default Albedo, AO Specular, Metal Rough and Normal Map are enabled only. The Metal Rough and Normal maps are configured to use the same UV as the Albedo map, and the AO Specular Map uses the UVW configured for it in the Material Editor. You can of course enable or disable any of the maps, and change these default configurations.
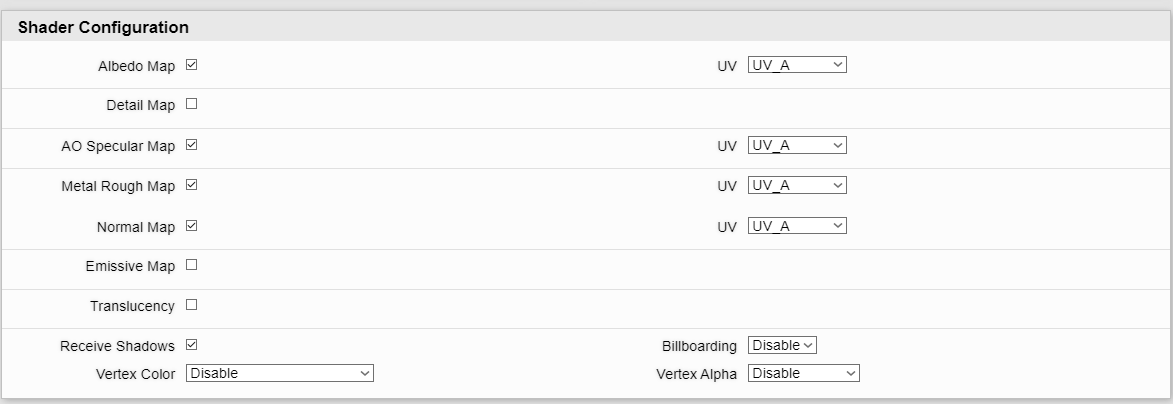
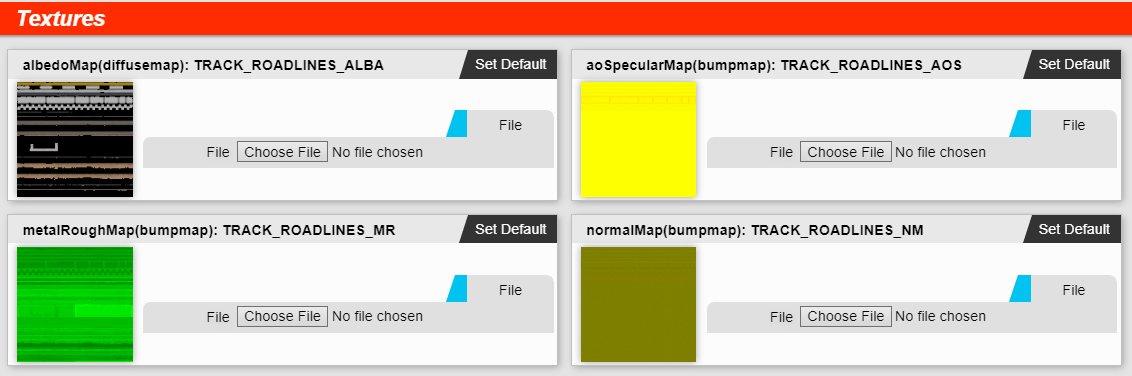
Remember that in the Texture area beneath, only enabled maps are shown.
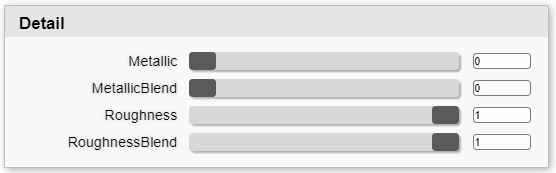
Base Material Settings when Maps are Disabled
When you disable a Map, a Base Material parameter section will appear. This allows you to set a static value for this configuration with out maps input. This is separate from the options in Material Adjust which are applied after all calculations.

Detail Map
The detail map allows the addition of decals onto the asset, via the use of a map with an optional alpha channel. RGB, should be centred around 128,128,128 with values brighter, lighting the albedo, and values darker, darkening. The alpha channel serves as a mask for modifying other data channels such as Metallic, Roughness, AO and Specular, where by you can configure a static target value and how much they are blended in.

For reference the mathematics for this function is as follows:
Albedo:
- Albedo = AlbedoMap + (DetailMap * 2) - 1
Data Inputs (i.e. Roughness)
- Roughness = lerp(RoughnessMap, Detail.Roughness, DetailMap.Alpha * Detail.RoughnessBlend);
So the blend options on data inputs allow us to prevent the calculations from fully removing the source data. So we can just darken it, rather than going completely to that value, on a per data input basis.
It is also possible to use Vertex Alpha as an additional mask for where the Detail Map is used, simply select DetailBlend under the VertexAlpha configuration setting.
Roughness Map in Albedo Alpha Channel
It is possible to configure the Roughness Map input to be taken from the Albedo Alpha channel. To do so follow these steps:
- Firstly make sure you are doing this on a material that does not need the Albedo alpha channel for transparency!
- Secondly make sure you do not need the metallic map or it can be a static value.
- Disable the Metal Rough Map in Shader Configuration, and apply changes.
- Tick "Roughness Alb.A" option which has appeared next to the Metal Rough Map check box, and apply changes.
- Save our your albedo map with the extension ALBR (R for Roughness!), so that we know that this is not an opacity map, and assign it in the maps section.
- Don't forget to save your JSON file!
![]()
Emissive Map
In order to improve the lighting of objects at night we have Emissive and Retro Reflector functionality which you can use.
Emissive allows you to bake the lighting that this object should receive at night into a map and retro reflector is used to simulate more reflective surfaces when under the influence of car headlights. Either, all or none of these options can be enabled.
These are enabled in the main parameters section.
Both can be masked by a map, or just setup to be a static colour. When masking via a map, you can choose to use RG map where red channel masks emissive output and green channel the channel masks, or an RGBA map, where the RGB values are applied to emissive output, and the alpha channel is applied to the retro reflector output.

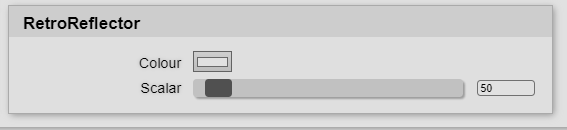
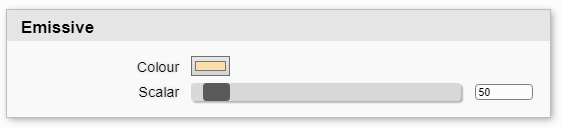
Once either setting is enabled, you will then have a separate Parameter configuration option. This will allow the setting of the colour and a scalar for the strength of the effect.
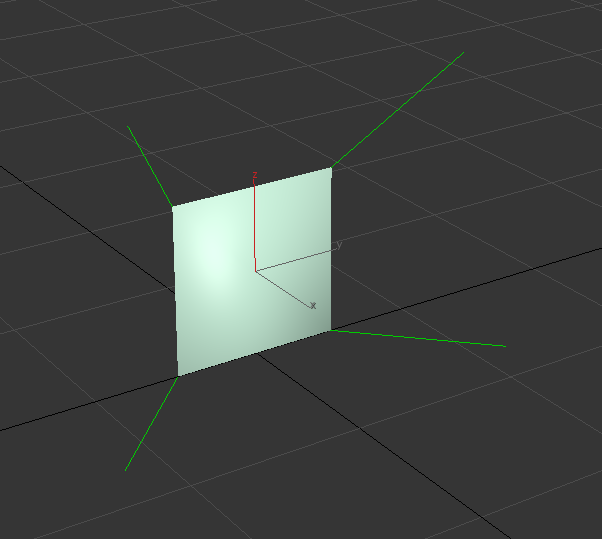
Translucency
Translucency is available in the standard shader, and is used to give a glow effect around the edge of trees. After enabling it in the Shader Configuration, an extra check box to use Invert Alb.R Mask appears and there will also be a separate Translucency parameter section.
The Mask check box allows us to mask the effect by the inverse of the red channel. This is a super quick approximation for less red colours are more likely to reflect light.
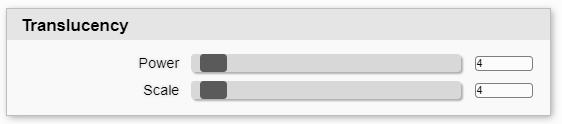
In the Translucency sections you can effect the breadth of the effect with the Power setting, and then the strength. It's important to check the effect in all lighting conditions though.
For a more indepth look at what this effect is trying to achieve, see this article:
See Materials Guide - Tracks for recommended values for different assets.
Billboarding Options
Billboarding is when we configure a plane so that it always faces the viewer. This can now be enabled on a per material basis in the Shader Configuration - there is no need to assign a Billboard specific shader. However you must export the meshes correctly as before, see Common Export Settings for a little bit more on how to do that.
Objects exported for Billboarding will not be visible until you modify the Material in the Material Editor and enable a Bill boarding option.
Additionally it is only possible to export the first 3 sets of UVW when you enable billboarding at export.
With Billboarding there are a few options now though. You can choose either Default, Pointy or Cylindrical.
Default works as previously where the normals are recomputed for the plane. This results with them just facing the direction of the plane.
With Pointy normals, all 4 normals are rotated out to the side, and the top 2 normals are rotated upwards. This gives a more spherical lighting, for the abstraction of an object to a plane. This is especially useful for tree billboards. This results in normals that look like this in 3ds Max.
Cylindrical works like pointy, but does not point the top normals upwards.
Vertex Color / Alpha Functions
There are various options available to use to make use of Vertex Colour.
- We can multiply the albedo and optionally use the albedo alpha channel as a mask. This can allow us to paint in details on a per object basis.
- We can also use it as an overlay function which allows us to lighten or darken the map too. Great for adding a bit of dirt or grunge effect to break up any tiling.
- We can also apply the colour onto the AO map - please note when using Vertex Color only the red channel is read for this function.
With Vertex Alpha you can:
- Bake in permanent shadows which will be calculated respecting lighting conditions.
- Paint in the Detail Map as explained earlier on in the section
- Or also multiply onto the Ambient Occlusion.
These various options allow you to add finishing touches to the model to bring it forward that bit further.
Using Vertex Color for Object Variations
The above features allow us to make variations on the same object by painting Vertex Colour.
For example, if you wish to apply some random variety to clones of the same building. You can put a concrete mask into the albedo map, then in the Material Editor set the Vertex Colour shader configuration option to "AlbedoMultiply_MaskAlbA". Apply and save json file.
Now you can paint each clone of your object with a different vertex colour, and merge those objects into the same object, and they will all be rendered in the same draw call, as well as using the same texture set. Great for optimisation!