Terrain & Objects - Collisions
This page sets out to explain how the rFactor engine handles collisions. This can be separated into two categories. The first is the terrain, objects which the car can drive on (Roads, Grass etc).. The second is objects that they can collide into, but not really drive on (Barriers). With both, a model is required and a material assigned to that model effects which properties are used. These properties are defined in the TDF file, see references for more.
Terrain Collisions
Terrain Collisions are setup by exporting an object with the following properties:
- ColTarget=True
- HATTarget=True
Additionally if you wish to have a non visible mesh, you can export it with the following:
- Render=False
Instance=RaceSurface_001
{
  MeshFile=RaceSurface_001.gmt CollTarget=True HATTarget=True
}
Modelling
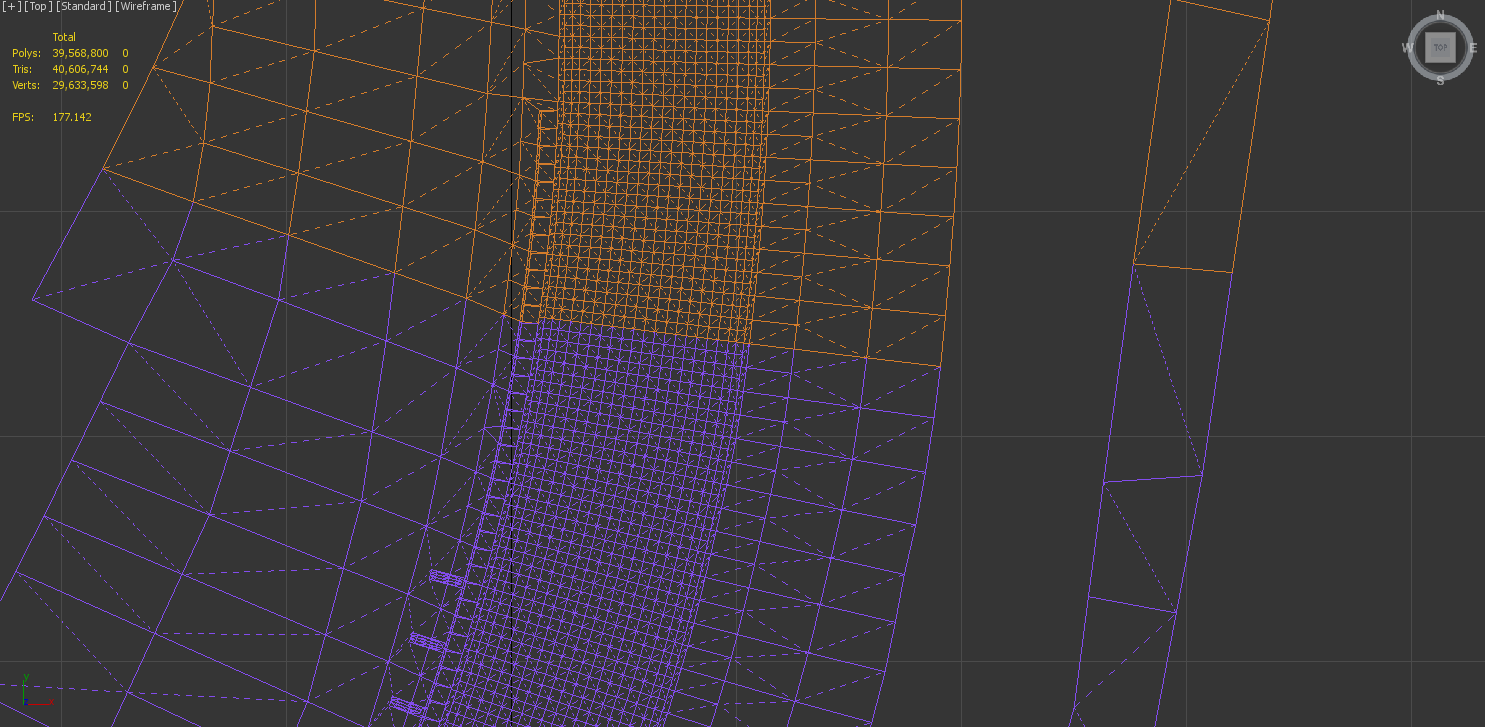
For driveable surfaces we need to consider the "feel" of the surface when driving, ensuring we have sufficient polygons for RealRoad to render correctly, and for the game to run at optimal performance.
Limits
- At present due to issues with rendering real road, we must drive on the same surface that is rendered.
- With RealRoad there is a limit of 2 million vertices on the surfaces. Beyond this amount there will be visual corruption.
- It is important to note the number of vertices created in an exported model can be different to the base object, dependent on the complexities of the UVW Mapping.
- You can see the number
- There should not be gaps in the driveable surfaces, it is very important to keep them water tights and all verts matching perfectly.
Polygon Density - Main Roads
- Polygon Density for the main road surface objects can be run at one every 0.5m, and higher where required. (Such as tight corners and curbs).
- High speed sections can be at a lower poly density, as at 200mph a car will cover 90 metres per second and the importance of this polygon density is reduced.
- There is also a need for useful data in the mesh. There is little point in having a vert every 0.5m, if there is no variation along the course of the road. A 0.5m density laser scanned mesh will obviously feel much better than a uniform 0.5m density mesh.
- To add extra feedback, high frequency mathematical noise can be added to the surfaces via the TDF file definitions.
Polygon Density - Other Surfaces
- As we move away from the main driveable roads and curbs we should be very quickly reducing polygon density, and only adding key points, as required for overall look purposes.
- This should be done gradually to not cause an immediate disconnect, and to reduce sharp edges when reducing polygon density.
- Sufficient polygons to ensure the material looks correct are often more important now.
- One polygon per 5m is often fine as an upper limit for gravel traps and grass that is far from the road and generally flat.
- Use more polygons on areas with large height value changes.
- Also reduce polygons for run off roads, which are not part of the usual racing line, but keep a reasonable density.
Object Optimisation
- Driveable surfaces should be split up to optimize calculations, however they should not be too split up.
- There may also be other considerations for splitting objects such as the number of nightlights (20 per object max).
- On a typical race track, you can probably split up the driveable surfaces around every 300m, depending on the complexity of the terrain.
- Aim for a maximum of around ~15k verts or ~25k triangles per object.
Materials
Each surface must be assigned a material, which matches a prefix for driveable surfaces in the TDF file for the track. You can see the options available in that file by looking under [FEEDBACK] sections, and seeing the materials listed. It is also possible to create new definitions for different scenarios, however here are some common prefixes:
- ROAD (Generic Road)
- RDCP (Road Cement Patches)
- GRAS (Grass)
- GRXS (Rough Grass)
- GRVL or GRAVEL (Gravel)
- RMBL (Rumble Strips)
Note
Object Collisions
Collisions for objects are setup by exporting objects with the following properties:
- ColTarget=True
- HATTarget=False
Additionally if you wish to have a non visible mesh, you can export it with the following:
- Render=False
These can all be grouped together into a single instance too.
Instance=BarrierCollisions
{
  Render=False
  MeshFile=NoDrive_COLL.gmt CollTarget=True HATTarget=False
  MeshFile=ArmcoCol001.gmt CollTarget=True HATTarget=False
  MeshFile=ArmcoCol002.gmt CollTarget=True HATTarget=False
  MeshFile=ArmcoCol003.gmt CollTarget=True HATTarget=False
  MeshFile=ArmcoCol004.gmt CollTarget=True HATTarget=False
  MeshFile=ArmcoCol005.gmt CollTarget=True HATTarget=False
  MeshFile=ArmcoCol006.gmt CollTarget=True HATTarget=False
  MeshFile=ArmcoCol007.gmt CollTarget=True HATTarget=False
  MeshFile=ArmcoCol008.gmt CollTarget=True HATTarget=False
  MeshFile=ArmcoCol009.gmt CollTarget=True HATTarget=False
}
Modelling
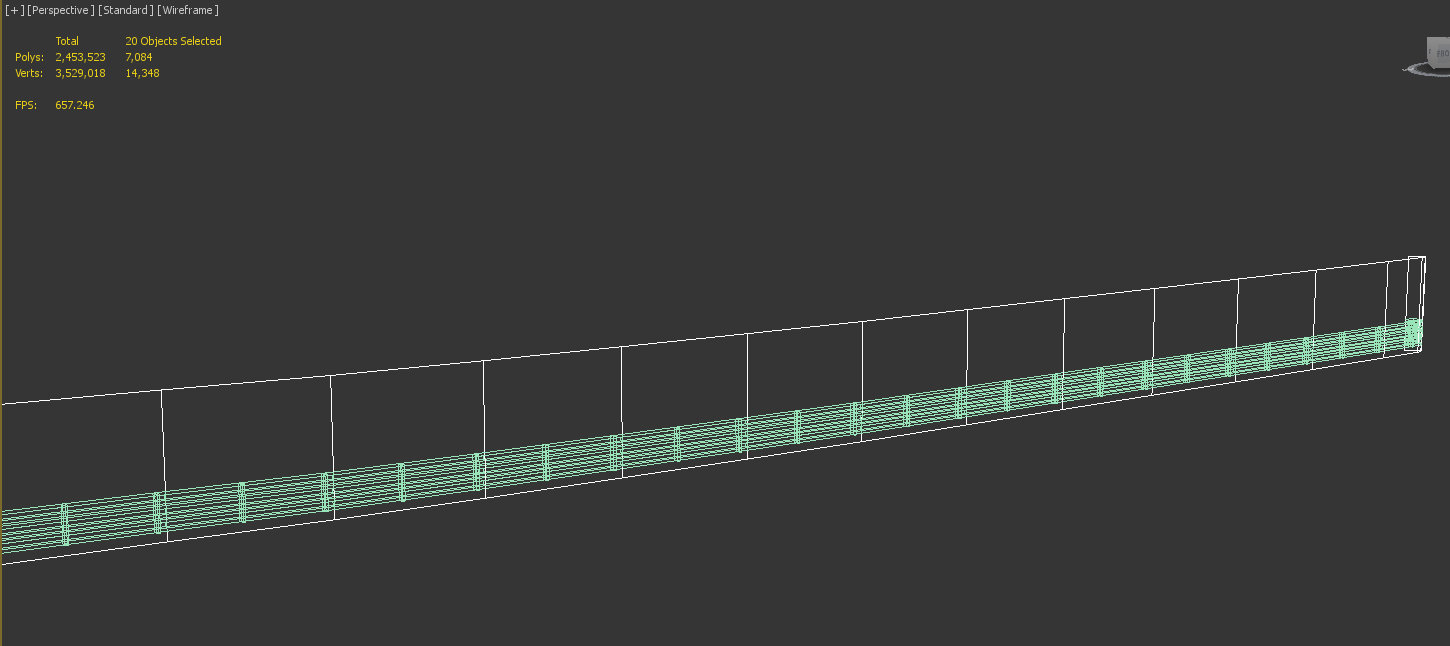
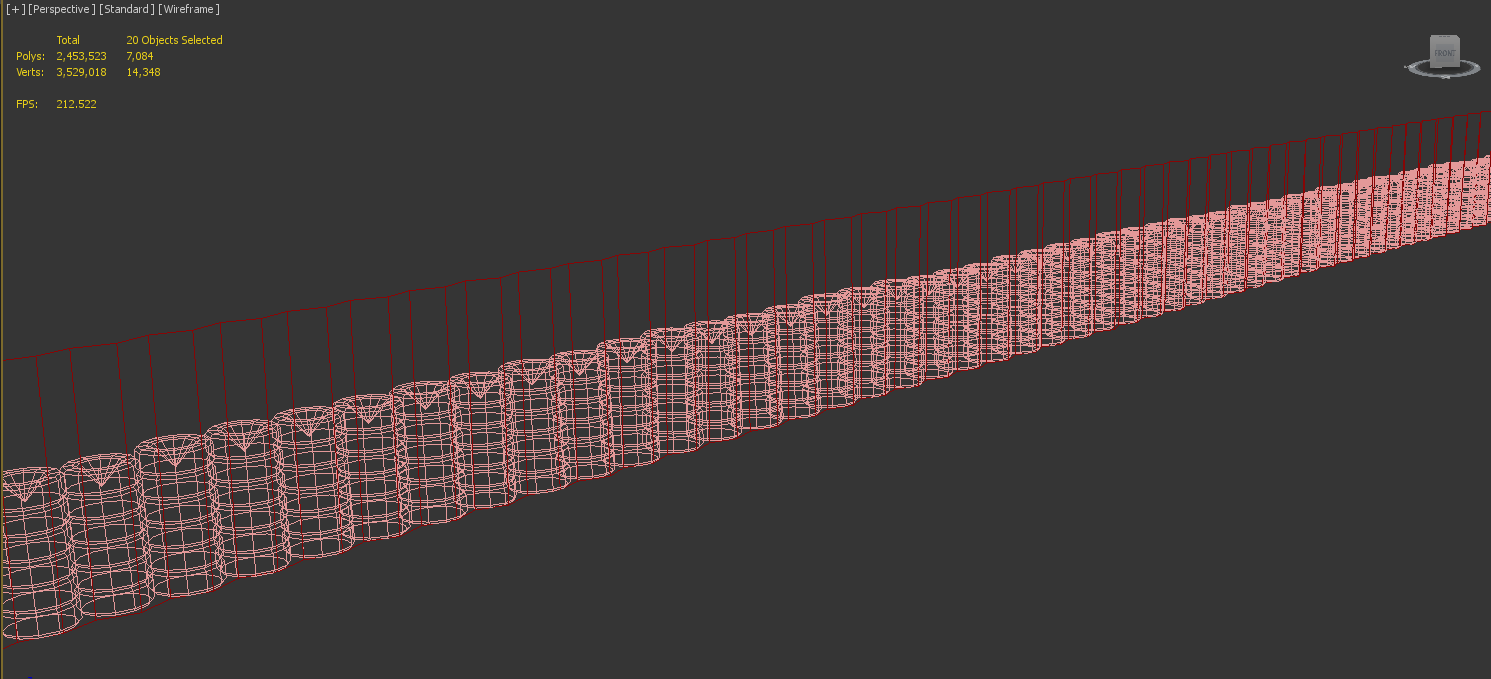
Collision meshes should be kept as low poly as possible with out creating a disconnect between the visible object and collision object.
- Keep low poly, it is sufficient to just create large planes abstracting the data.
- The collision mesh should go comfortably beneath the terrain and above the object to prevent objects flying through in extreme circumstances.
- In some cases add a bit of extra detail for some unique collisions.
- Weld all verts in objects to keep a water tight object.
- Ensure gaps are closed off to make an enclosed environment.
- Ensure collision models are kept to "local" areas. Do not have one object for all the barriers around the track as this will cause performance issues.
Materials
In a similar way to terrain objects, the material defines the properties of the collision when driven into. Typical material prefixes for this are:
- TWAL (Tirewall)
- CEM, WALL or CMWL (Concrete Wall)
- GRDR or ARMCO (Guardrail or Armco)
- SAFER (Safer barrier)
Unlike with terrain objects, if a material is not found, the object will still collide with default parameters.


