Reflection Planes
Introduction
In order for an object to be reflected in the wet weather effects on the road, it needs to be exported with a reflection plane and added to the reflected environment mapper. This page covers these details.
Adding a Reflection Plane (Made Easy)
In 3ds Max you need to setup a reflection plane. By using the S397 Max Tools you can create a reflection plane with 3 helper points, and automatically puts them in their own layer. Beneath is a video explaining how.
- Select the object you wish to create a plane for. Then press Crete Ref Plane.
- Enable vertex snap on Pivot and Vertexes
- Snap each of the three helper points to the base of the object so that the plane matches the base of your object. It will auto update.
- In the GMT Exporter roll out with the export object selected, enable reflect and use local plane, and then select the created object. It will be named refPlane<NameOfObject>.
- Finally export the object, and add the generated SCN instance to the master SCN file. The refPlane is not saved in the GMT file. (Not in the video).
ReflectedEnv Mapper
This is the final step to get the object reflected in wet weather effects. It is important to add objects individually and carefully to the reflection mapper. More details on this can be found in this article: Reflection Mappers.
To add the object to the mapper add a line with "IncludeIns=<InstanceName>". Please be aware that it is the Instance name and not the GMT file name that this matches on, although they are often the same.
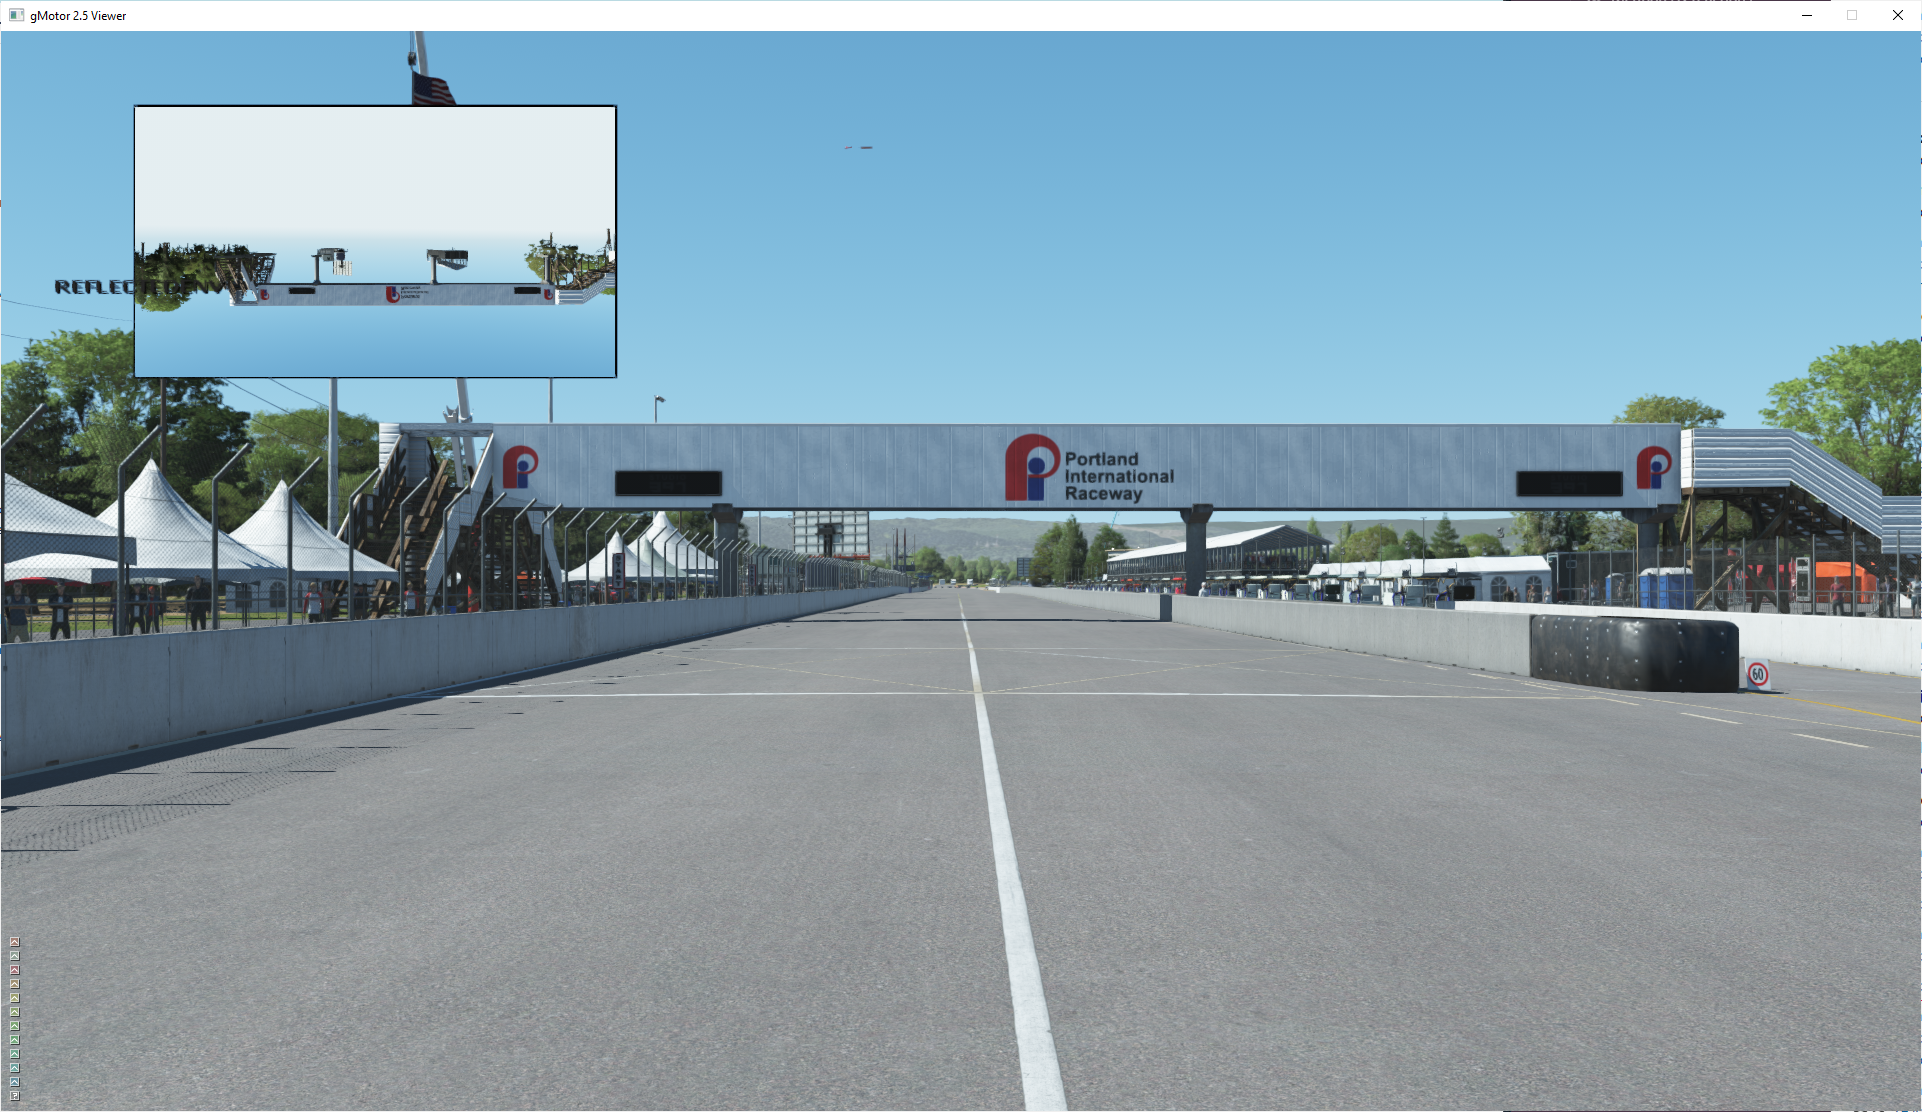
Checking Reflection in Scene Viewer
Once the reflection plane has been added, you can check that it is reflecting correctly in the Scene Viewer by press ALT+R.