How to paint a car with the new material system
When you're not too busy trying to be faster on track, it can be just as rewarding to design and create your own custom skins. Especially when you can easily play around with the look and feel of a car's exterior 'in-game' and see the results in realtime. For this purpose, we've introduced a simple shader interface that gives you access to material presets, like Carbon Fiber, Chrome, Vinyl for decals and stickers, High Gloss paint, even with metallic flakes and where you can also tweak the the lacquer tint. You have up to six different "regions" for each livery, which means you have up to 6 different materials. Being able to immediately see your changes in real-time, gives you the ability to tweak the final outcome precisely, with maximum attention to detail.
Once you have that custom skin saved and ready for the world to see, the logical next step is to share it. rFactor 2 thankfully has a built in feature that allows you to transfer your skin to everyone on a server. Just join the server, and boom!.... it transfers to everyone in that session.
Of course, just like learning a track layout for the first time, creating custom skins requires a bit of know how and like anything practice. Coming up with a design, making edits and then getting your skin to show up in game or in the car showroom, might seem a bit daunting, especially the first time. However, it's pretty easy to get there by following a simple set of steps we will lay out.
In this guide we will go through step by step:
- How to setup and use 'templates',
- How to save and export files
- How to use the (new) 'material editor' (simply put, is a set of sliders and color pickers you'll access through your web browser)
- How to create a 'custom team' and set up your skin so you can share it via 'skin transfer'.
Part 1 : Painting the skin
First, you'll need a raster graphics editor (for example Photoshop or GIMP). In this tutorial we will use Photoshop....
You won't need any Ambient Occlusion or shadows baked in the Albedo/Diffuse map, for that reason we don't need that map to be available in skin file either. The Ambient Occlusion map it's now global, and you don't have to worry about it. We will now focus on creating the skin/livery elements, and then group them per material/region. This is a new requirement to generate the Region Map for the shader (each color region does represent a unique exterior material)
- Open your template, for this tutorial, we'll use the Aston Martin GT3, but it's the same process for any car.
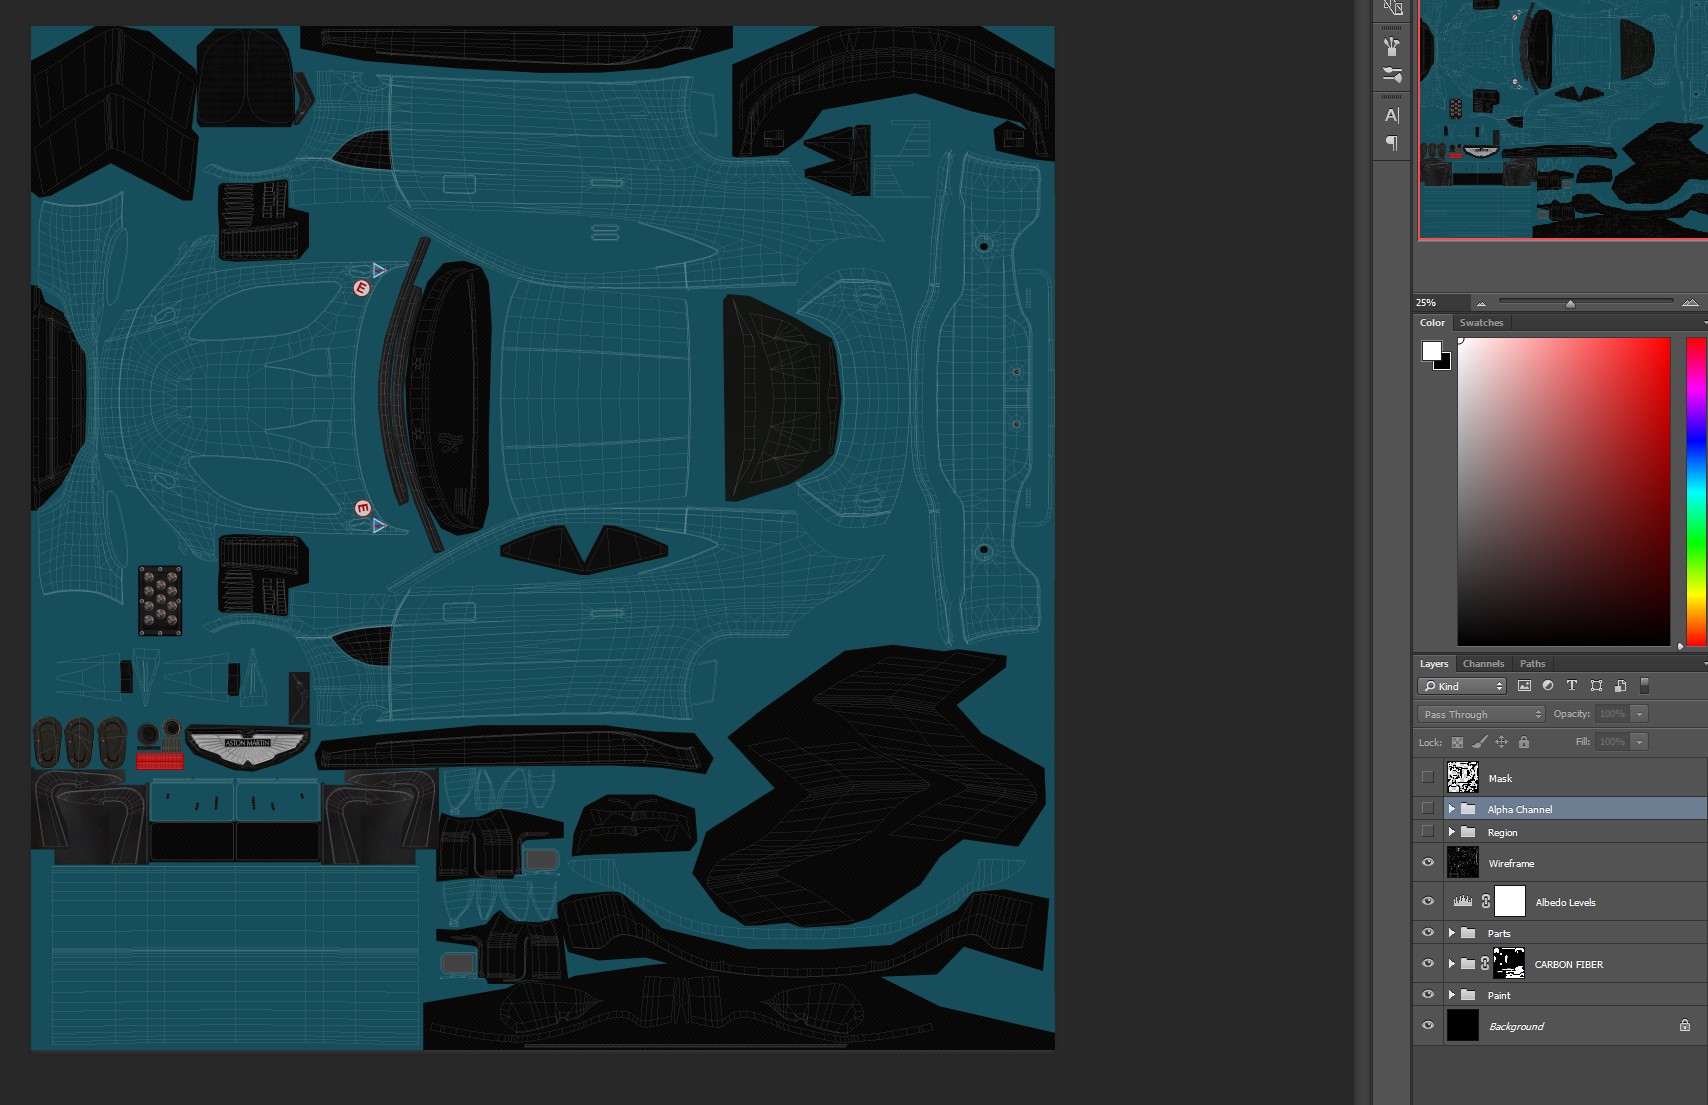
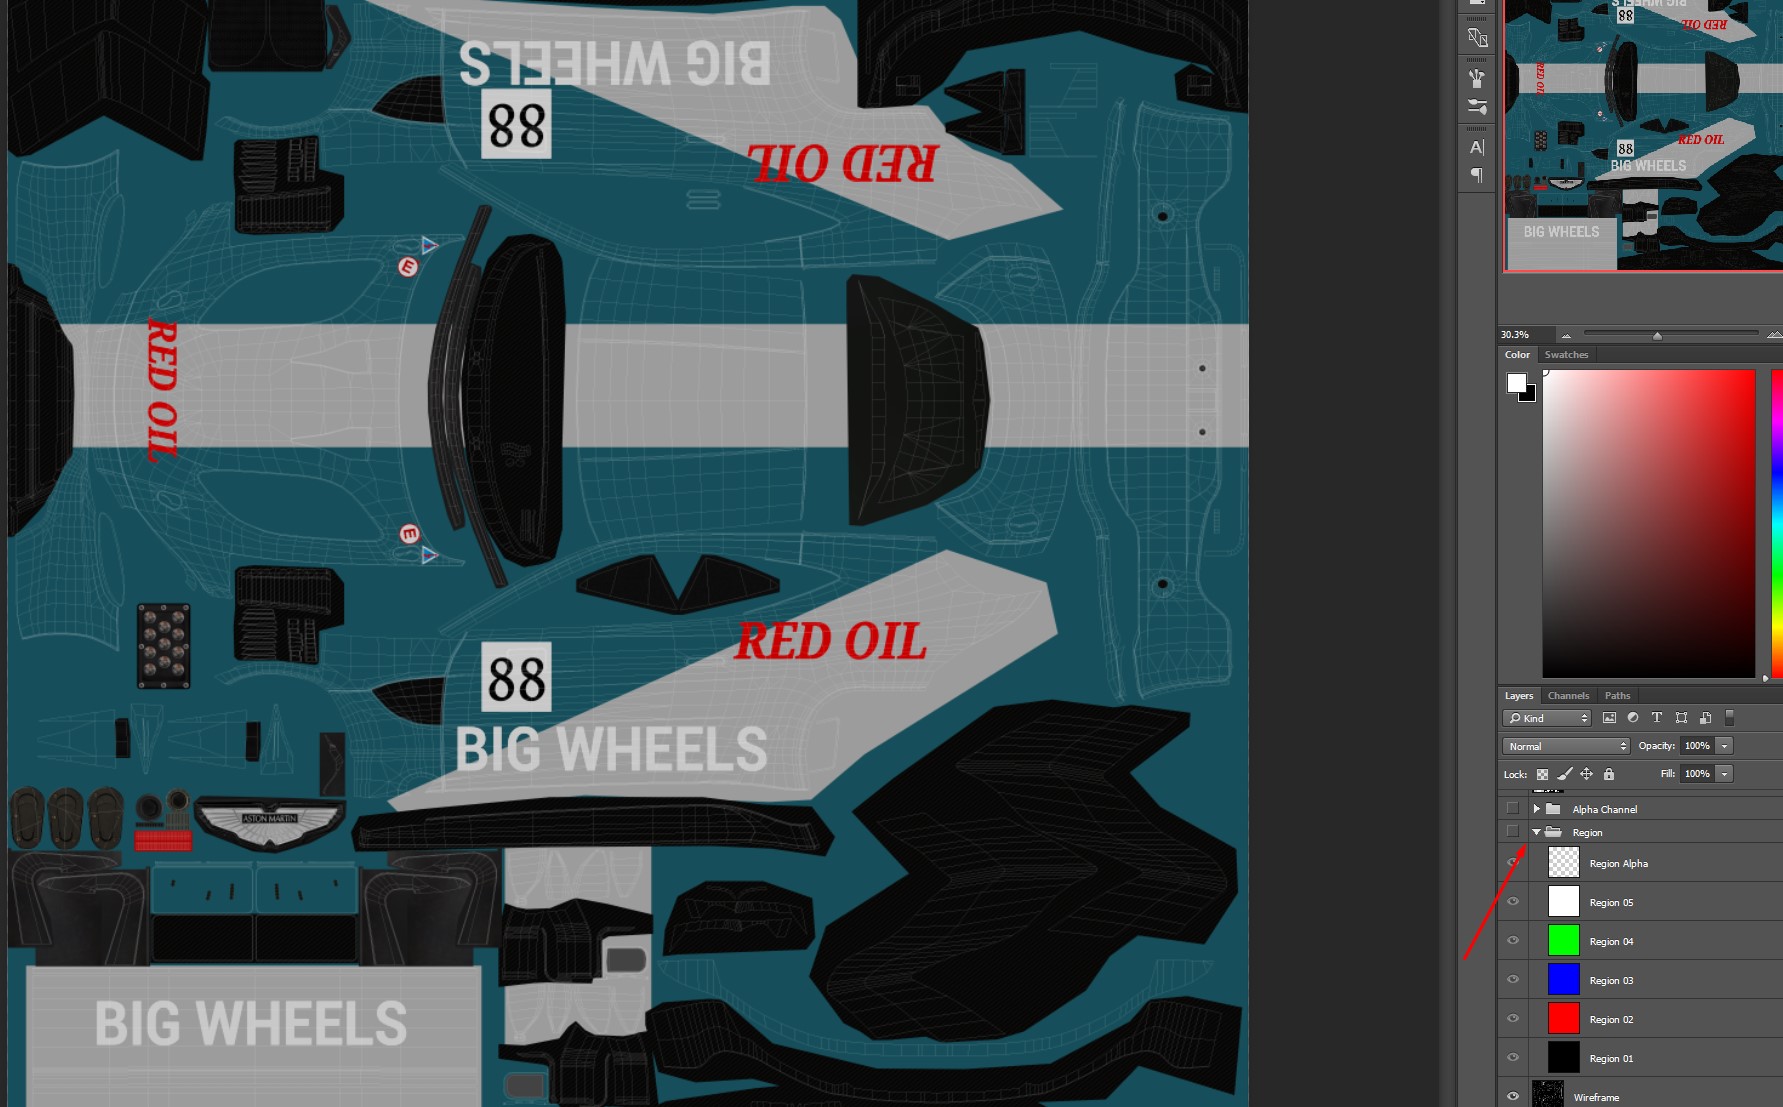
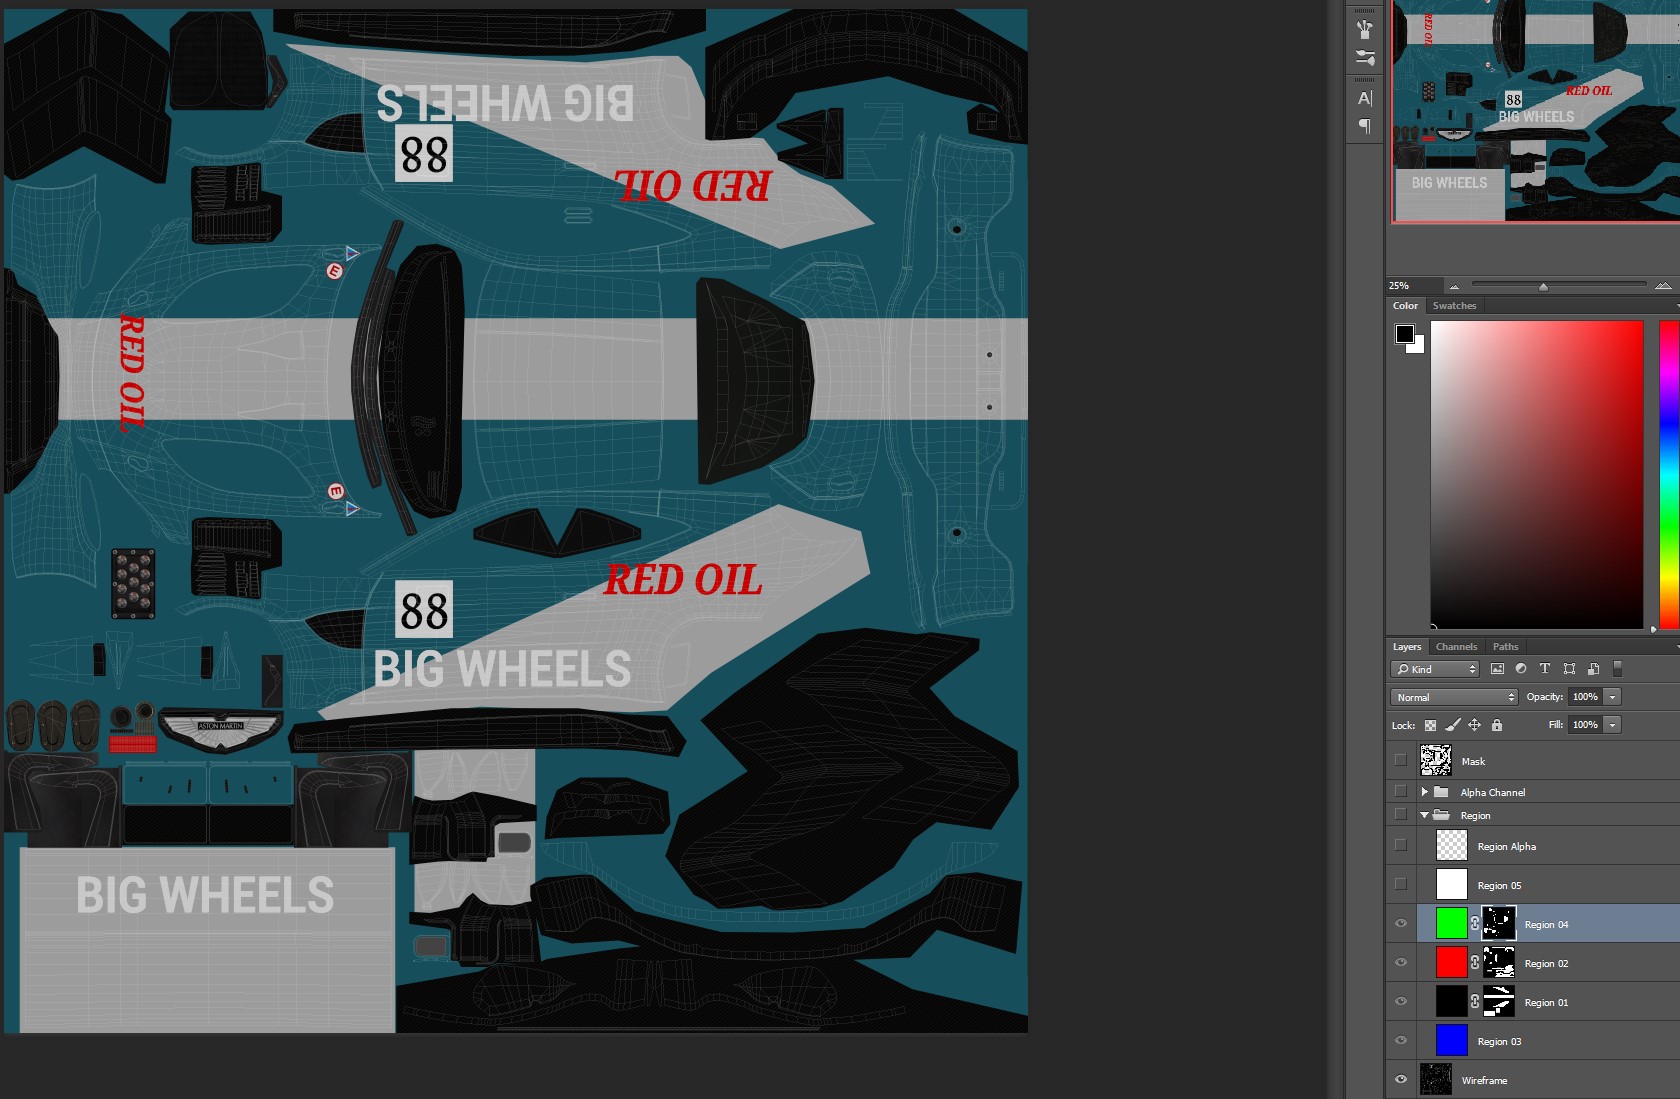
In this example, we will build a skin using two different colors and some sponsors logo.All the skin elements will be created/stored inside the Layer Group called Paint (see picture)The base template uses a blue color as a base paint, we can change that by clicking on the Main Color layer. Let's now add an additional layer with a second color. (soft grey in this case). Create new fill or adjustment layer / Solid Color, like in the pictures
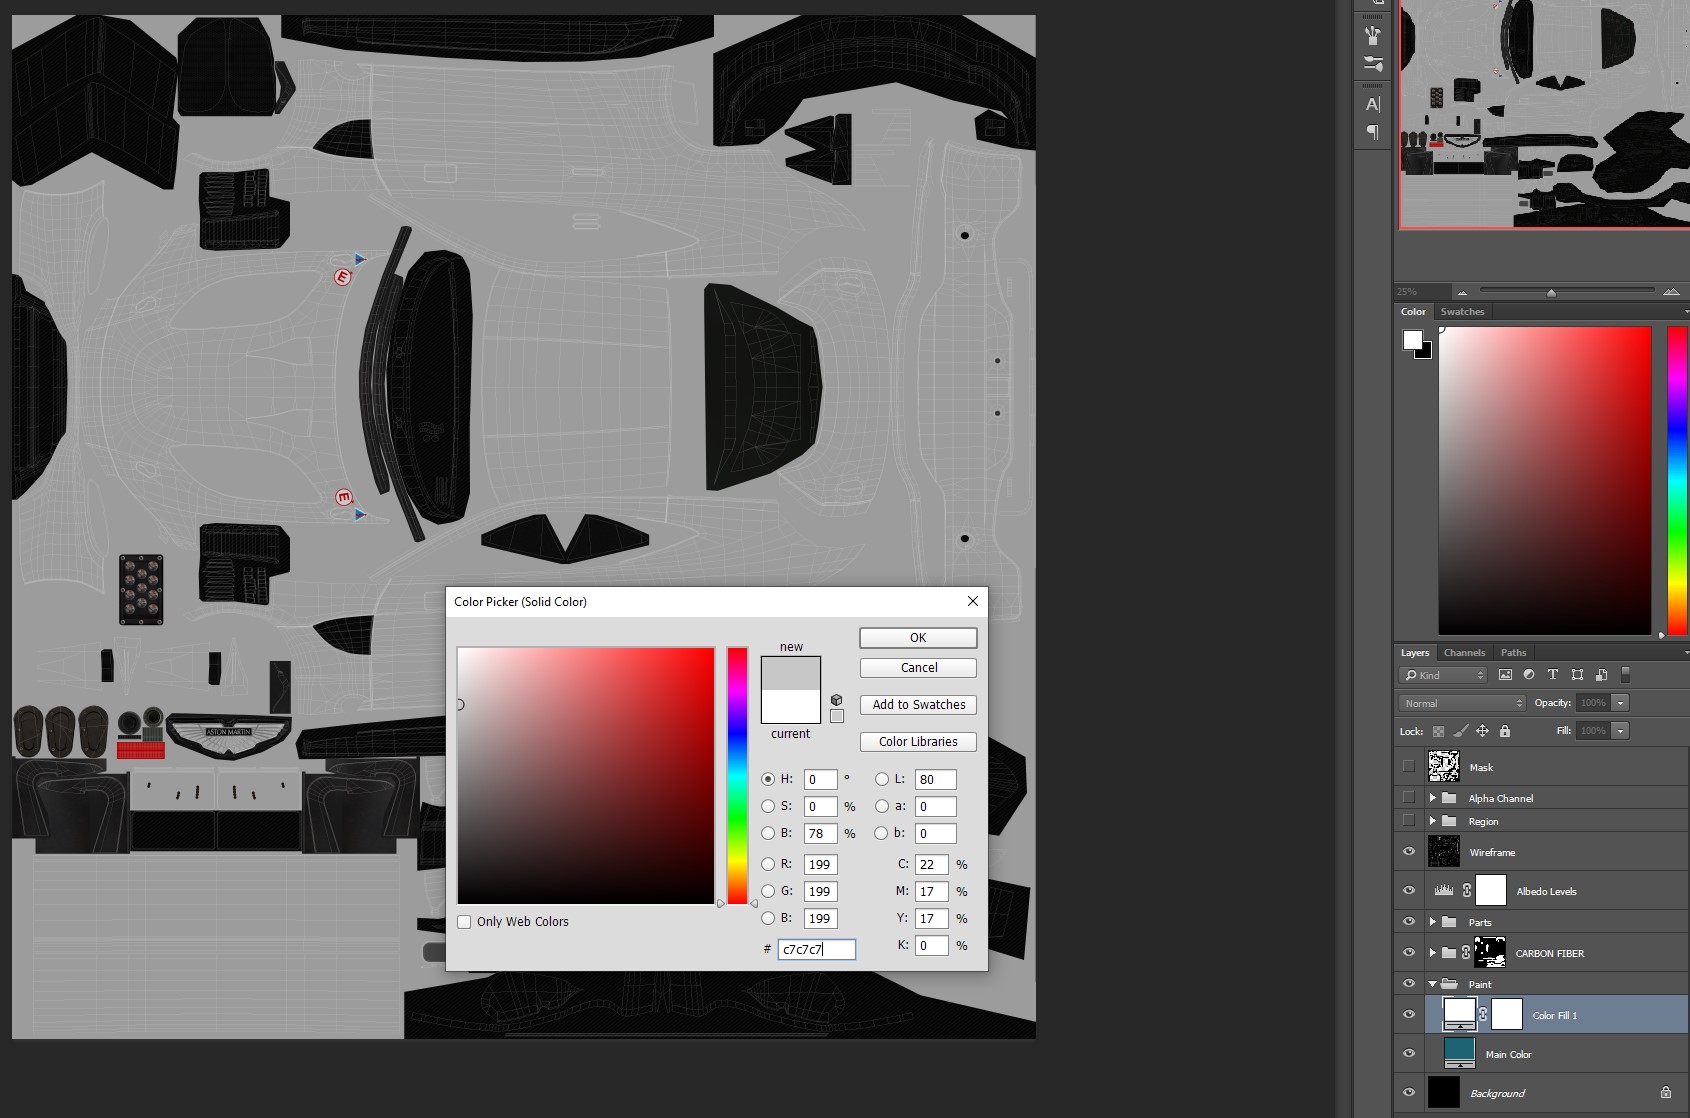
We want to use Masks to define shapes, they are non-destructive way to add colors or patterns, and easily provide selections when needed. We can use a pixel or vector mask depending of what we want to paint. By default Solid Color comes with bitmap mask. Rename the new layer, and select the mask.
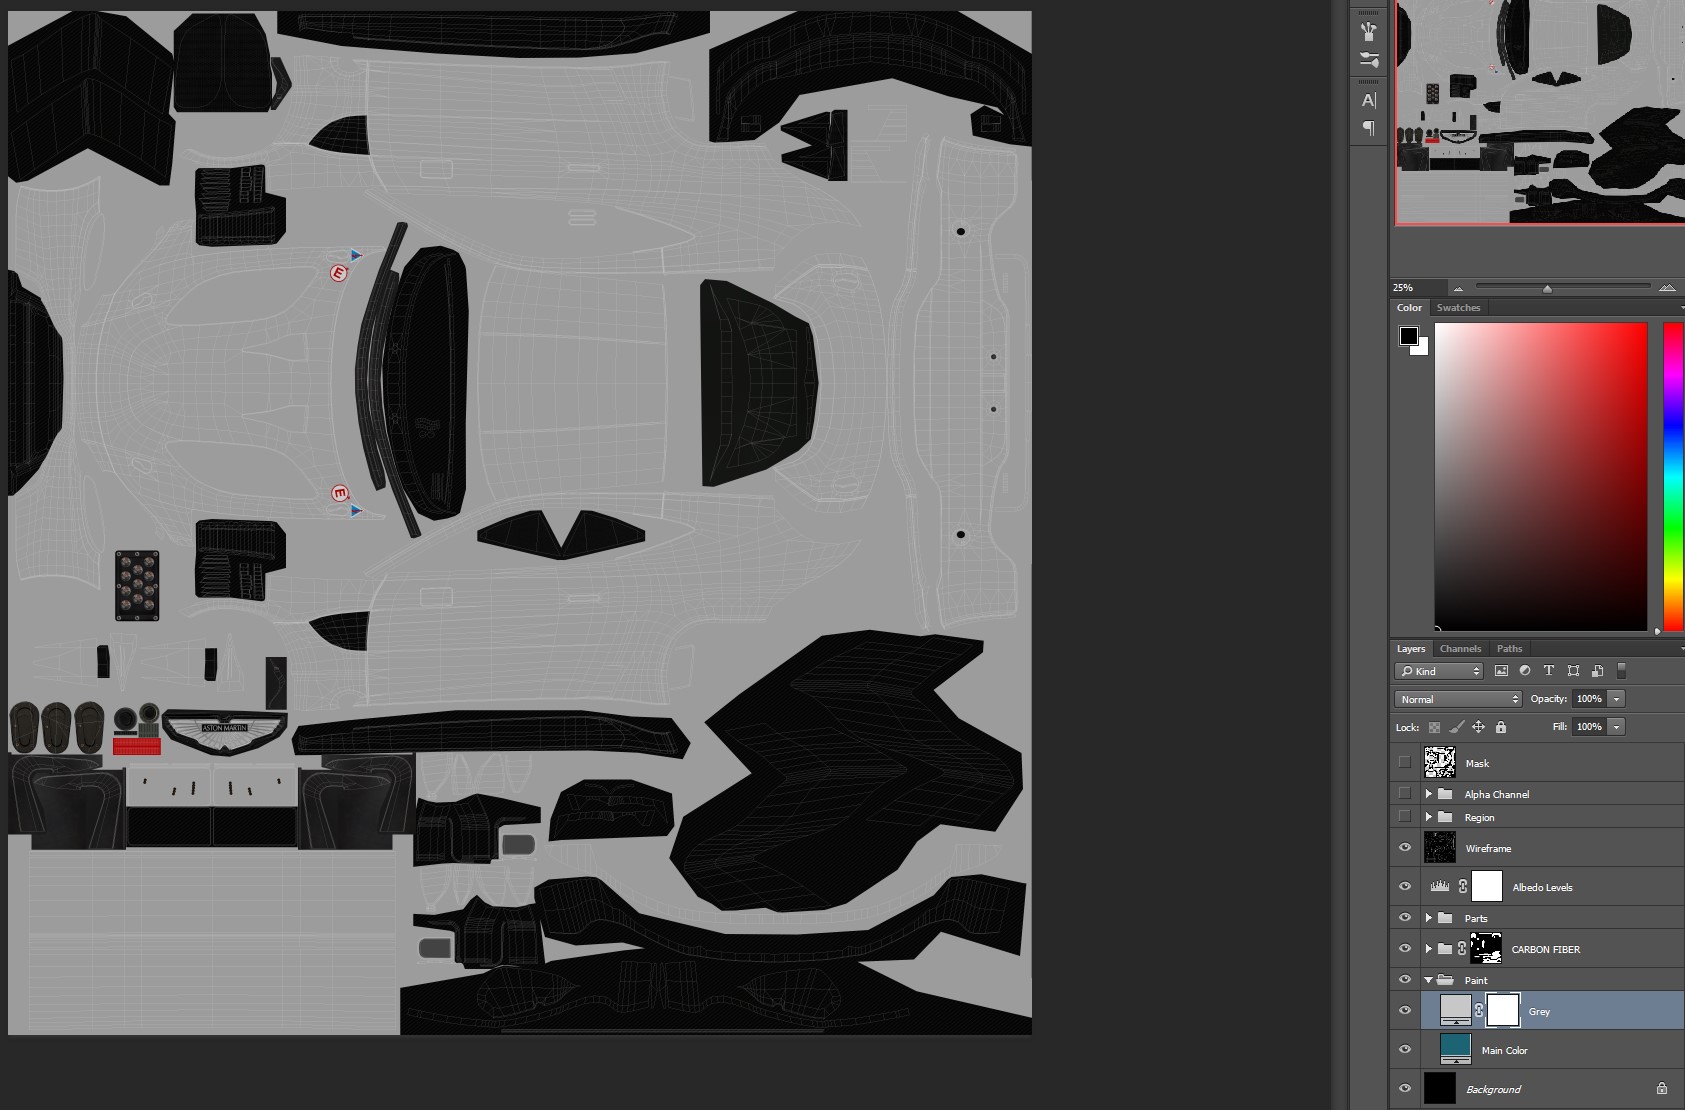
Fill it with black color (ctrl+A / fill) The skin grey color is gone. In a pixel mask, black is no color, white is solid color.
Now we just have to make selections, and fill them with white color. Make sure the mask is alway selected in the layer tab.
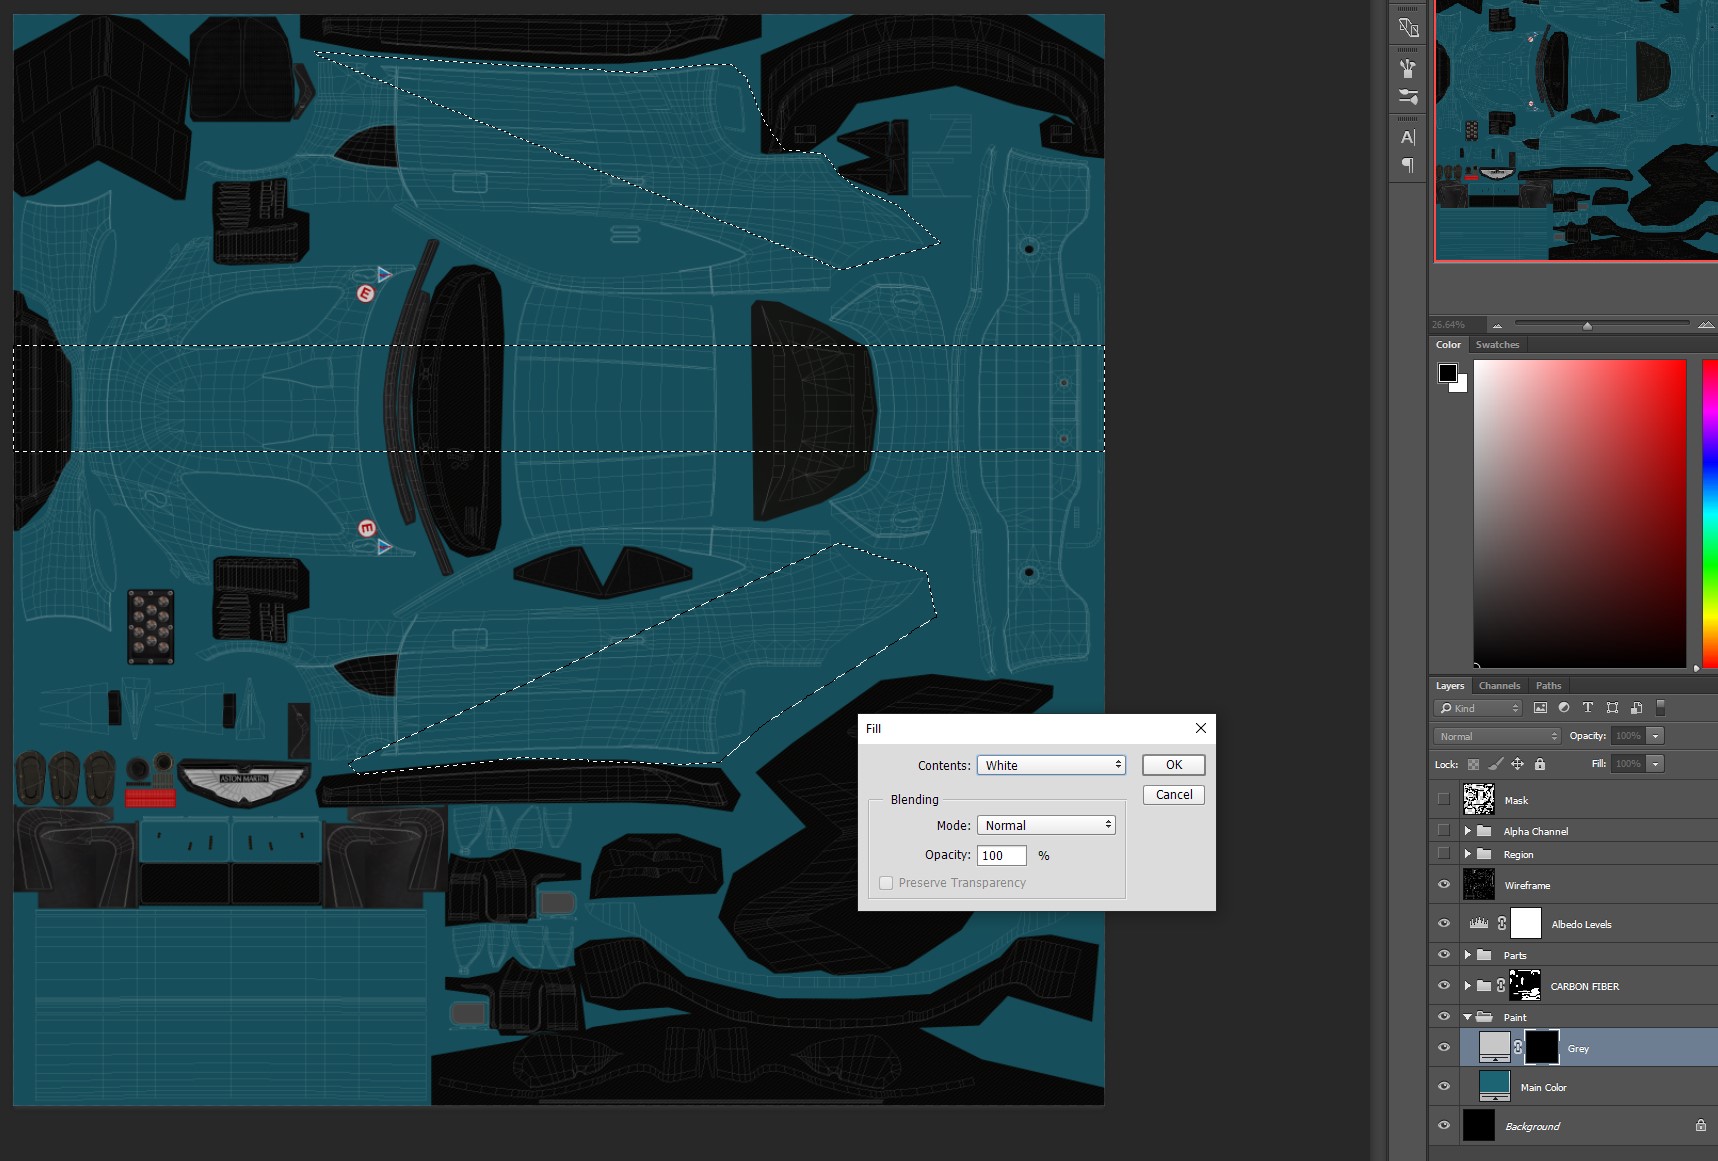
We can add more grey paint areas by adding new white fills to the mask. (rear wings and mirrors here)
I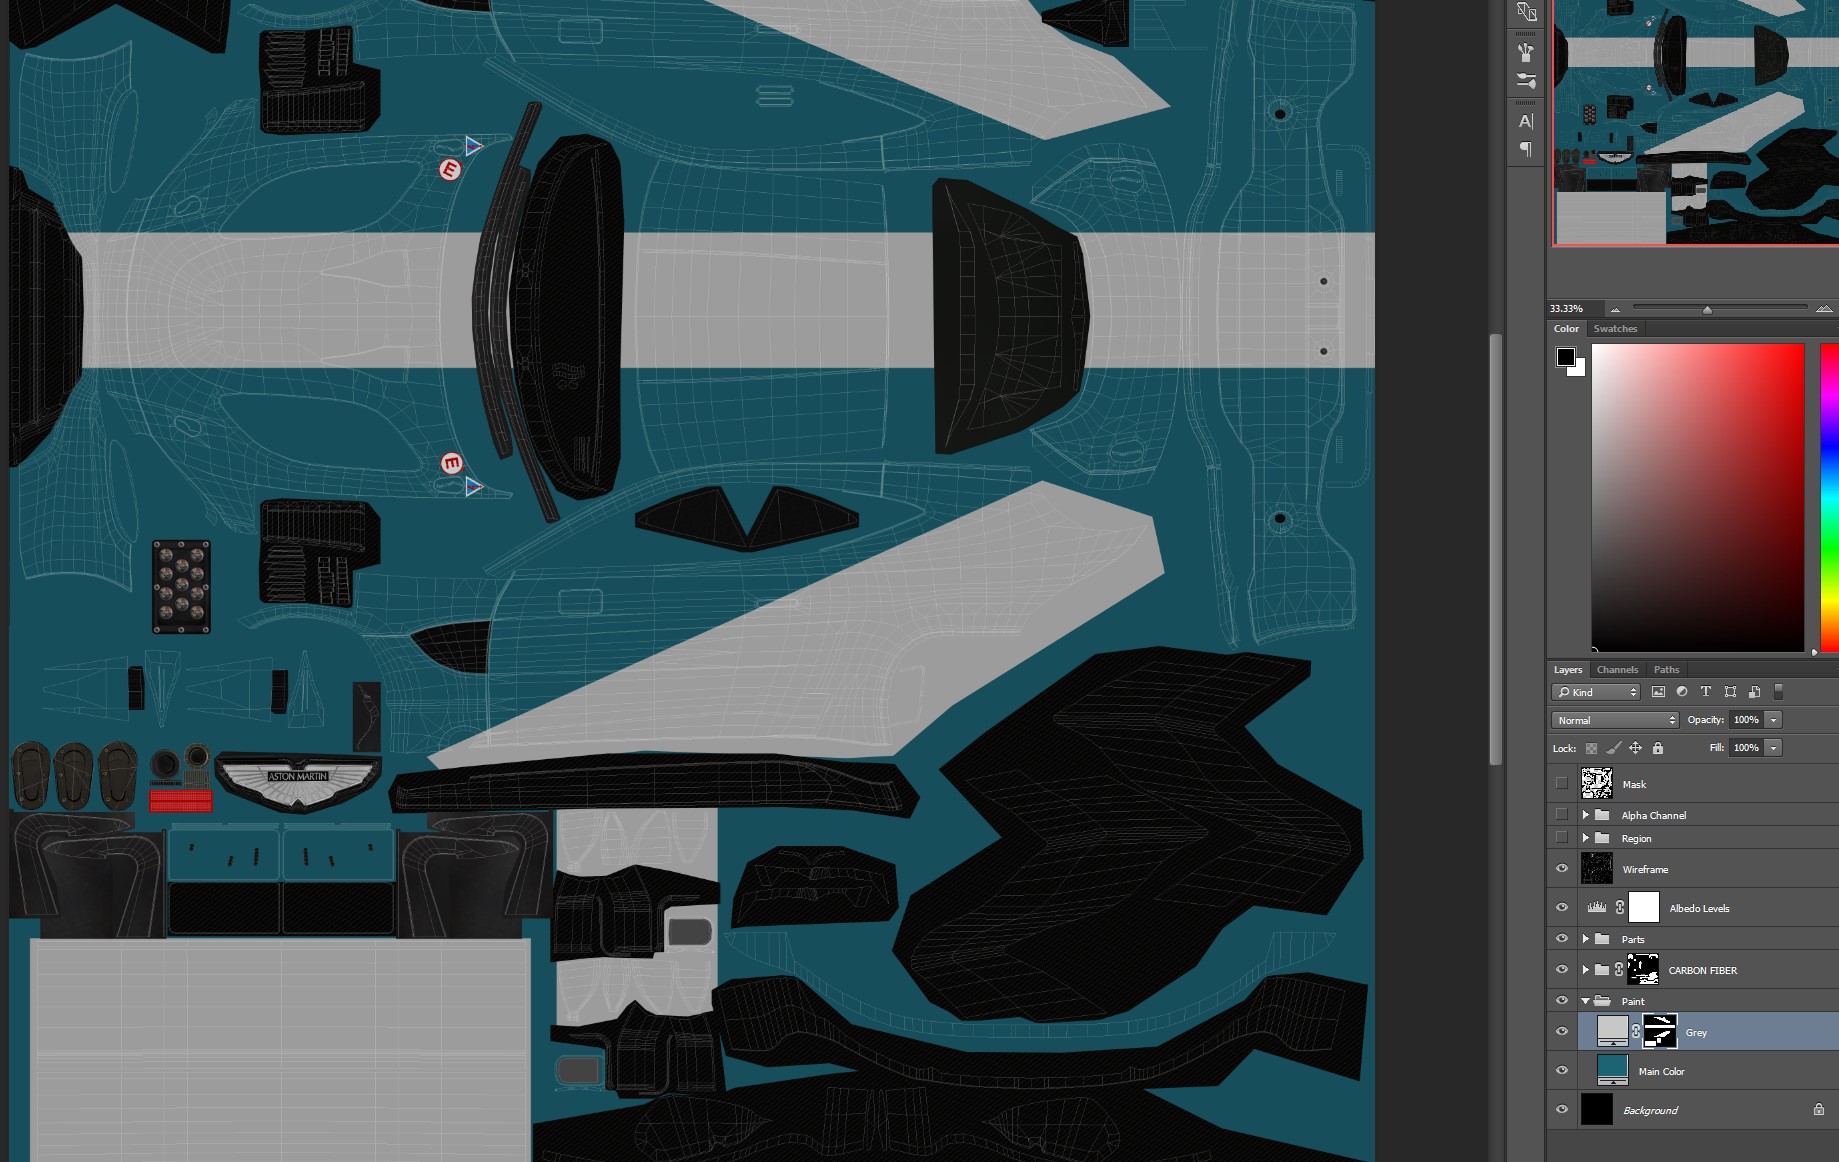
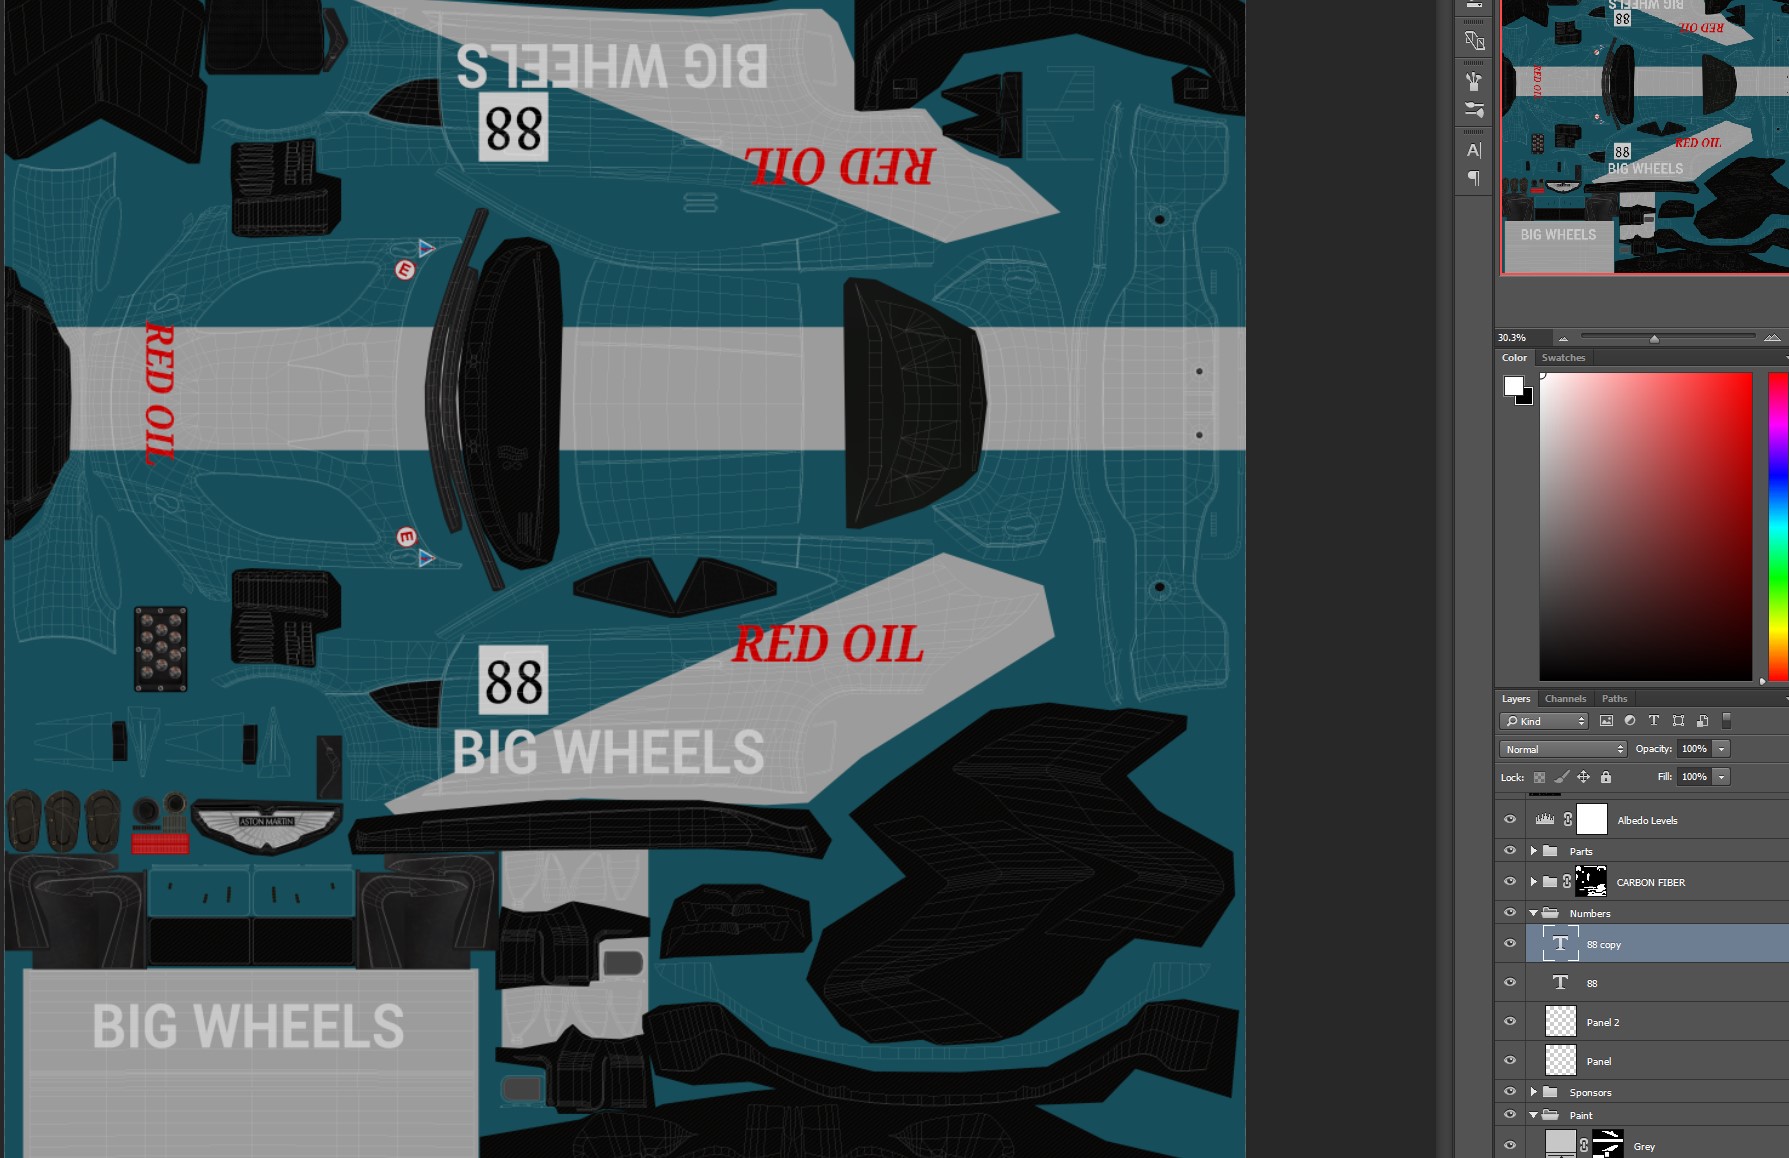
We can add more layers using the same method. Let's add now some sponsors. Create a new group above the Paint group and name it Sponsors Create a blank layer.
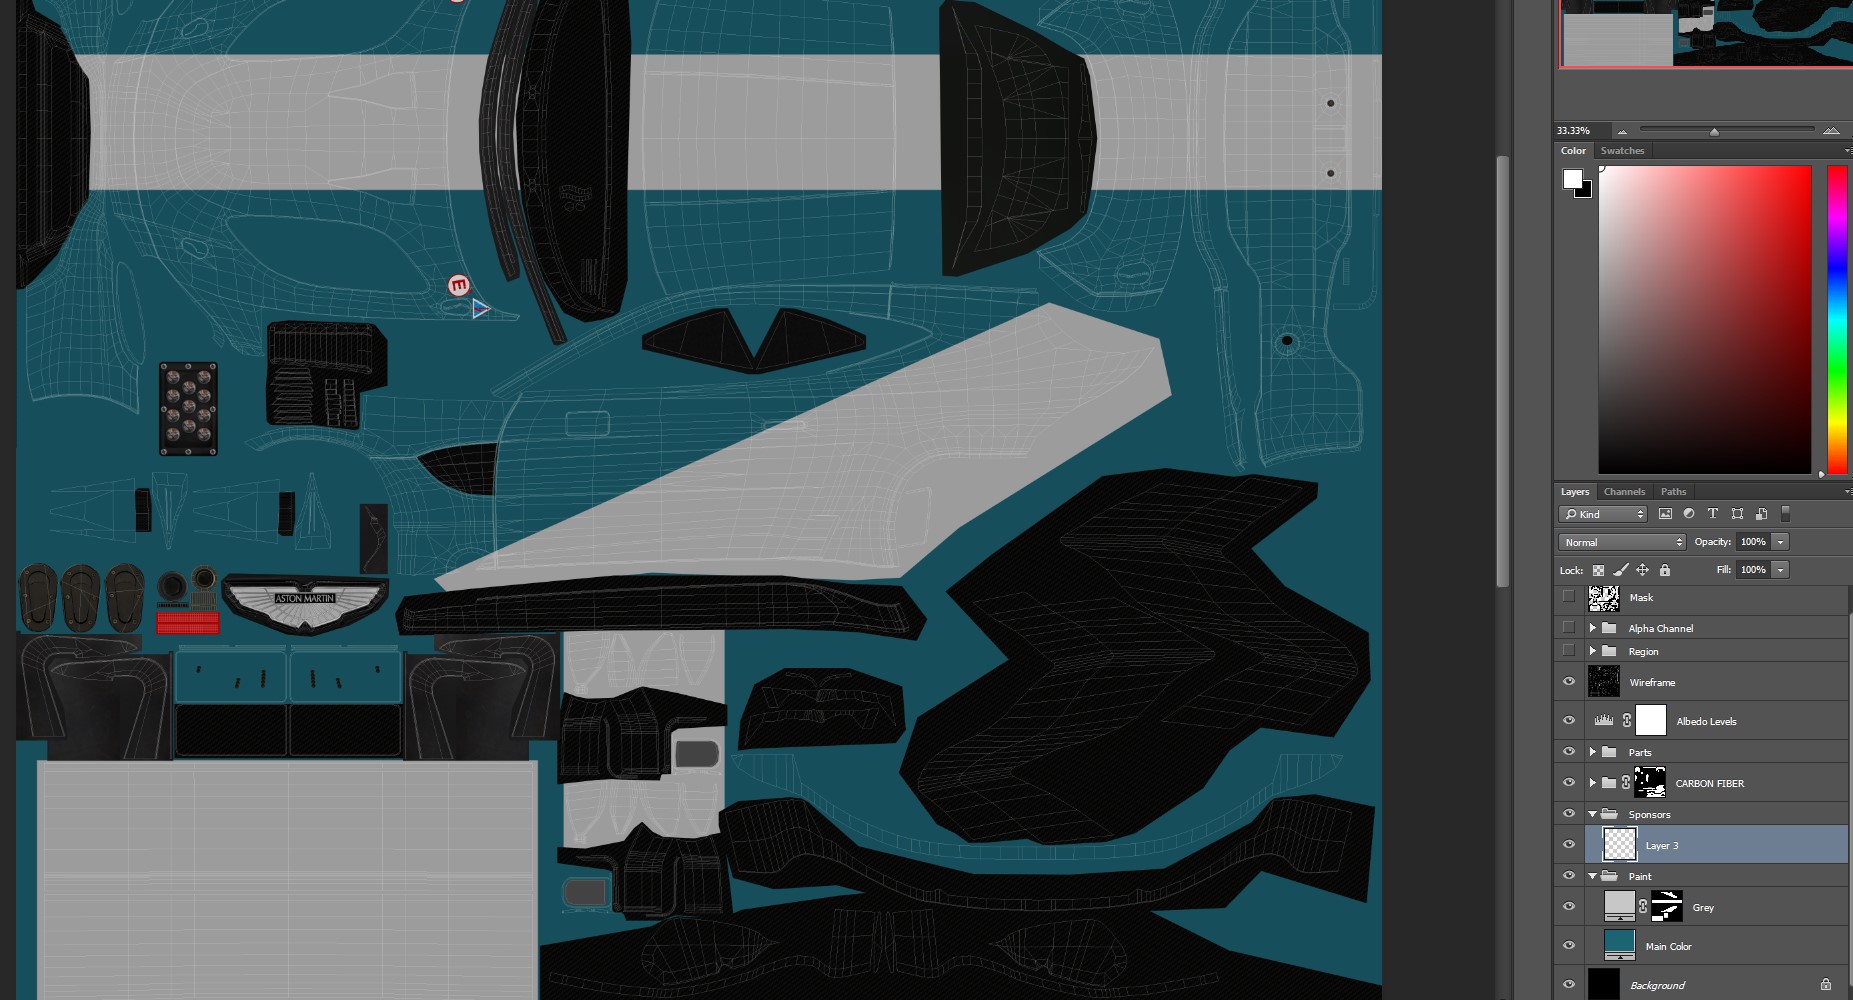
We can copy paste here logos from sponsors or type them.Let's create a few fake brands.
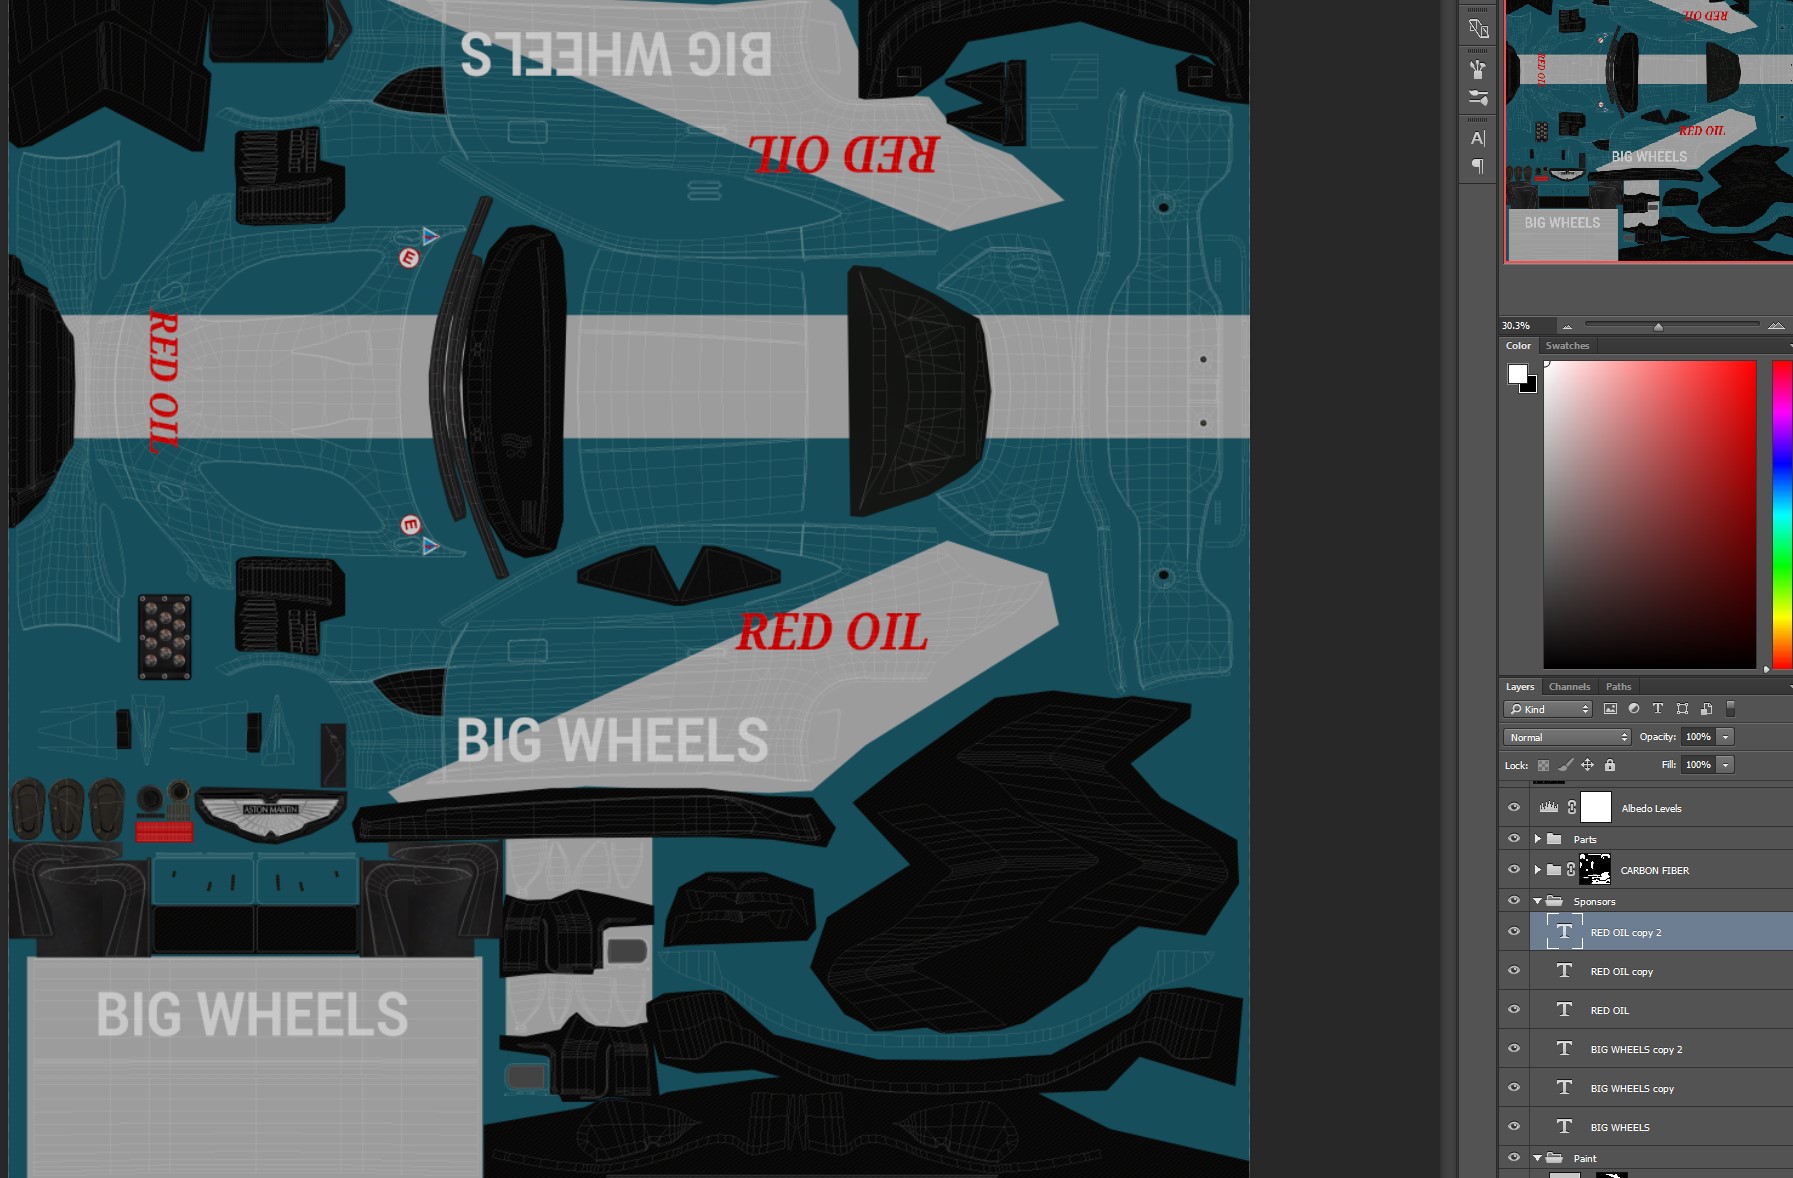
Now let's add numbers to our car. Create a new Layer Group called Numbers above the Sponsors group. Create a new Layer, make a square selection, fill it with white this will be the number panel. Name it Panel. Duplicate it so we have one on both doors.
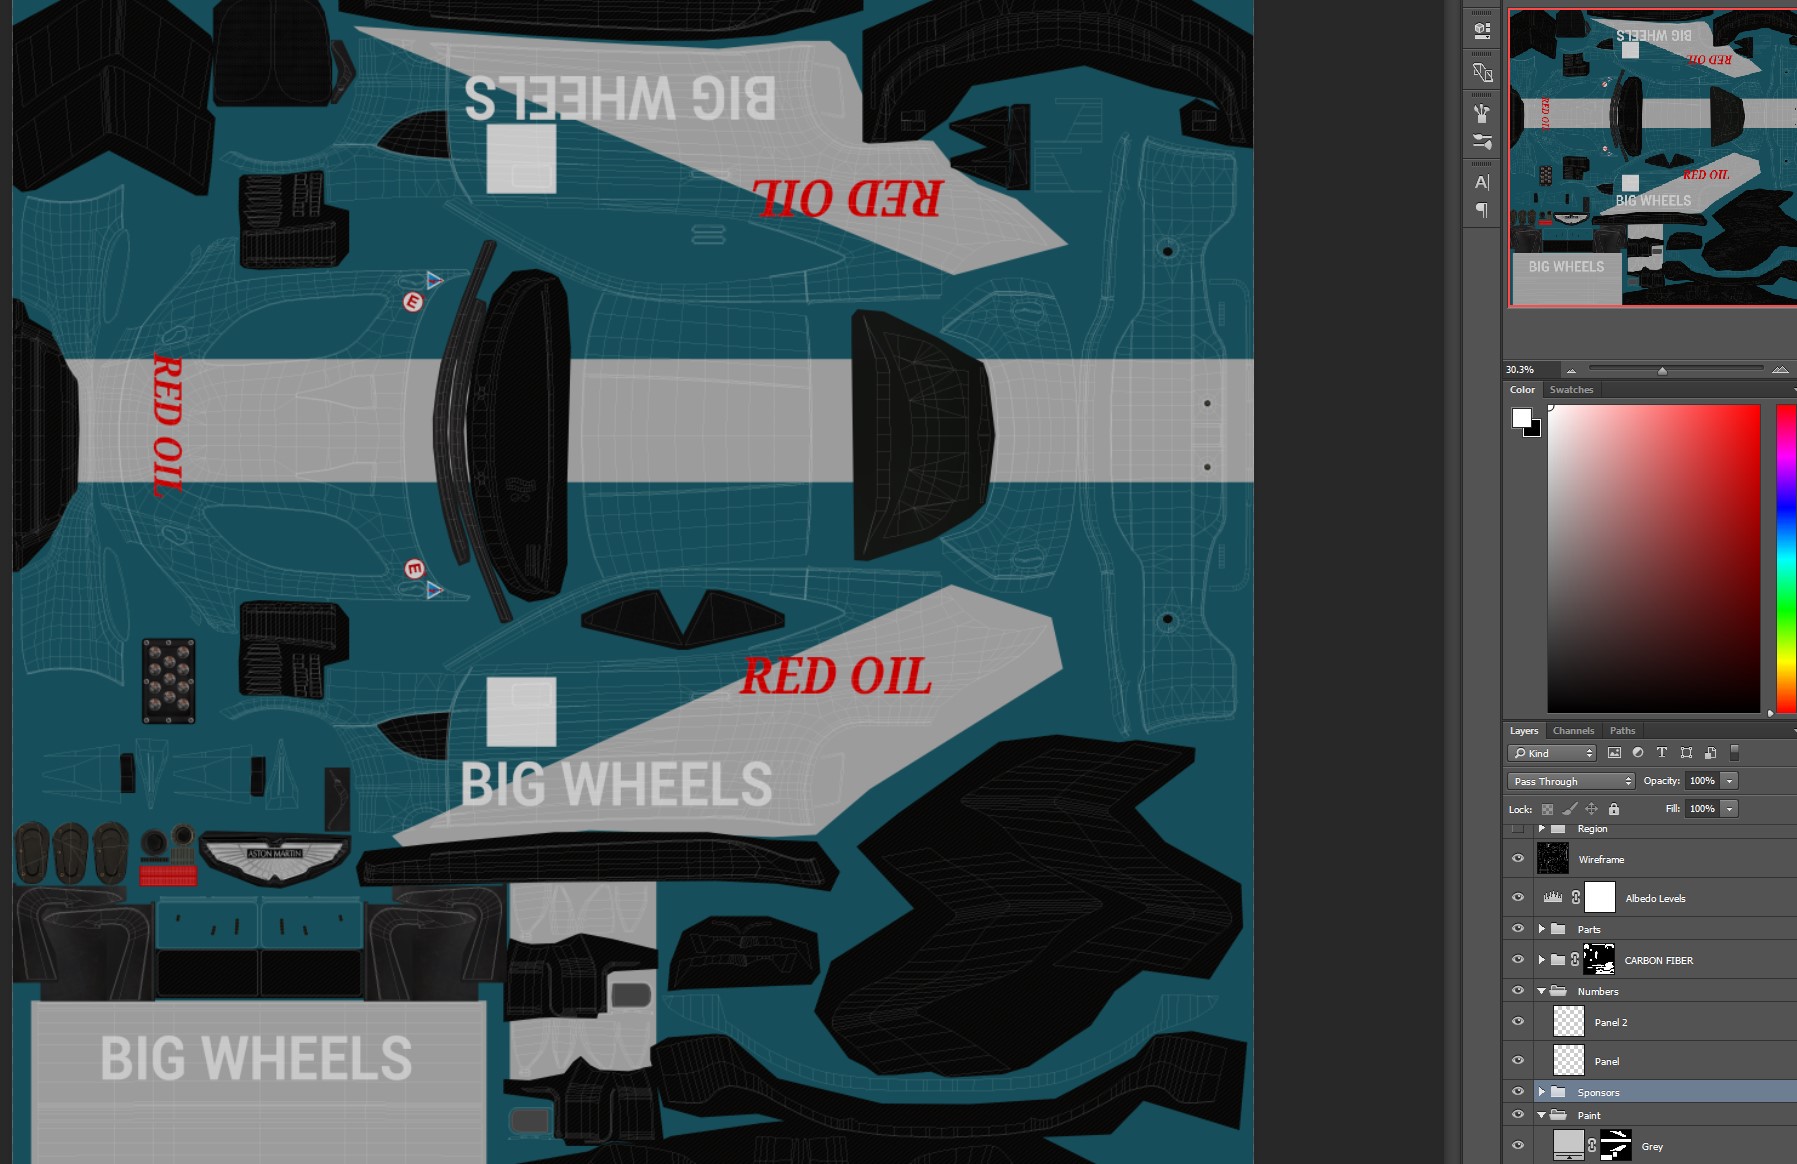
Add numbers over the panels.
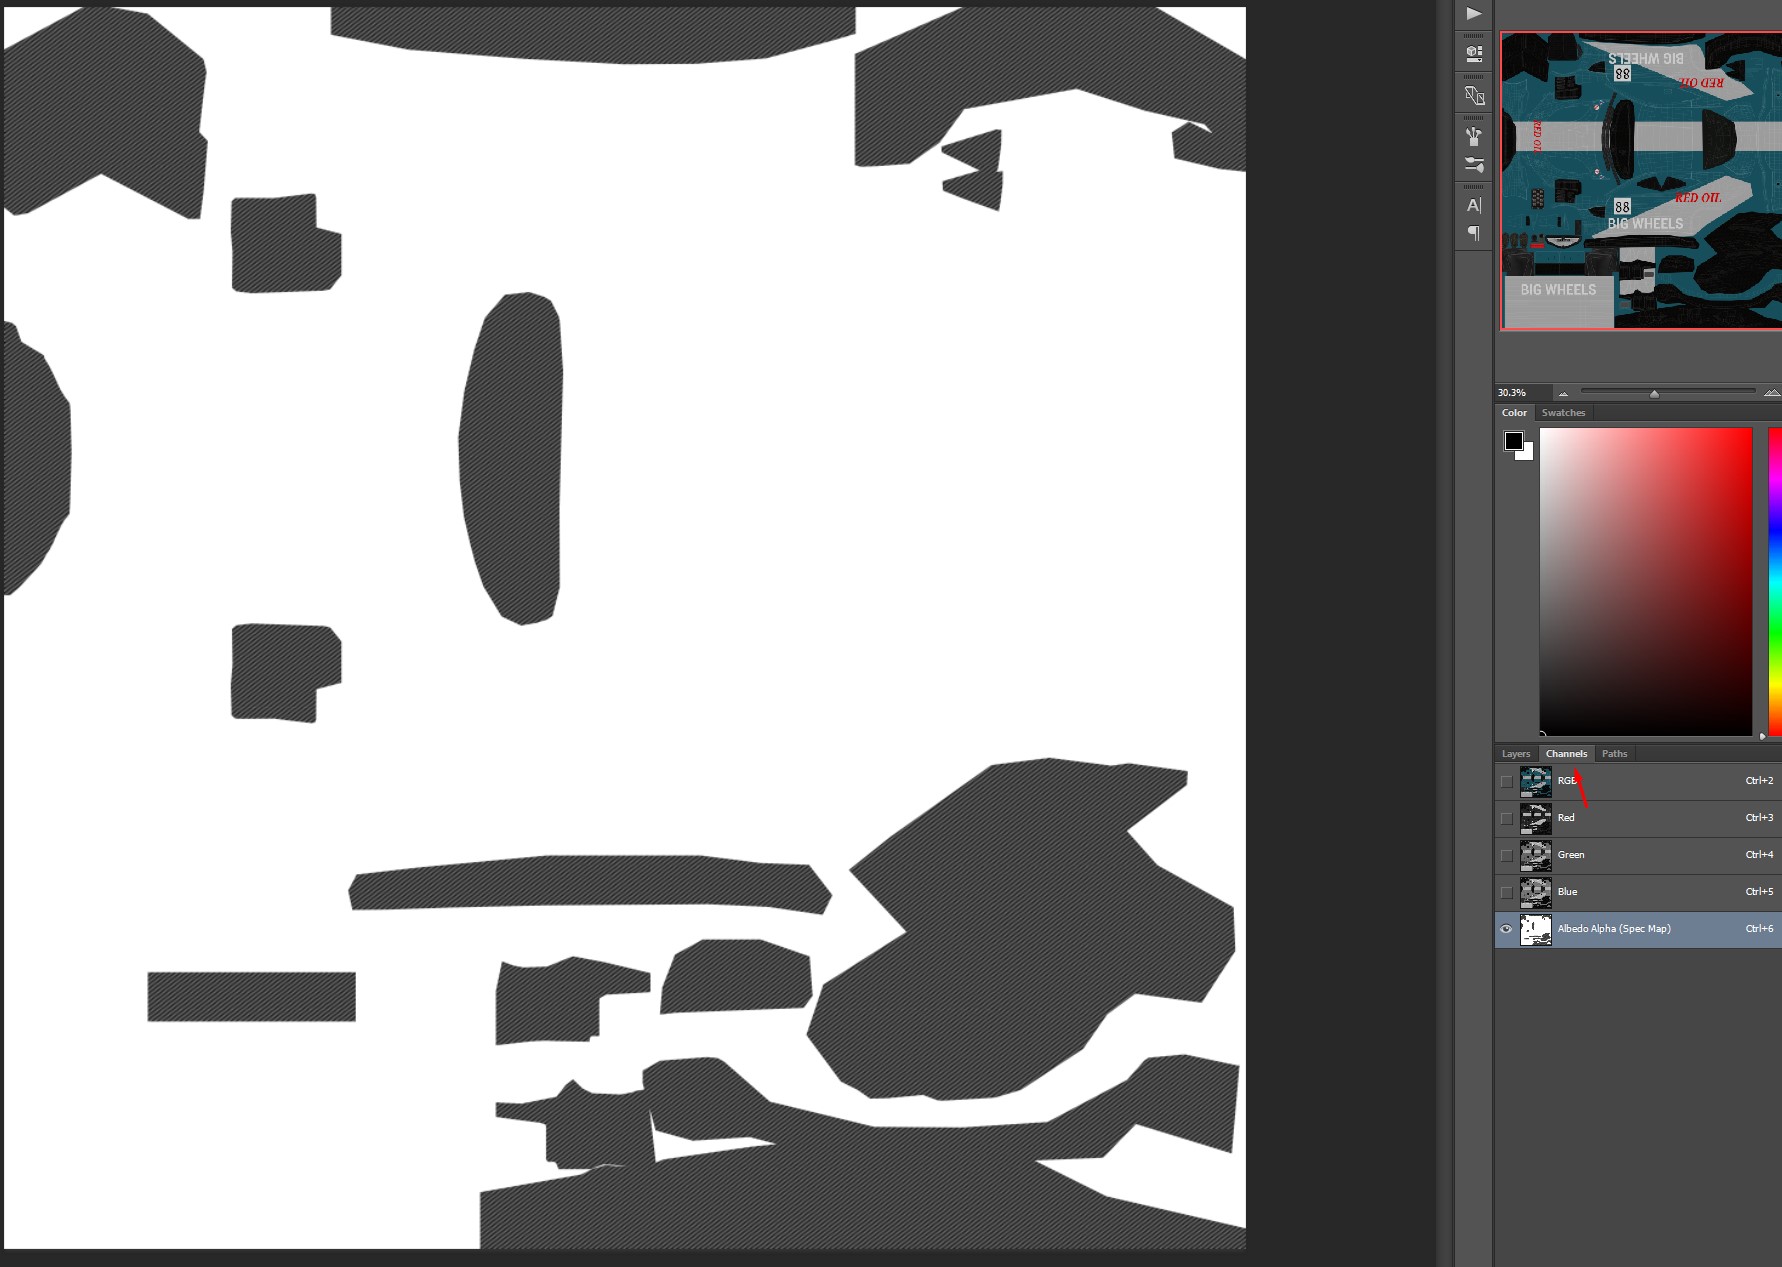
Our skin is done, let's be sure we have a valid alpha channel, which does represent the Specular Map for the Shader. Most of the time, that alpha channel, stored in the Albedo/Diffuse map, should only contains the Carbon Fiber specular bits. If you edit / alter the orginal alpha channel you can get a new one from the Alpha channel group on top of the layer tab. Now we have to export the skin as .dds / DXT5 (Interpolated Alpha) file format.
Part 2 : Creating The 'Region Map'
For these new materials, you will have to add an additional .dds file to the team folder, called the Region map. This file will determine skin areas emulating different materials. Each one of these areas will be using a plain color (up to 6 channels : R,G,B,W,B,Alpha) and will be used inside the material editor to assign various settings to mimic actual materials. RGB values MUST respect those we do provide with the templates.
Region Colours
- Black Material - Base Paint of the carbody (the carbody color/paint sprayed on the primer)
- Red Material (Carbon, Plastic, Vinyl Wrap, Paint, Stickers, etc..)
- Green Material (Carbon, Plastic, Vinyl Wrap, Paint, Stickers, etc..)
- Blue Material (Carbon, Plastic, Vinyl Wrap, Paint, Stickers, etc..)
- White Material (Carbon, Plastic, Vinyl Wrap, Paint, Stickers, etc..)
- Alpha Material (Carbon, Plastic, Vinyl Wrap, Paint, Stickers, etc..)
Some things to note, if you wish to use metal flakes, you can only use them on the black region. Also, in version 1131, a new feature has been introduced on the green region, you can now have parts of your livery glow at night, like number panels.
We should try to create and organize all the livery elements, so that they can be easily converted into selections in order to build the Region maps.
So let's use folders to keep things tidy :
- Duplicate the Sponsors and Numbers groups.
- Merge into a single layer (you can keep loose originals for later changes). Name it Logos_merged.
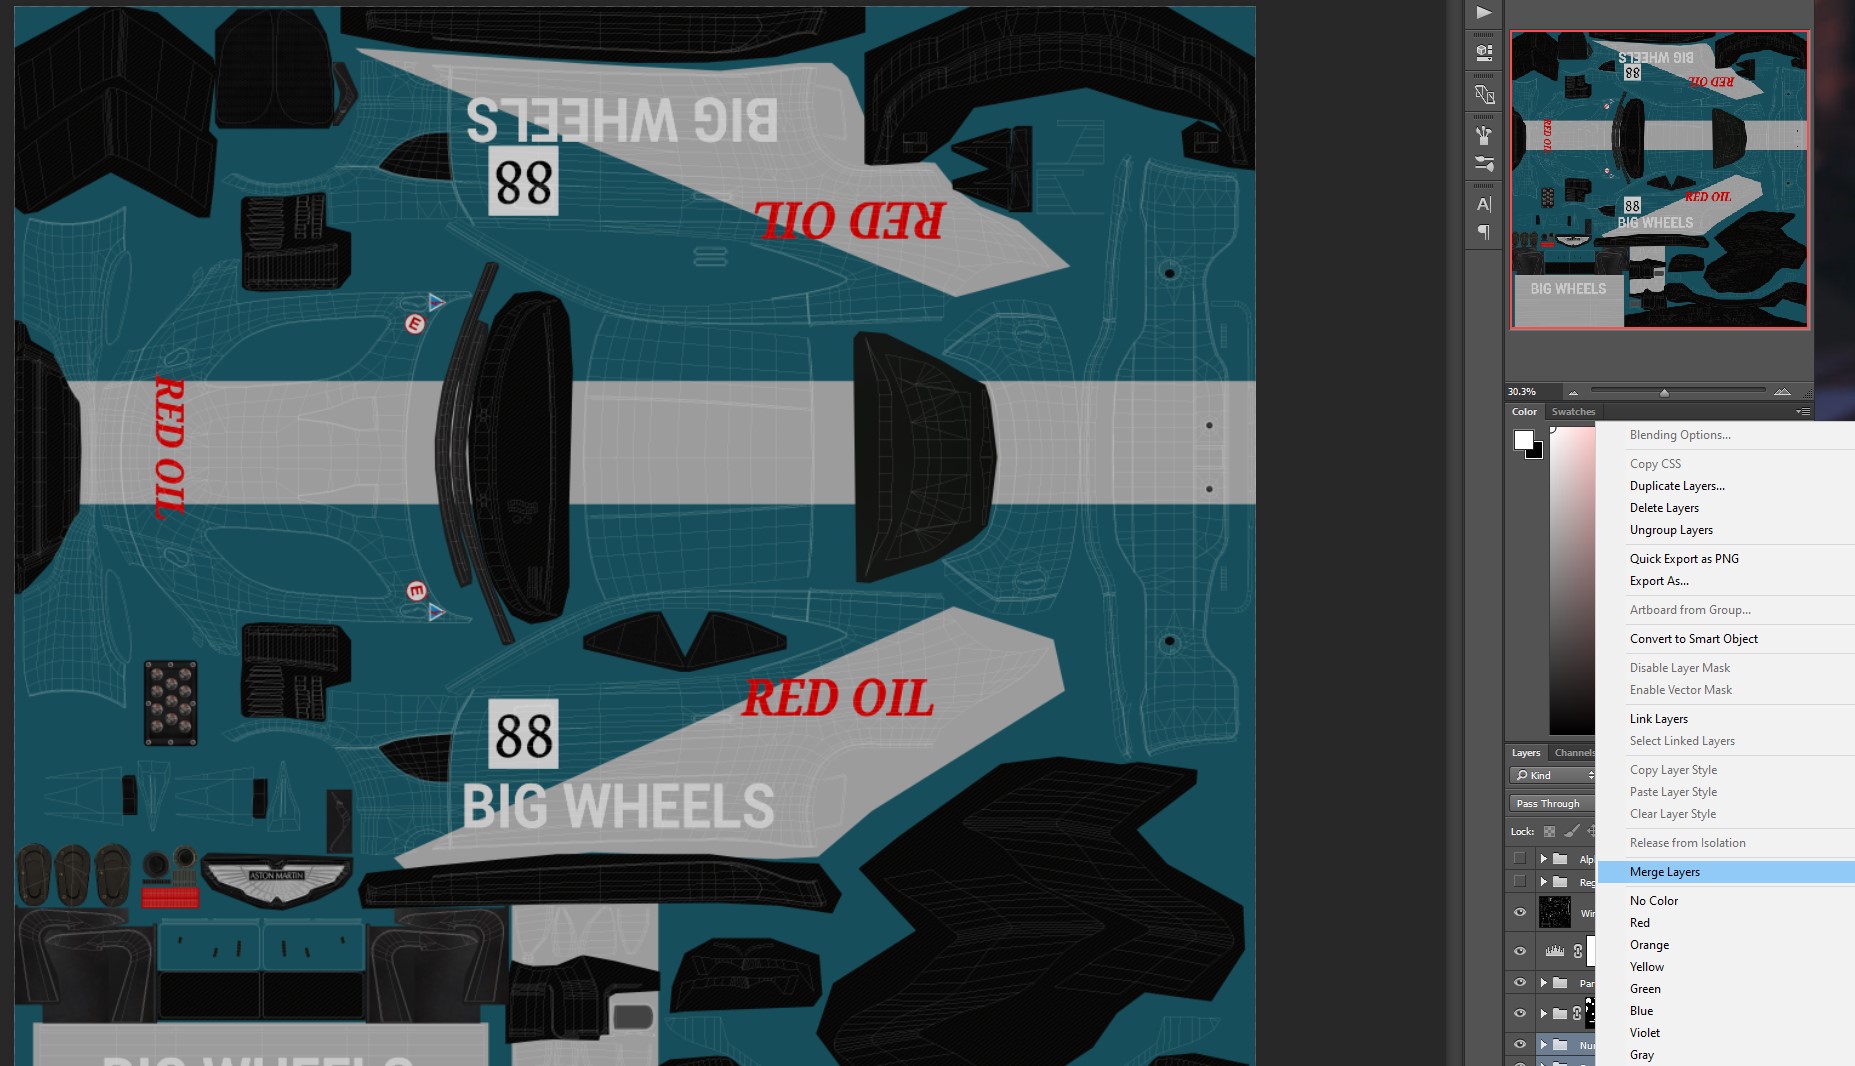
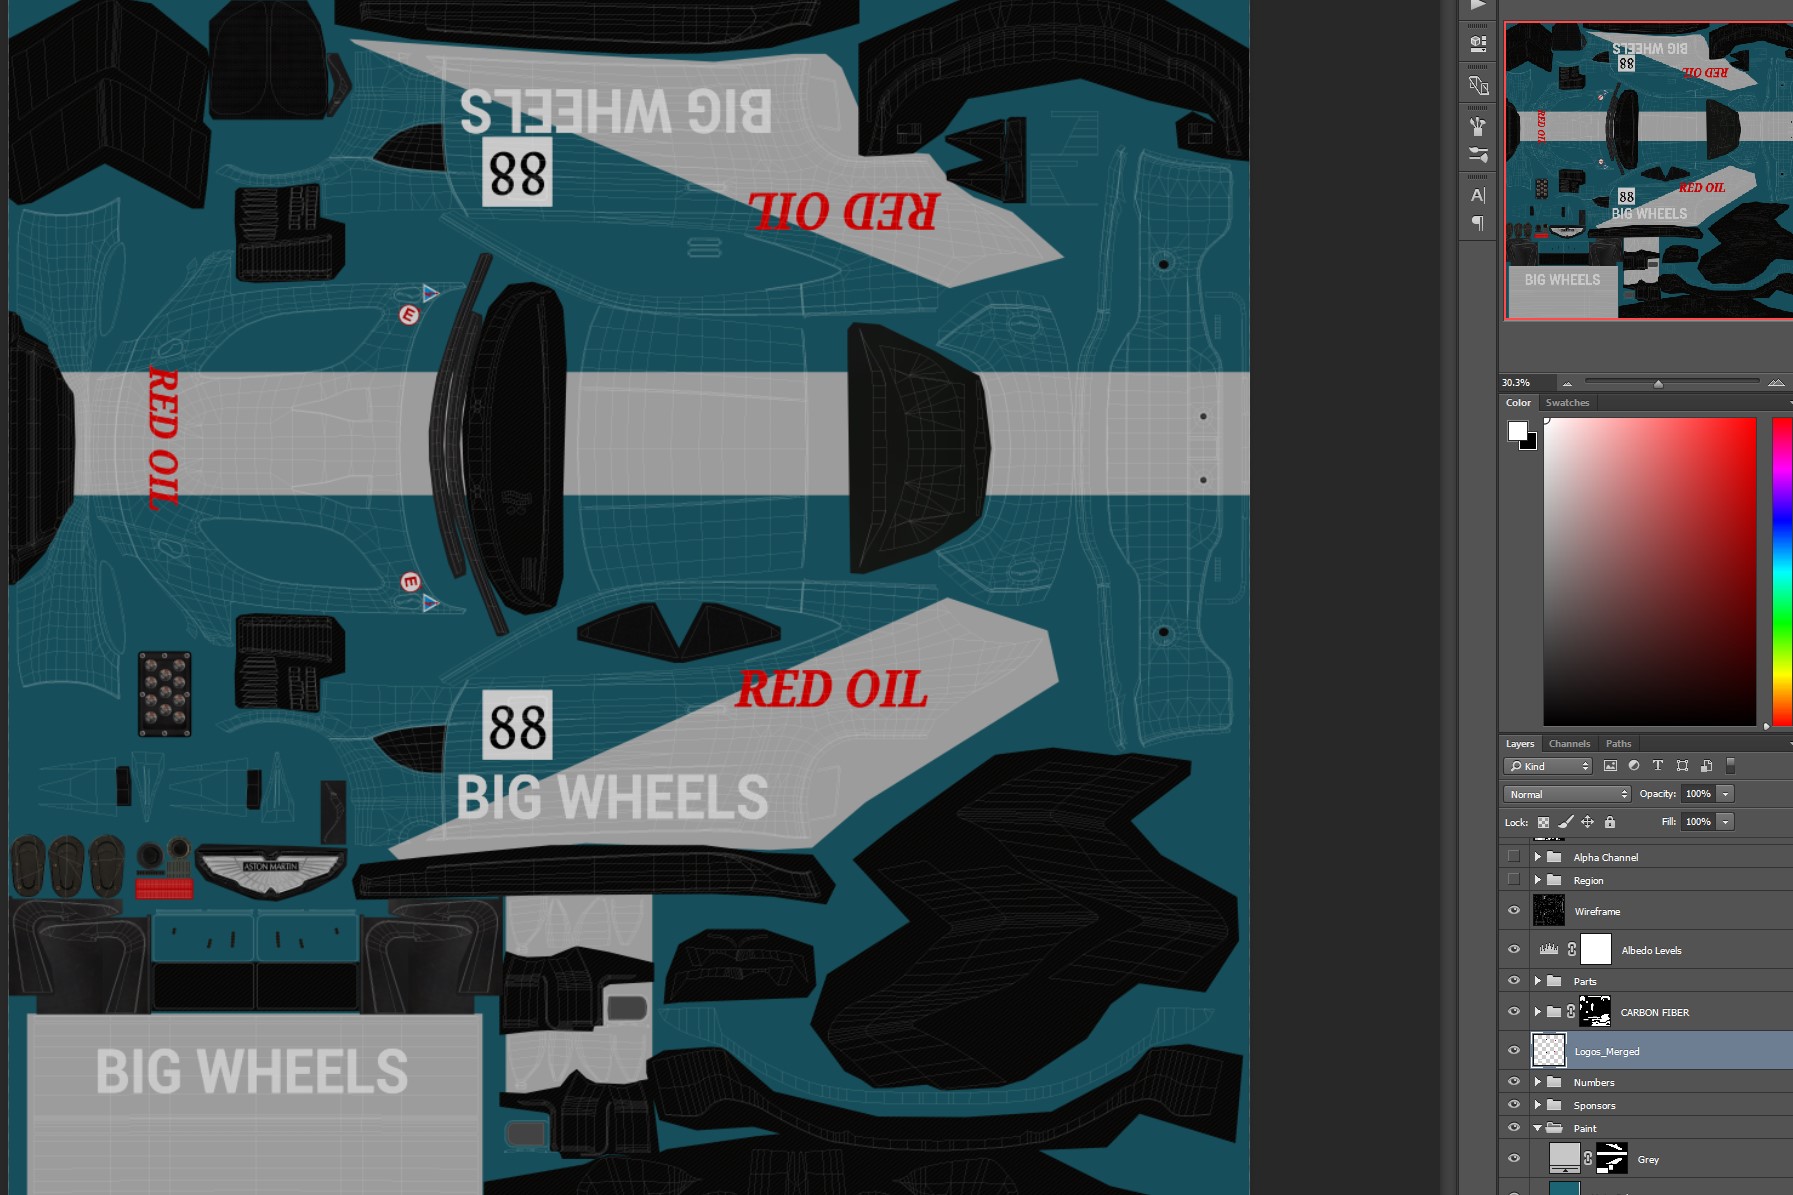
- Merge all similar materials (as carbon here) In our template it is already flattened.
Region map
We will use one layer per color / material and name them from bottom to top starting with Region 01.In our skin Layers tab we already have all possible region layers ready (please, do not tweak the RGB values we've provided), we will just add masks for the ones we want to export. The process is simple :
- one region map will give you controls properties for a particular material. So we will gather vinyl stickers in one Region, Mate painting in another and so on.
- we will define region masks using existing layers to generate selections.
For this particular skin we want the base color blue to be regular reflective painting, the grey areas to be either matte or silver, the sponsors logos and numbers panels to be vinyl wraps. Only the Black region can trigger silver, gold, metallic paint effect. So for our example let's place it on top of the Blue region which will be the reflective painting. Red will be carbon parts, green will be parts, white will be vinyl wraps and stickers.
Filling the Region layers
- The Region 03 (blue) can stay as is, there is no cuts and shapes on the paint layer linked.
- ctrl+click on Grey paint vector mask. You get a selection from the grey shapes
- Select Region 01 layer. (black)
- Click the Add layer mask button .
- The Region 01 layer has now a mask defining black areas matching the grey paint shapes.
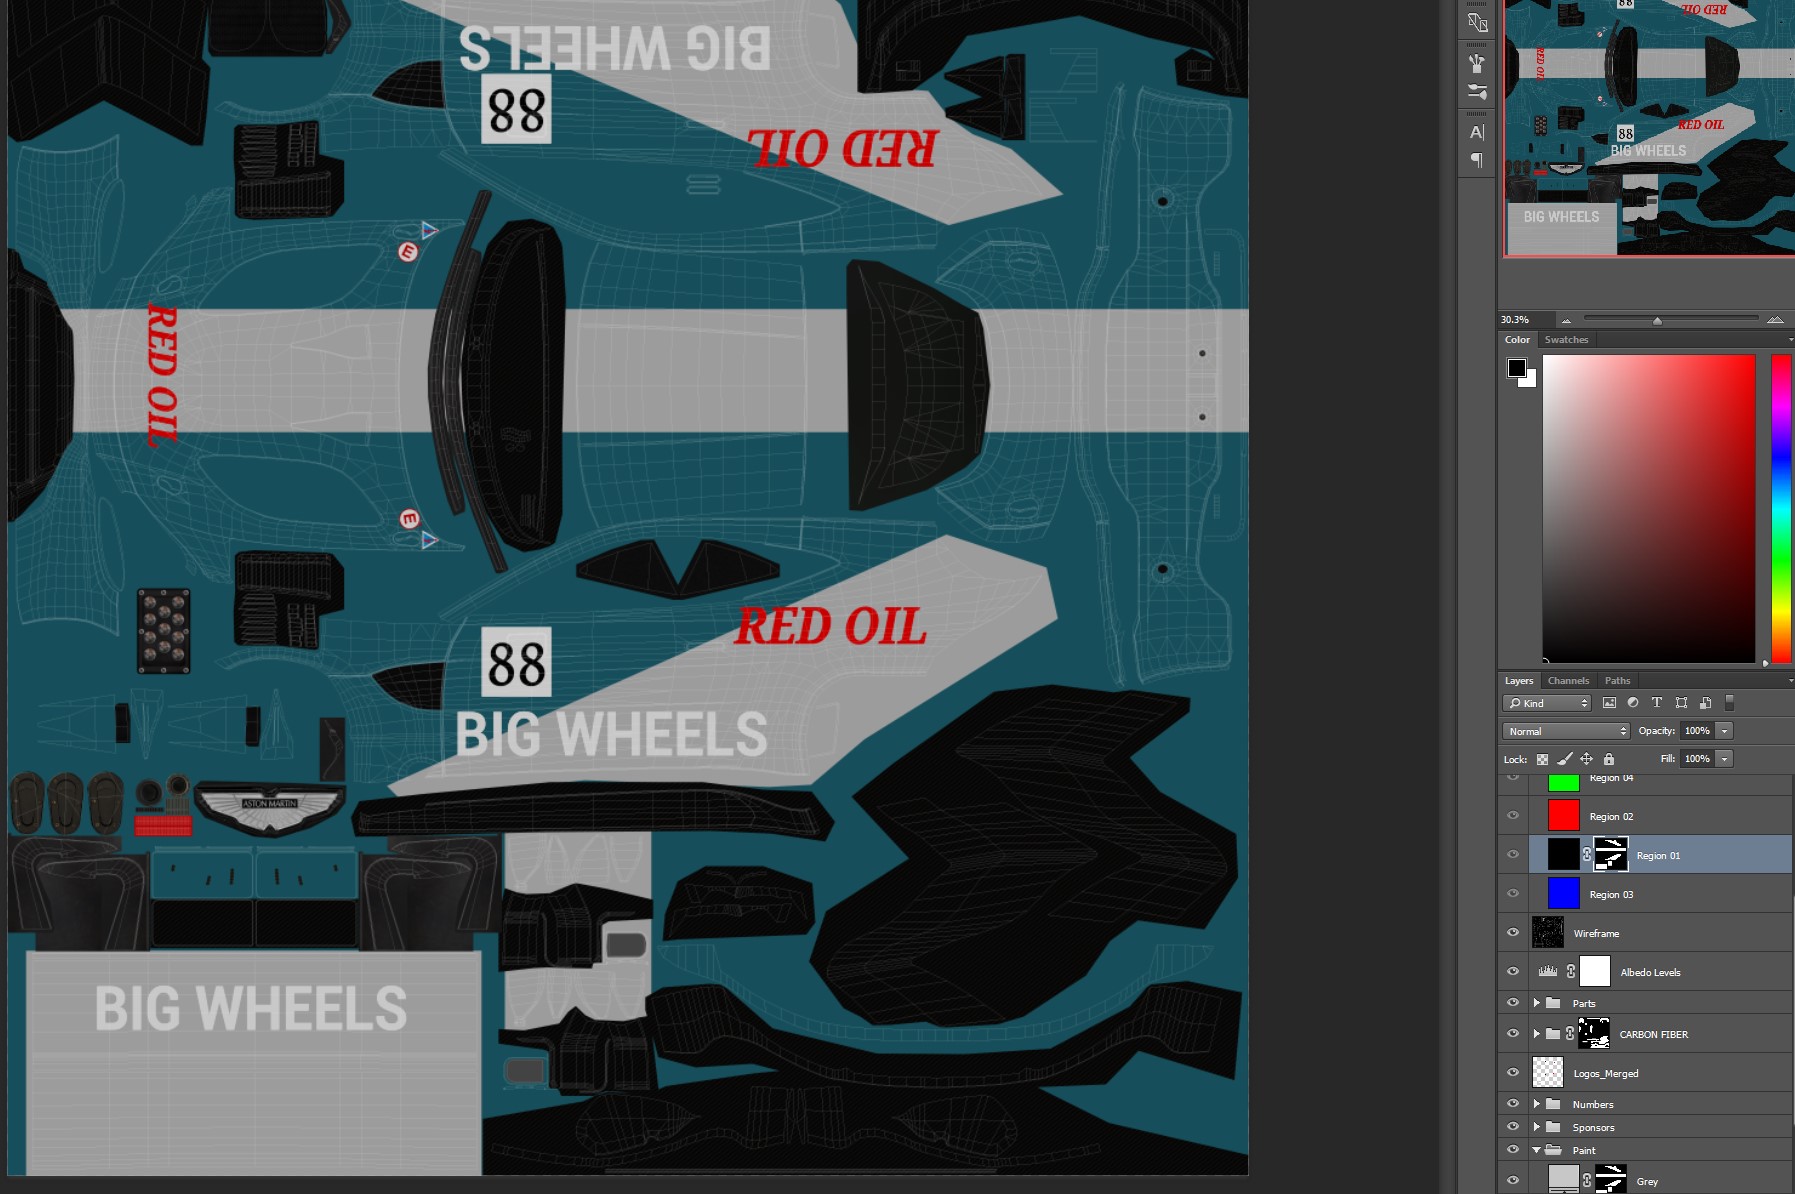
- ctrl+click on Carbon Fiber mask. You get a selection from carbon shapes
- Select Region 02 layer. (red)
- Click the Add layer mask button .
- The Region 02 layer has now a mask defining red areas matching the carbon shapes.
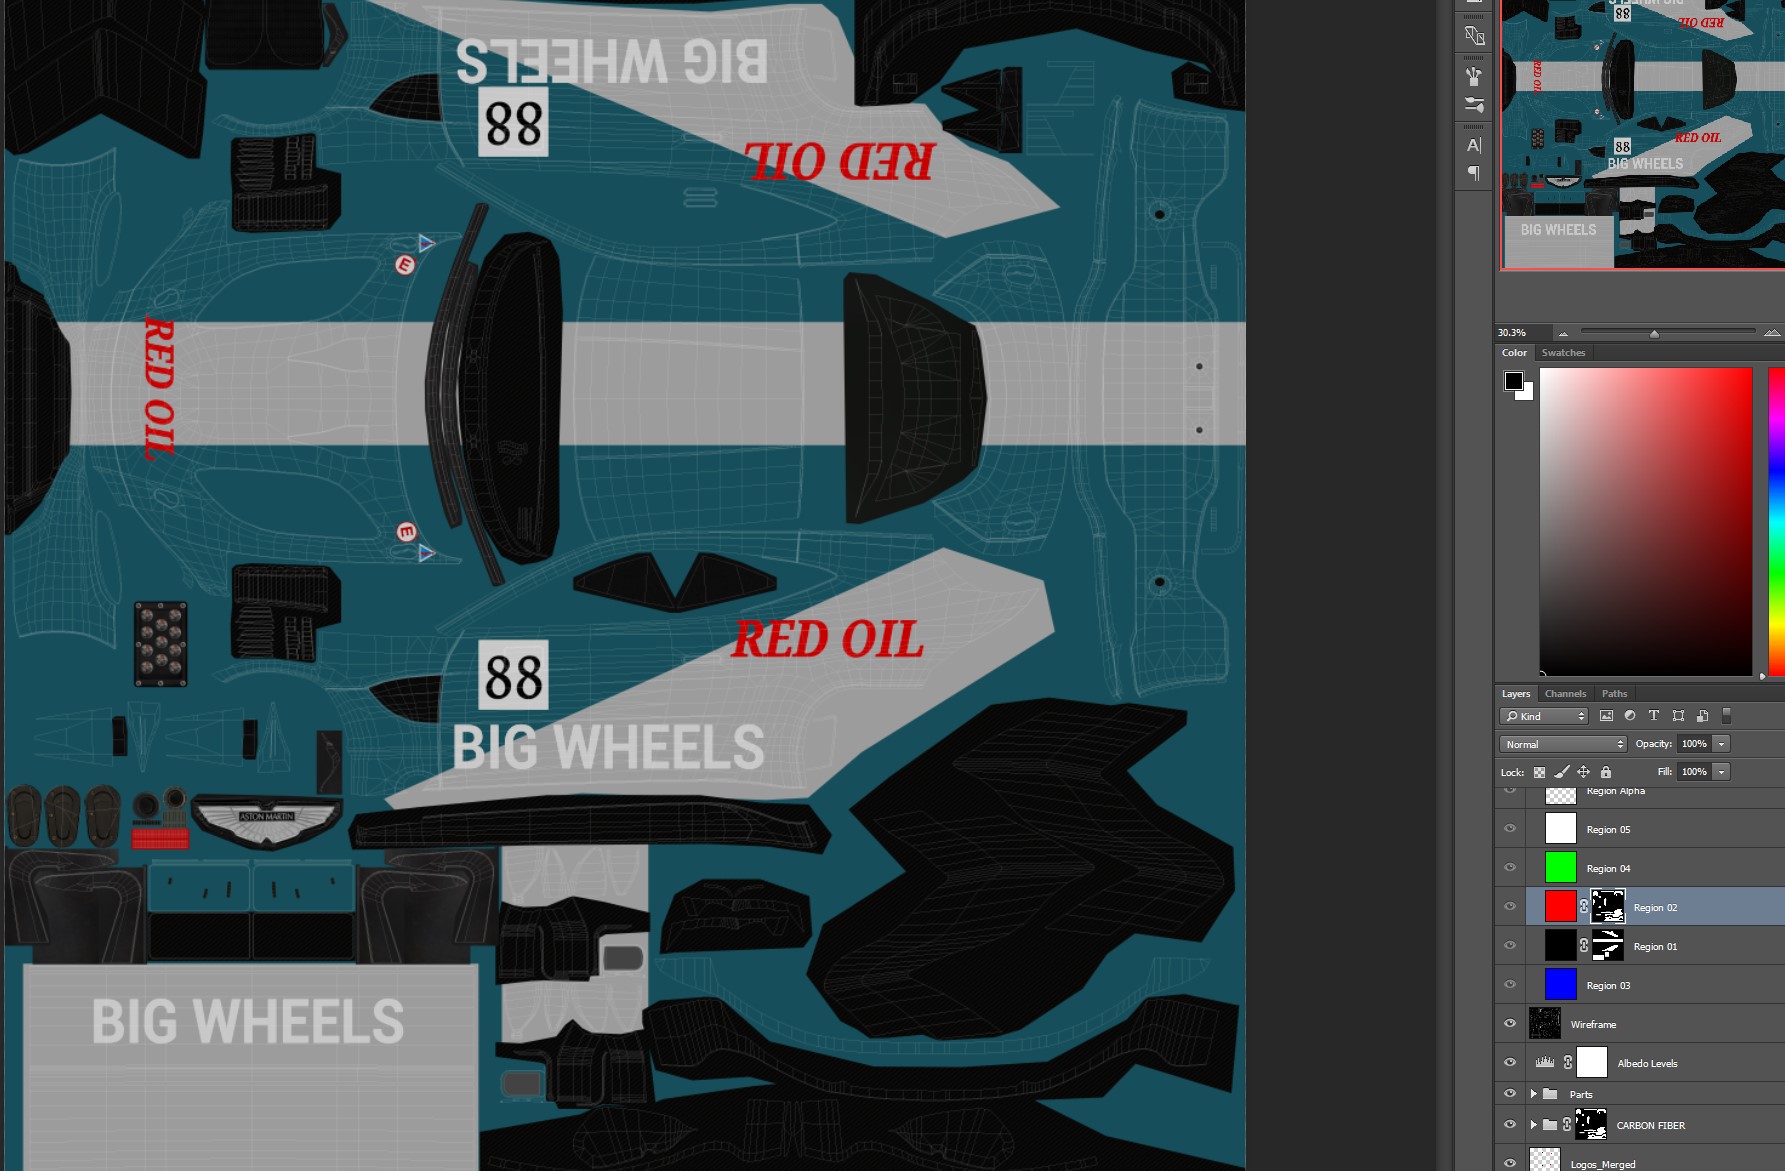
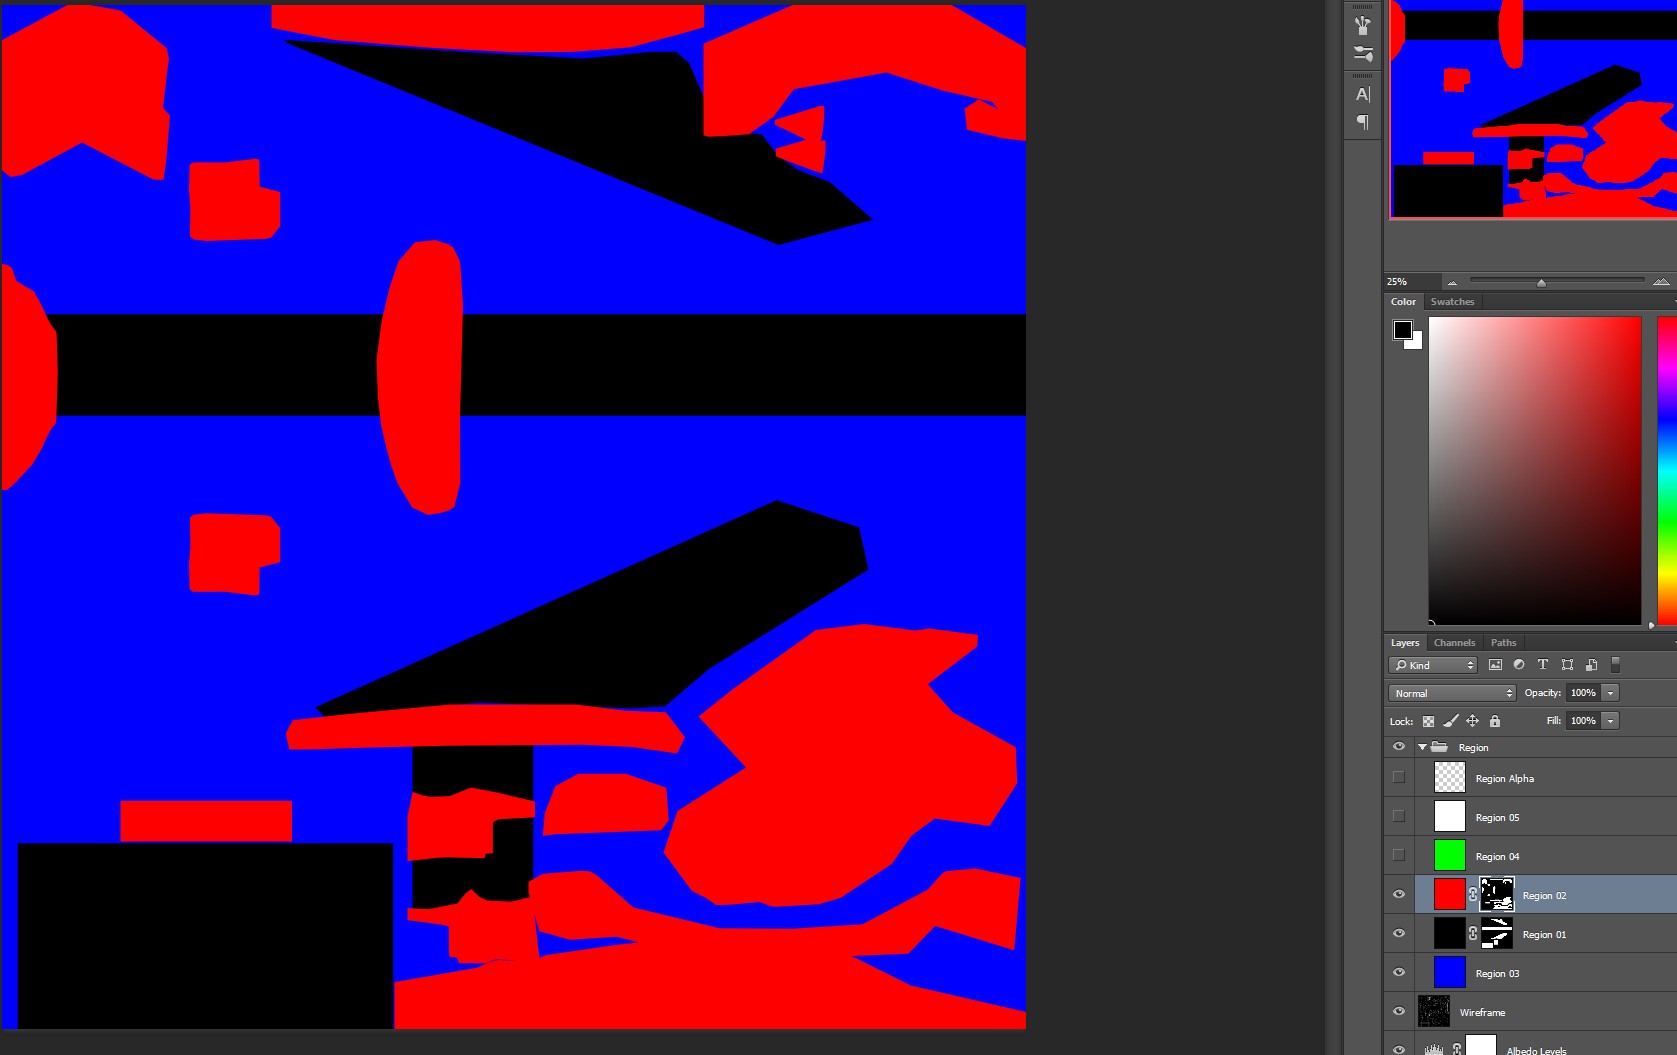
Now we can check how our Region Map it will look like. To do so, just make visible only the Region Layer Group :
- ctrl+click on Parts Various layer icon. You get a selection from carbon shapes
- Select Region 04 layer. (green)
- Click the Add layer mask button .
- The Region 04 layer has now a mask defining green areas matching the parts shapes.
- ctrl+click on Logos_merged layer icon. You get a selection from carbon shapes
- Select Region 05 layer. (white)
- Click the Add layer mask button .
- The Region 05 layer has now a mask defining white areas matching the logos shapes.
- Let's control by setting Region Layer Group visible again :
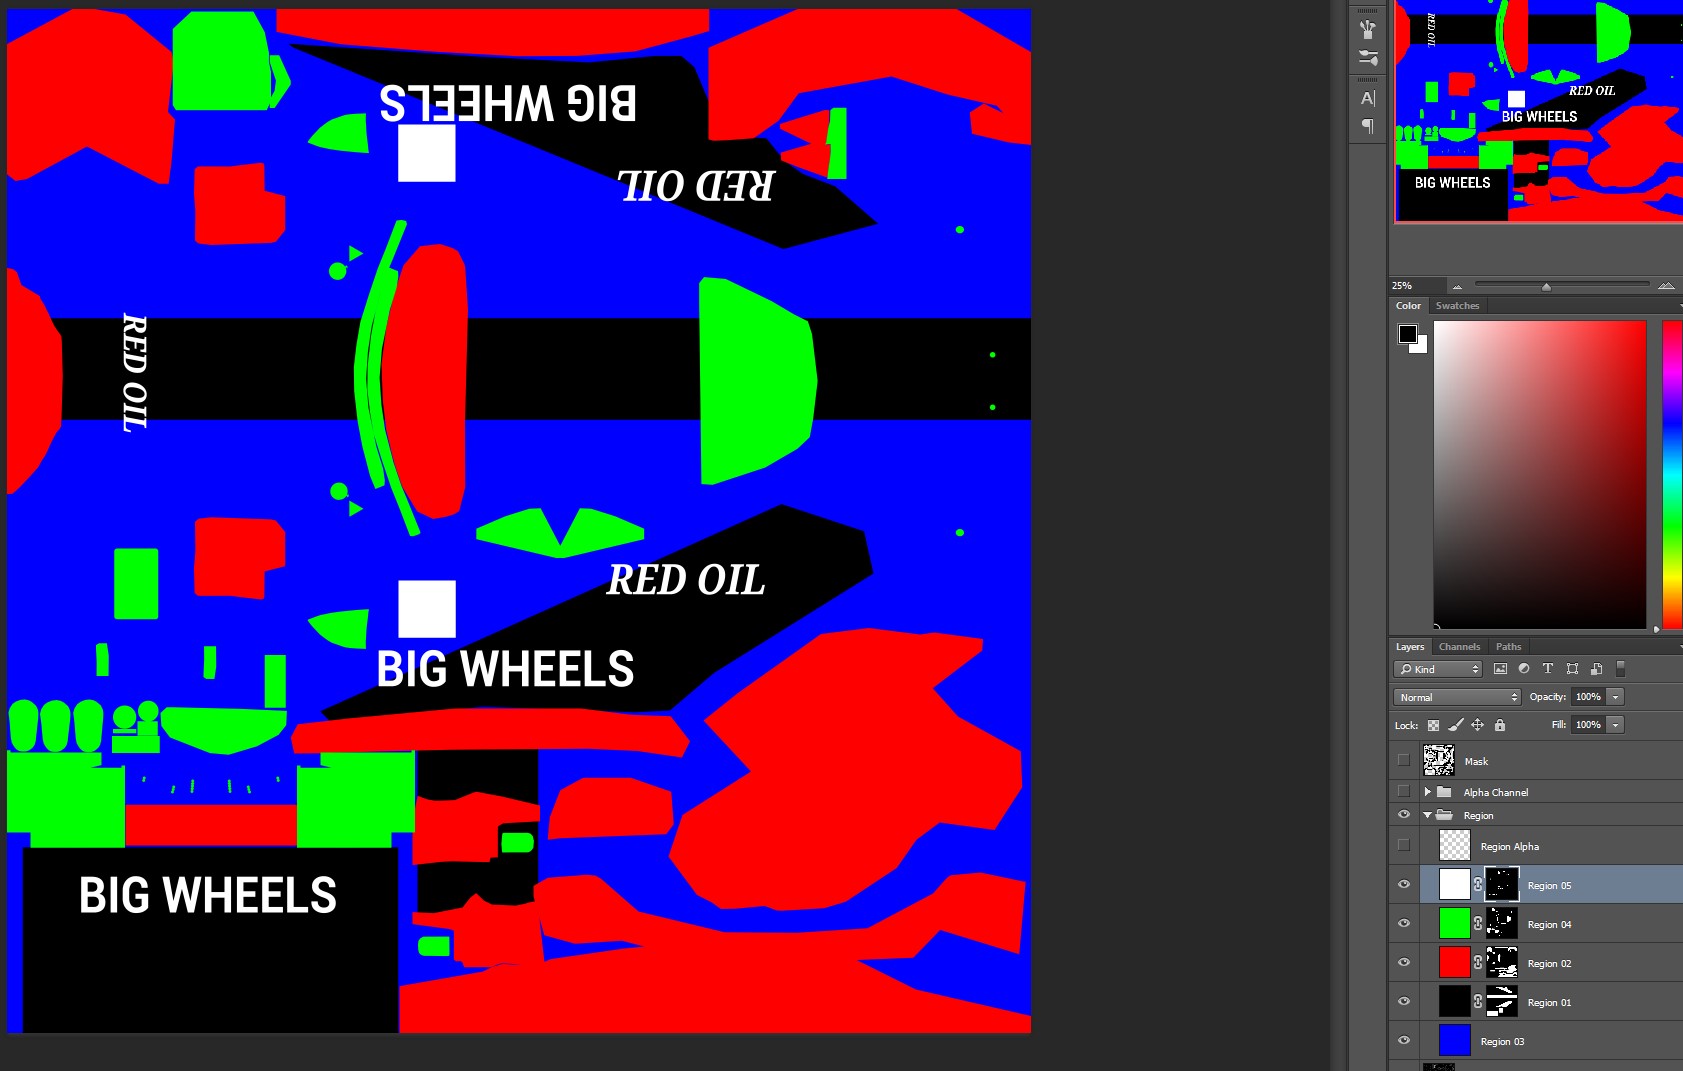
Our Region texture is ready to be exported.
If you have 1 to 5 regions, you can save it as YourSkinName_Region.dds, DXT1 no alpha file format.
If you have 6 regions, you need to copy the Alpha region in the PSD Alpha Channel, and then you need to save as DXT5 (Interpolated Alpha). BE SURE you are saving that specific Alpha Channel, instead the main Spec Map containing the Carbon Fiber bits, as we've set above.
Part 3 : Loading a Livery in the Showroom and Assigning Materials
Now that you've created your livery and exported both alt_skinname.dds > alt_skinname_Region.dds, the next step is to assign materials to the regions.
Important:
- Make sure you always have alt__ in from of your DDS files
- *Make sure the file name does not exceed 12 characters!!! {*}(example: alt_myfaveskinthateverwas.dds will not work!)
Before we get started let's take a quick look at what the regions would look like visually on your car.
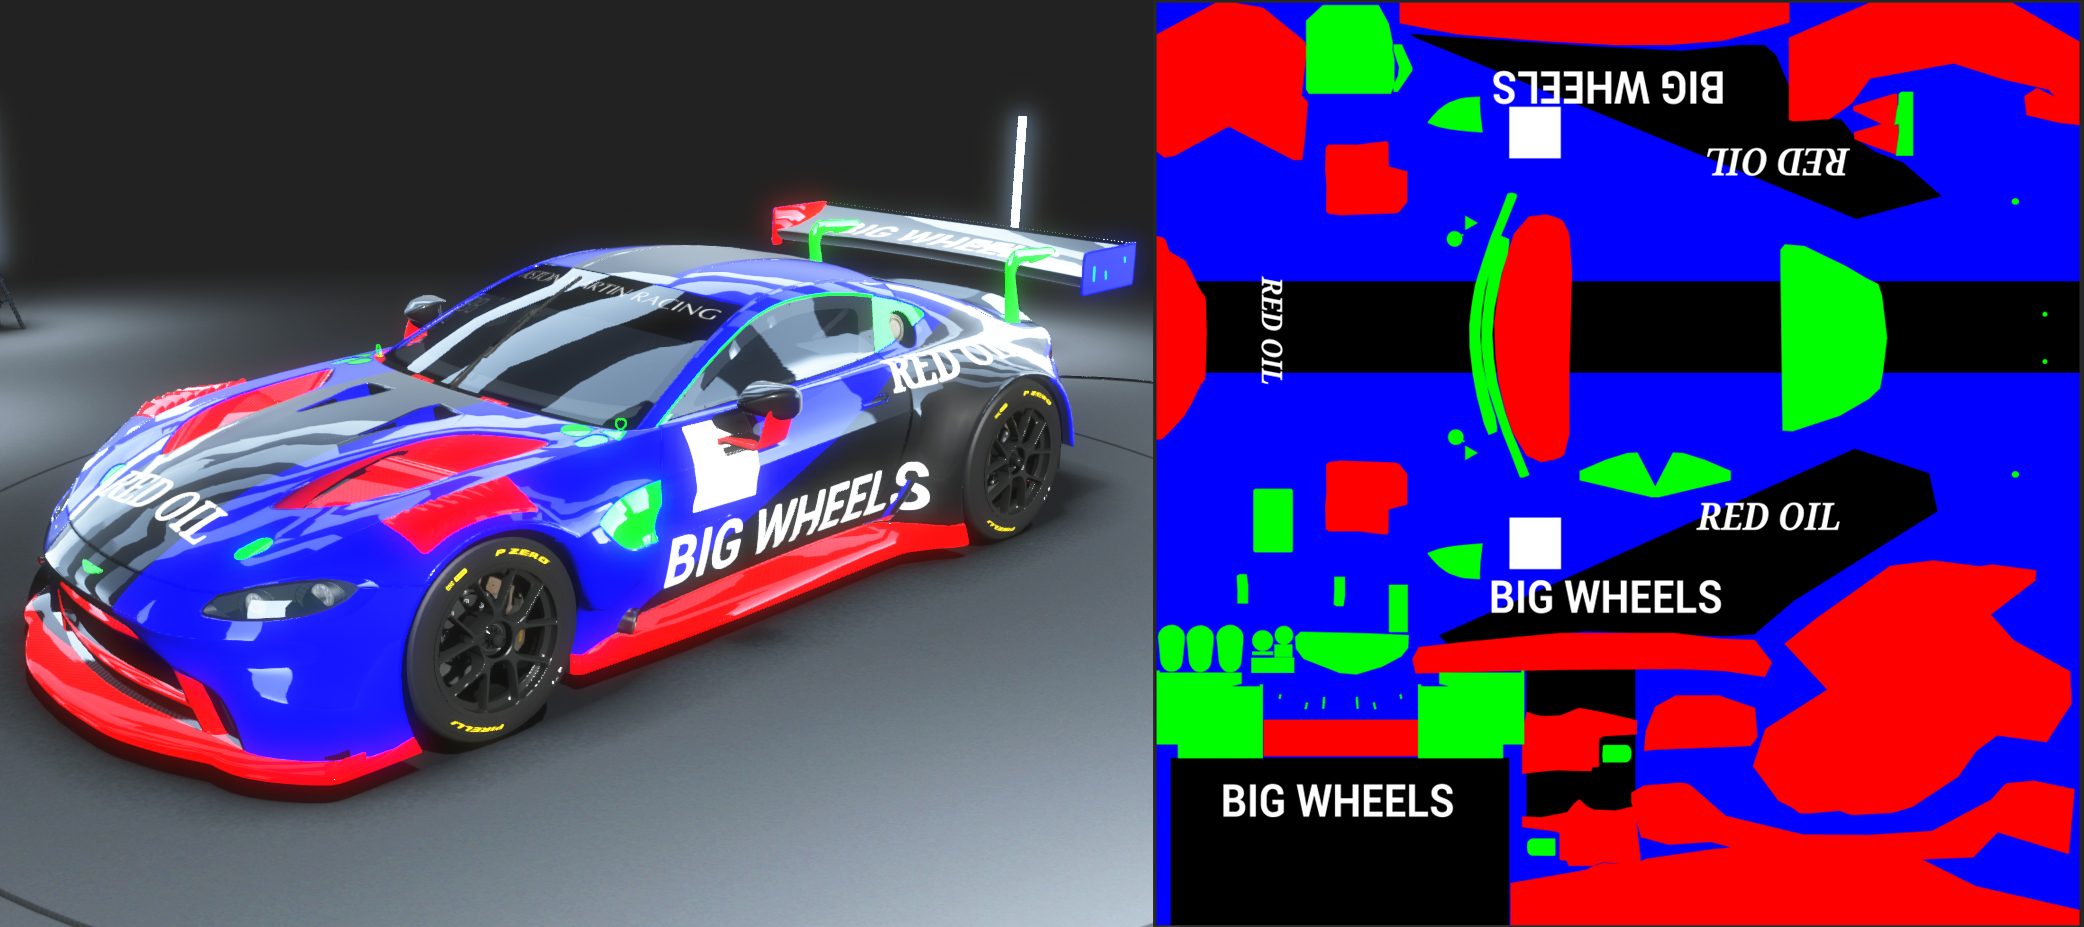
Note: You will never see your car like this, this is just to give you an idea of where the regions are mapped.
So let's get going!
By following these next steps you will get a real-time visual reference of your skin material in game.
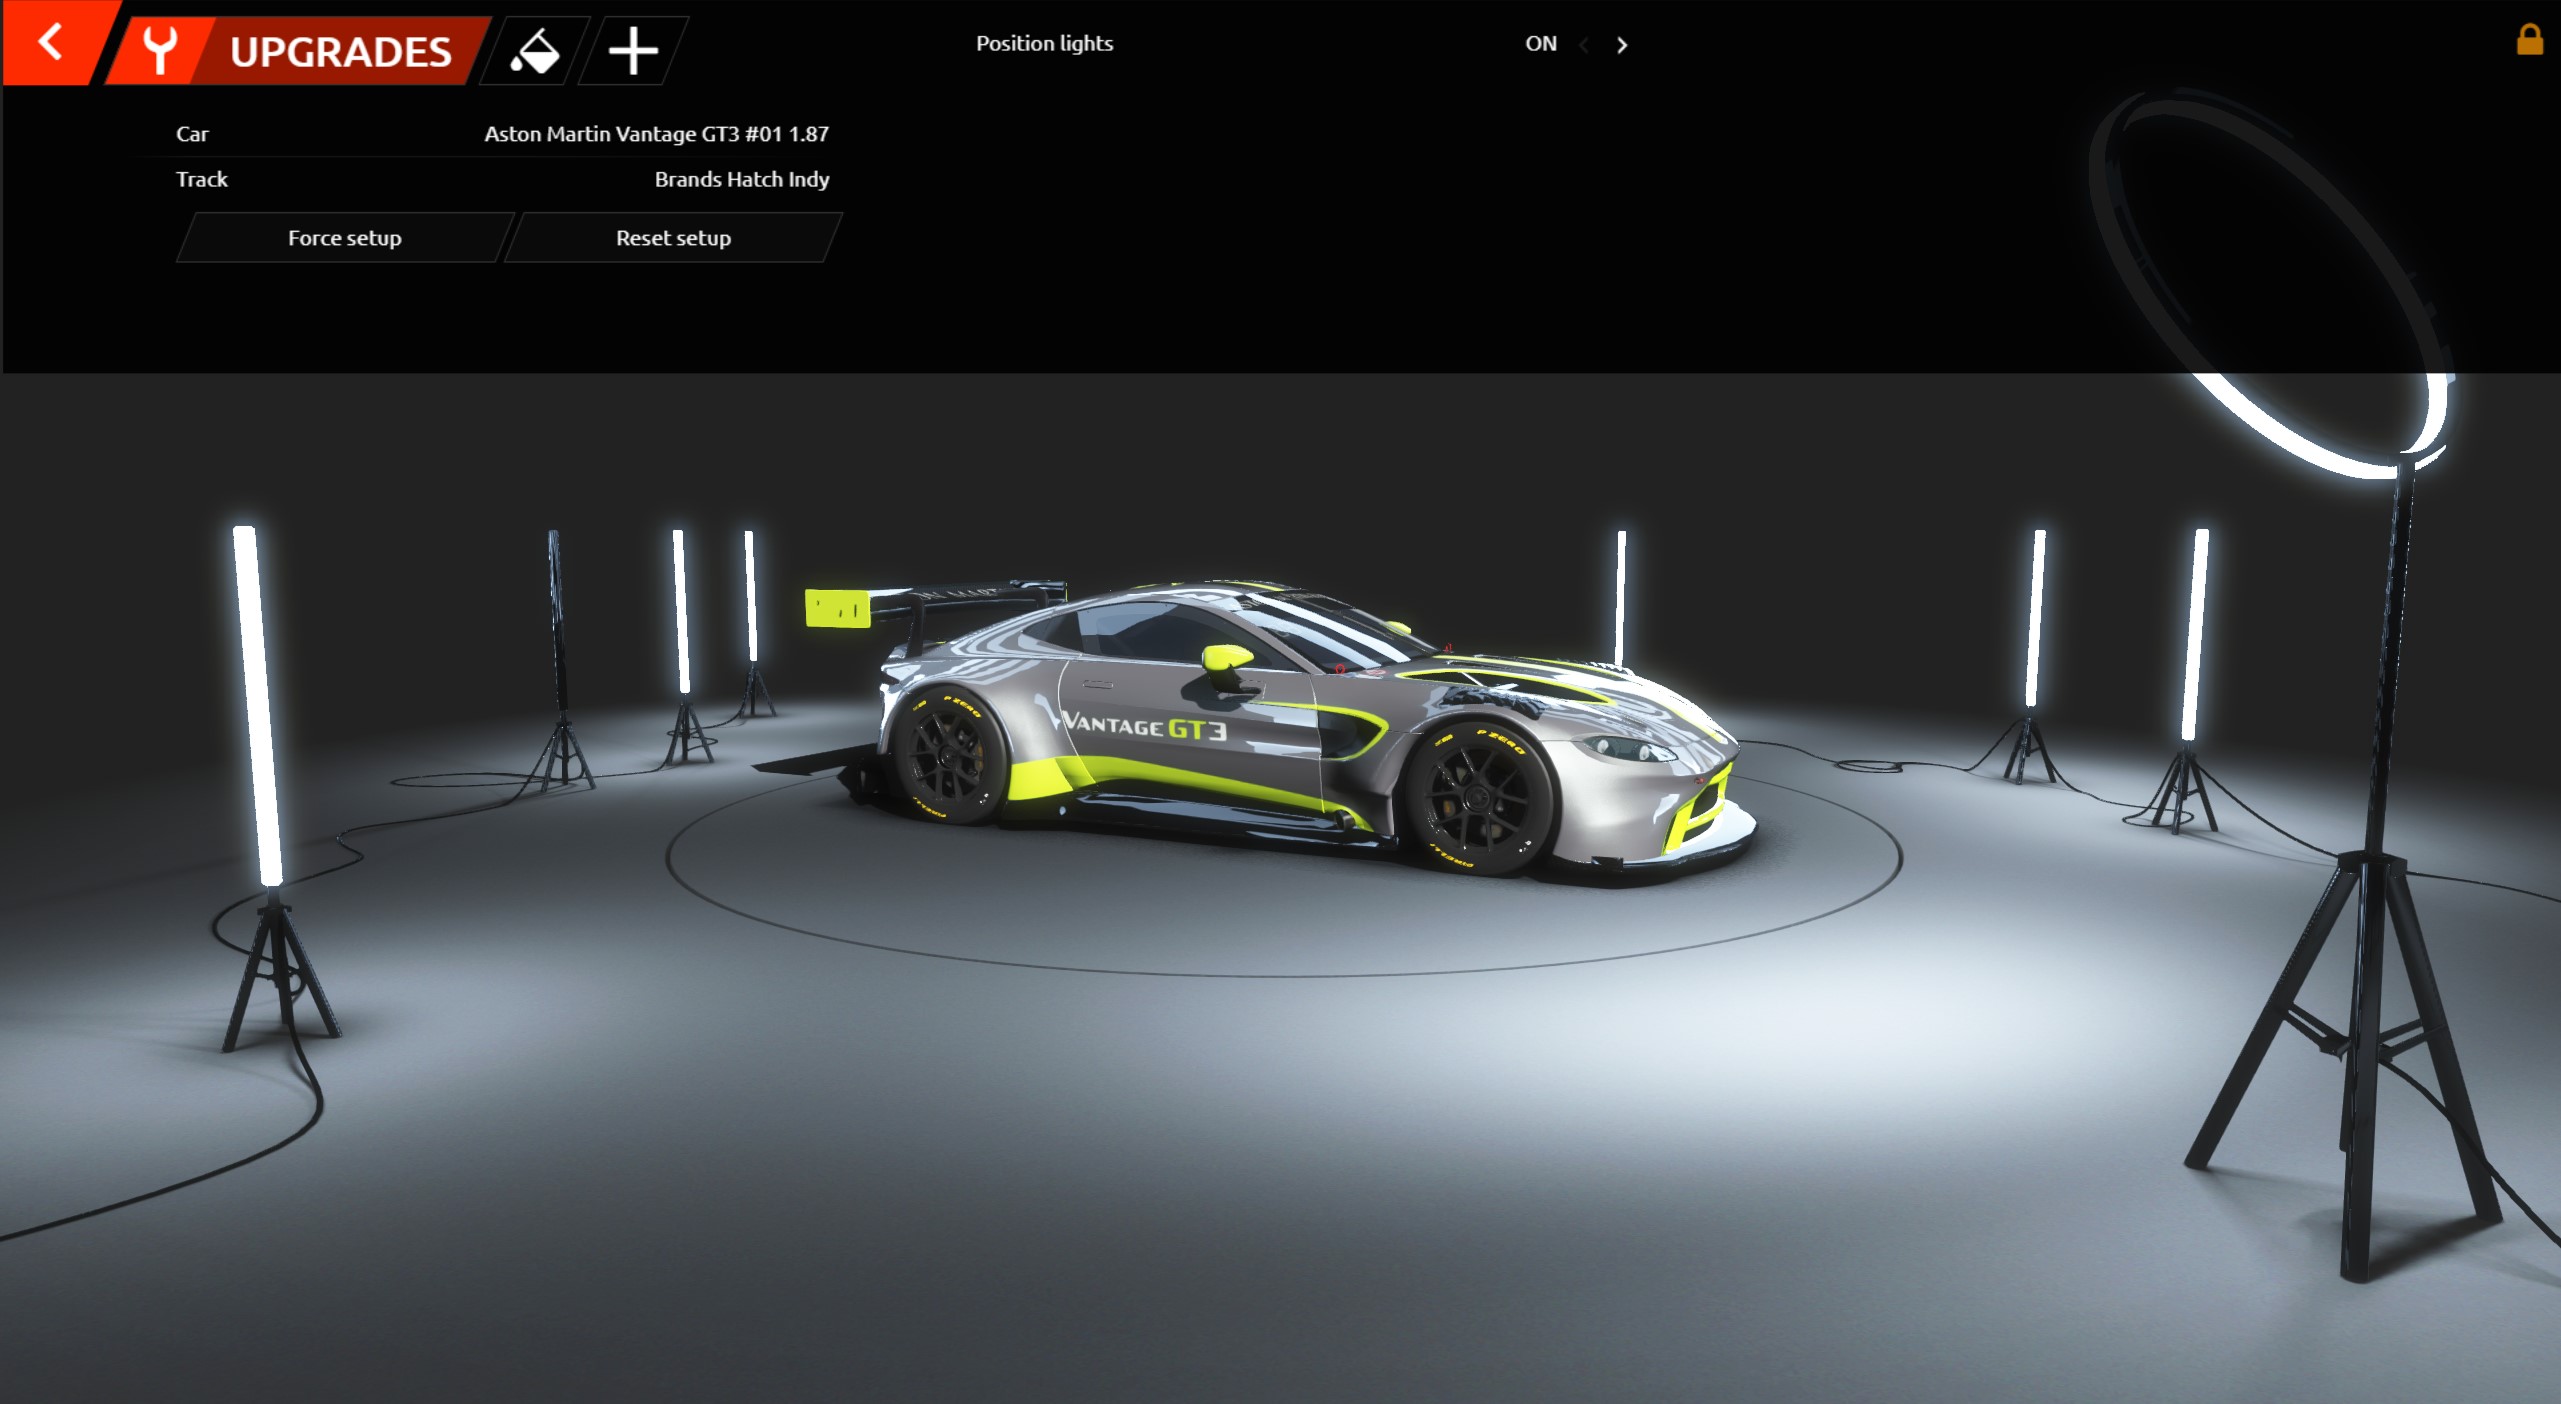
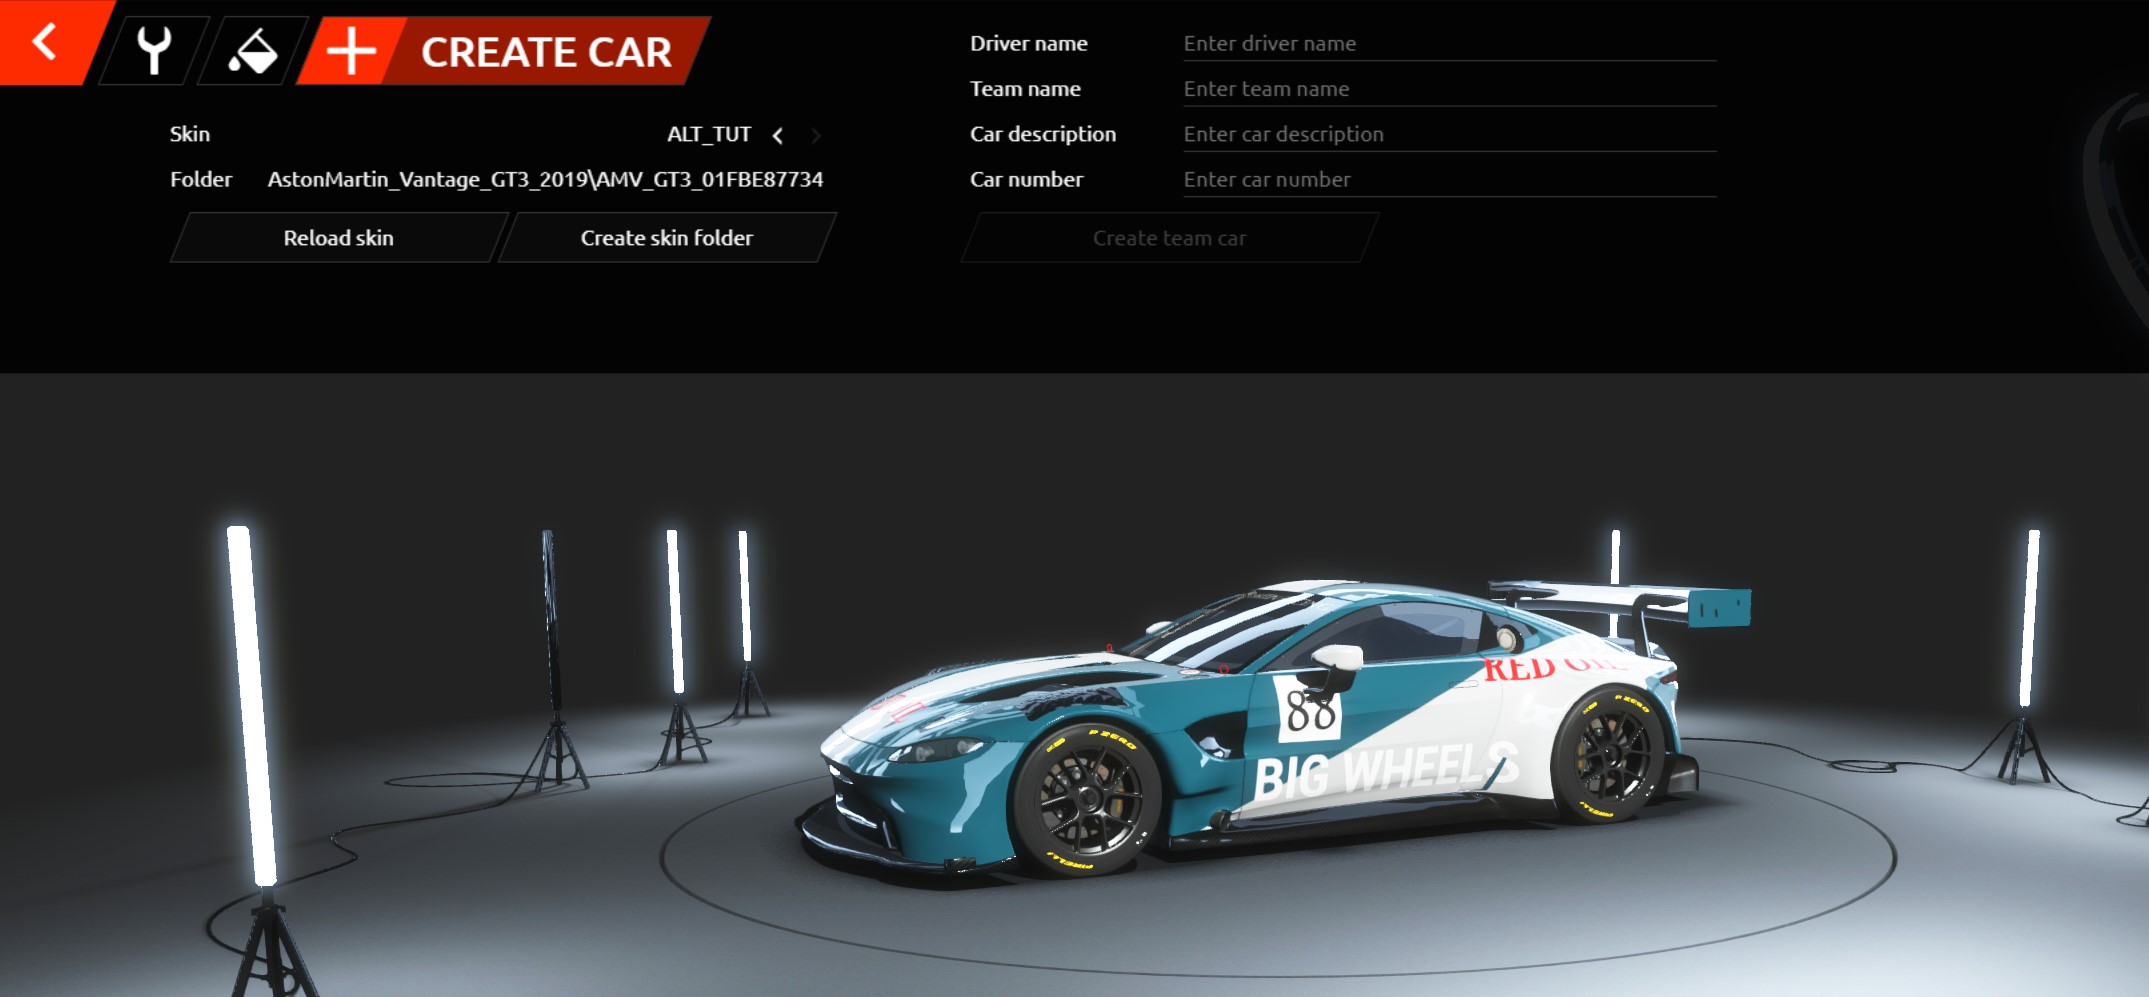
First open rFactor2 and select the car you've created a skin for, then select the first car in the list.
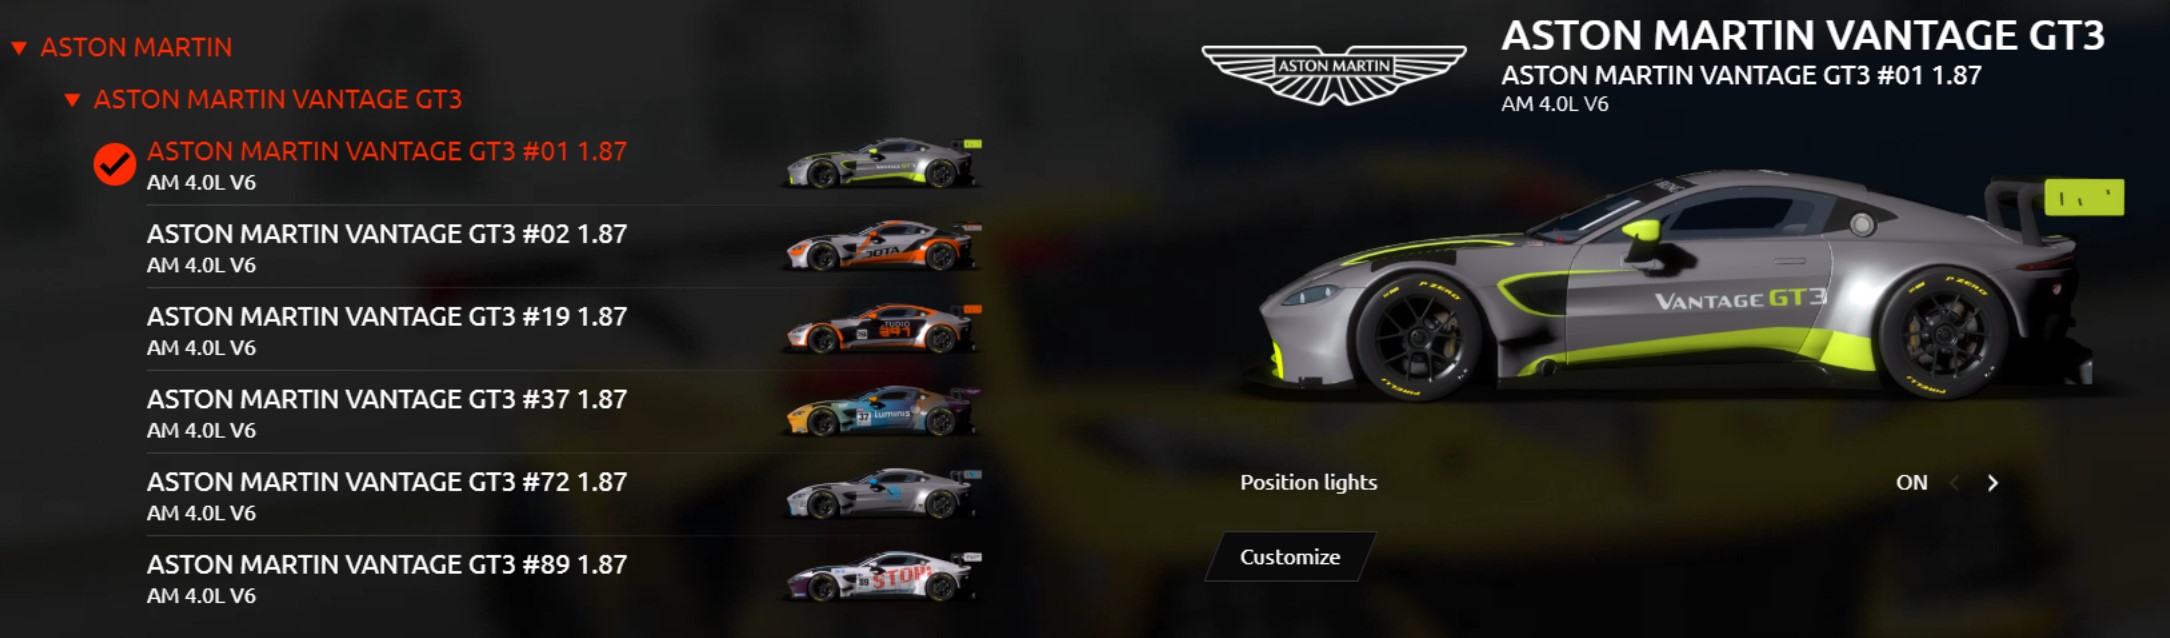
Load the car by clicking on 'Customize'
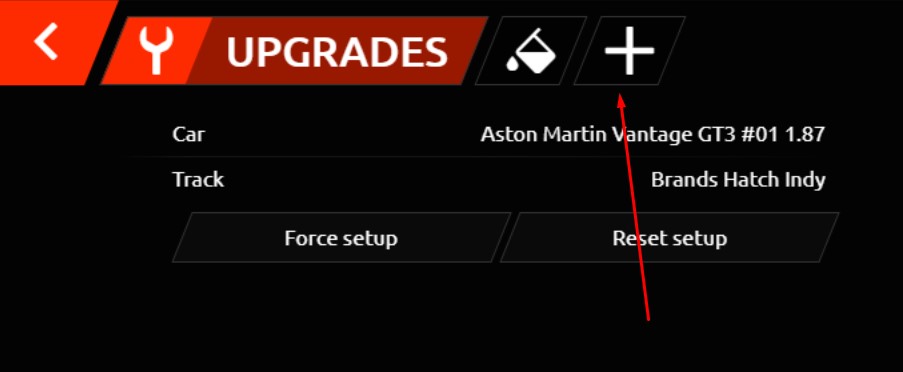
Once the car is loaded click the + icon
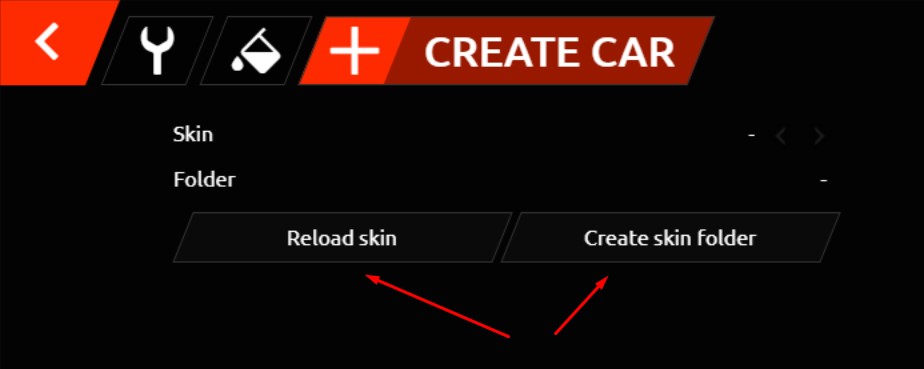
Next, click the 'Create Skin Folder' button, then press the 'Reload Skin' button
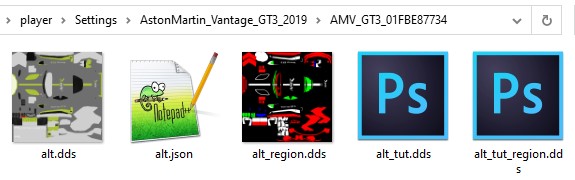
Now you will need to ALT-TAB to your desktop and go the folder:
....\Steam\steamapps\common\rFactor 2\UserData\player\Settings\AstonMartin_Vantage_GT3_2019\AMV_GT3_01XXXX
Save your files into that folder, use the names below, or something similar. The region file must always be saved as _region!
- alt_AMV_region.dds
- alt_AMV.dds
Now ALT-TAB back to rFactor 2 Showroom
Toggle VARIANTS arrow > and select your skin name (ALT_TUT in this example), you may need to press the reload skin button
Now we need to fill in our team details:
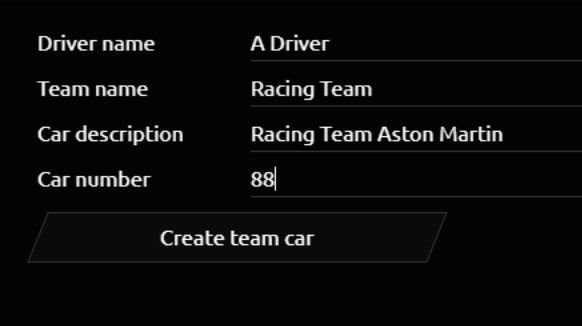
- IMPORTANT: In the 'description' field fill in the <Name of the car> <class>...example Aston Martin Vantage GT3 <car number>)
- DO NOT fill in your 'team name' in 'Description'
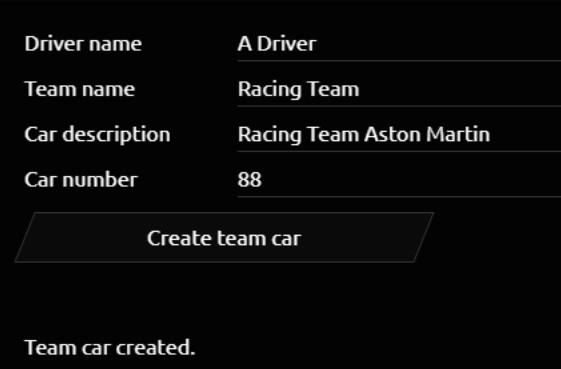
Press 'Create Team Car', and you'll get a confirmation it was created:
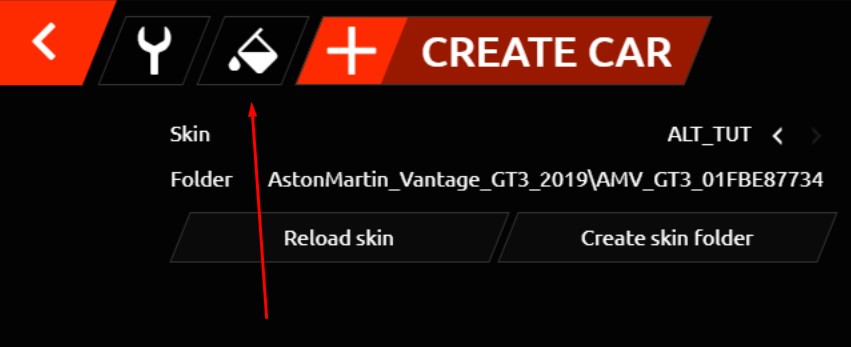
Now click the paint bucket icon:
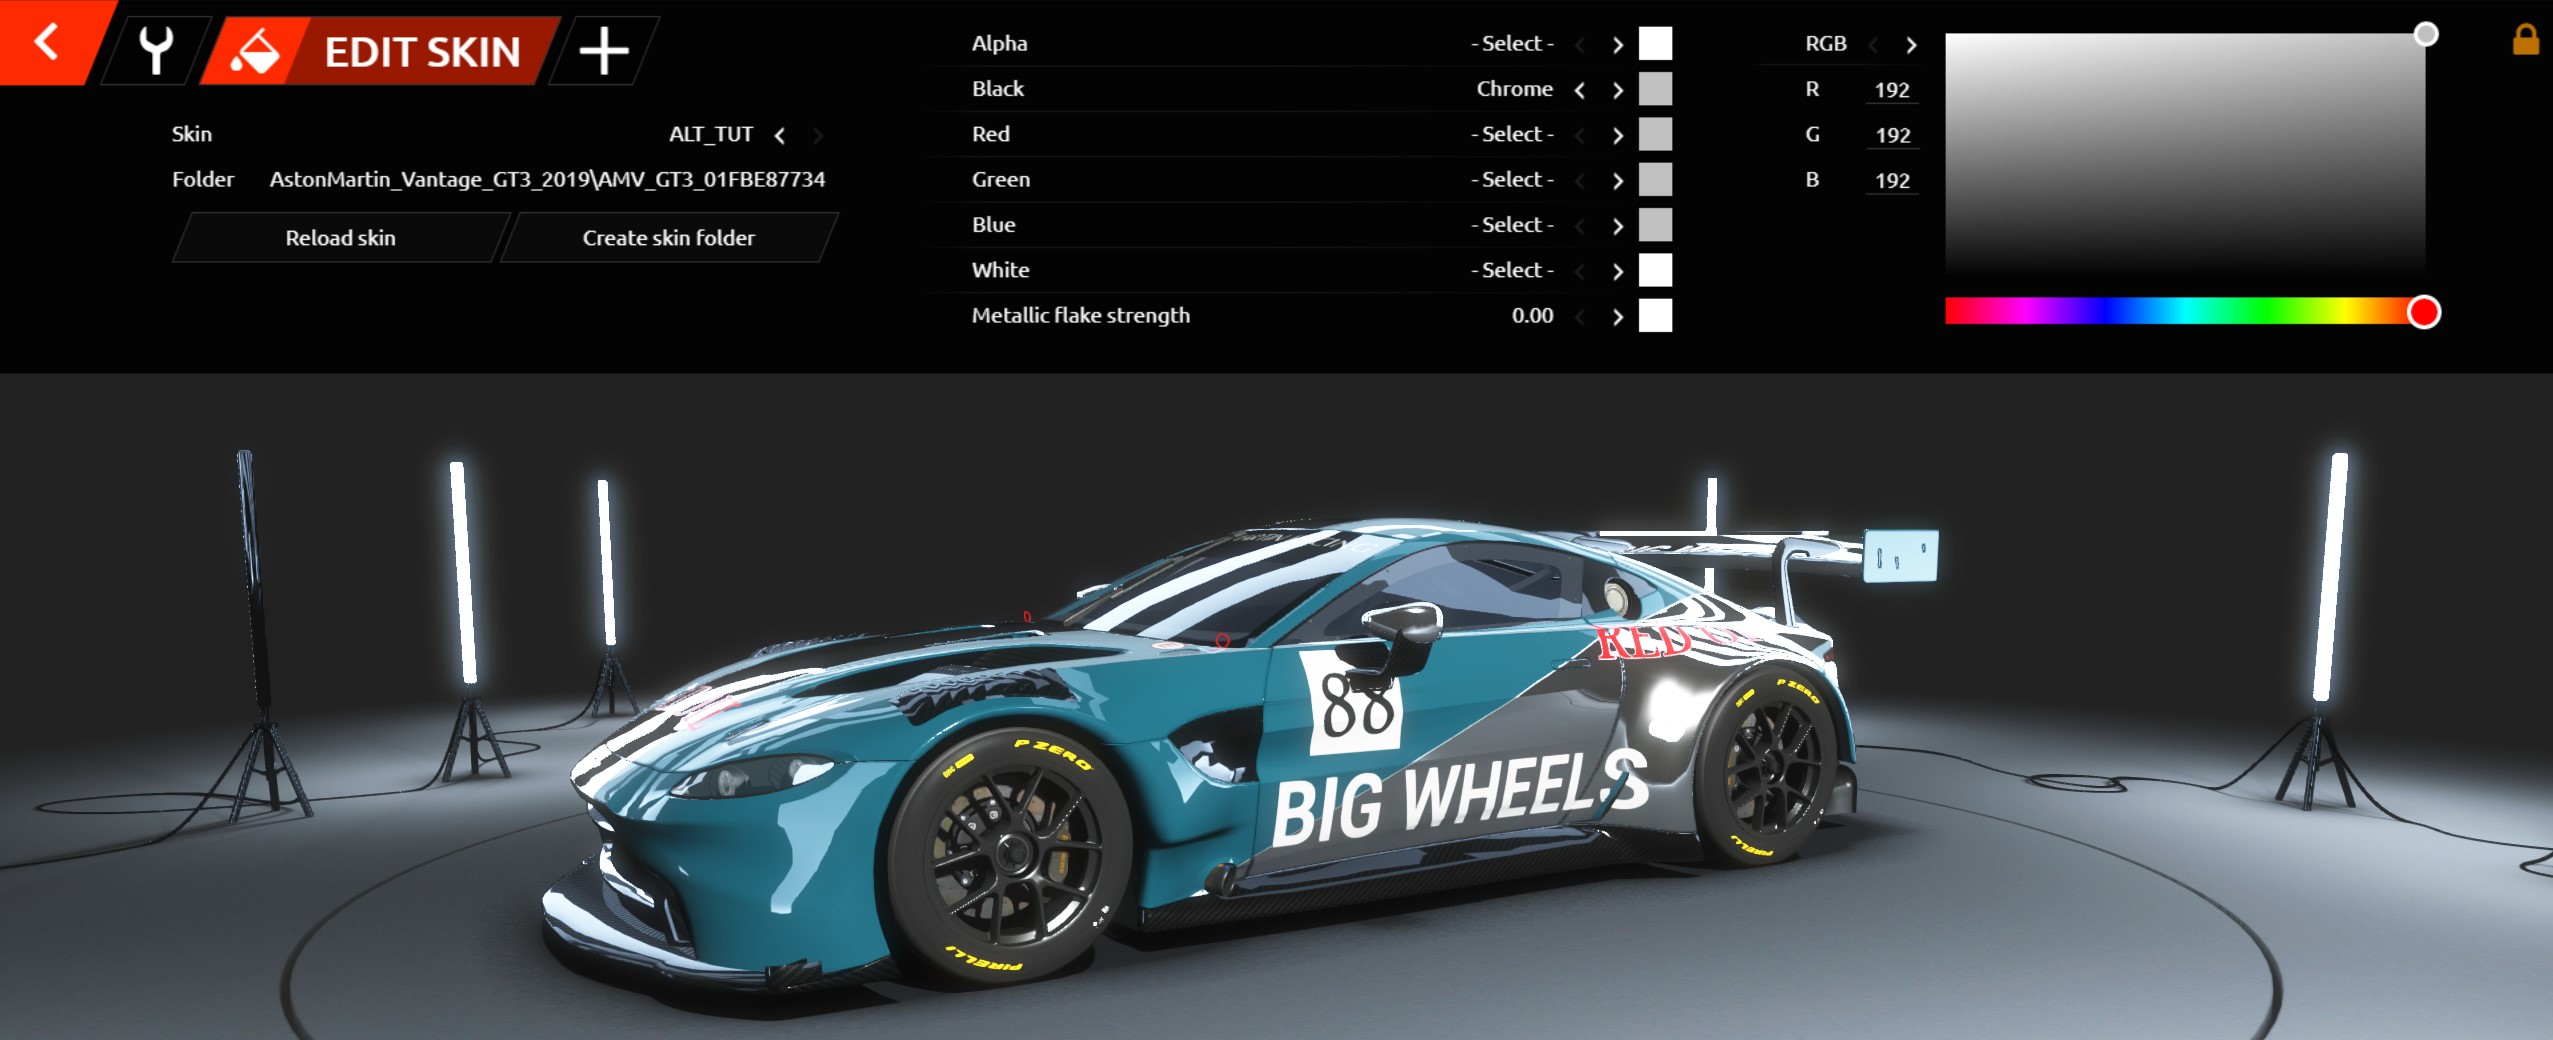
Let's start with the Black region:
BEFORE

Click the right arrow and select Chrome:
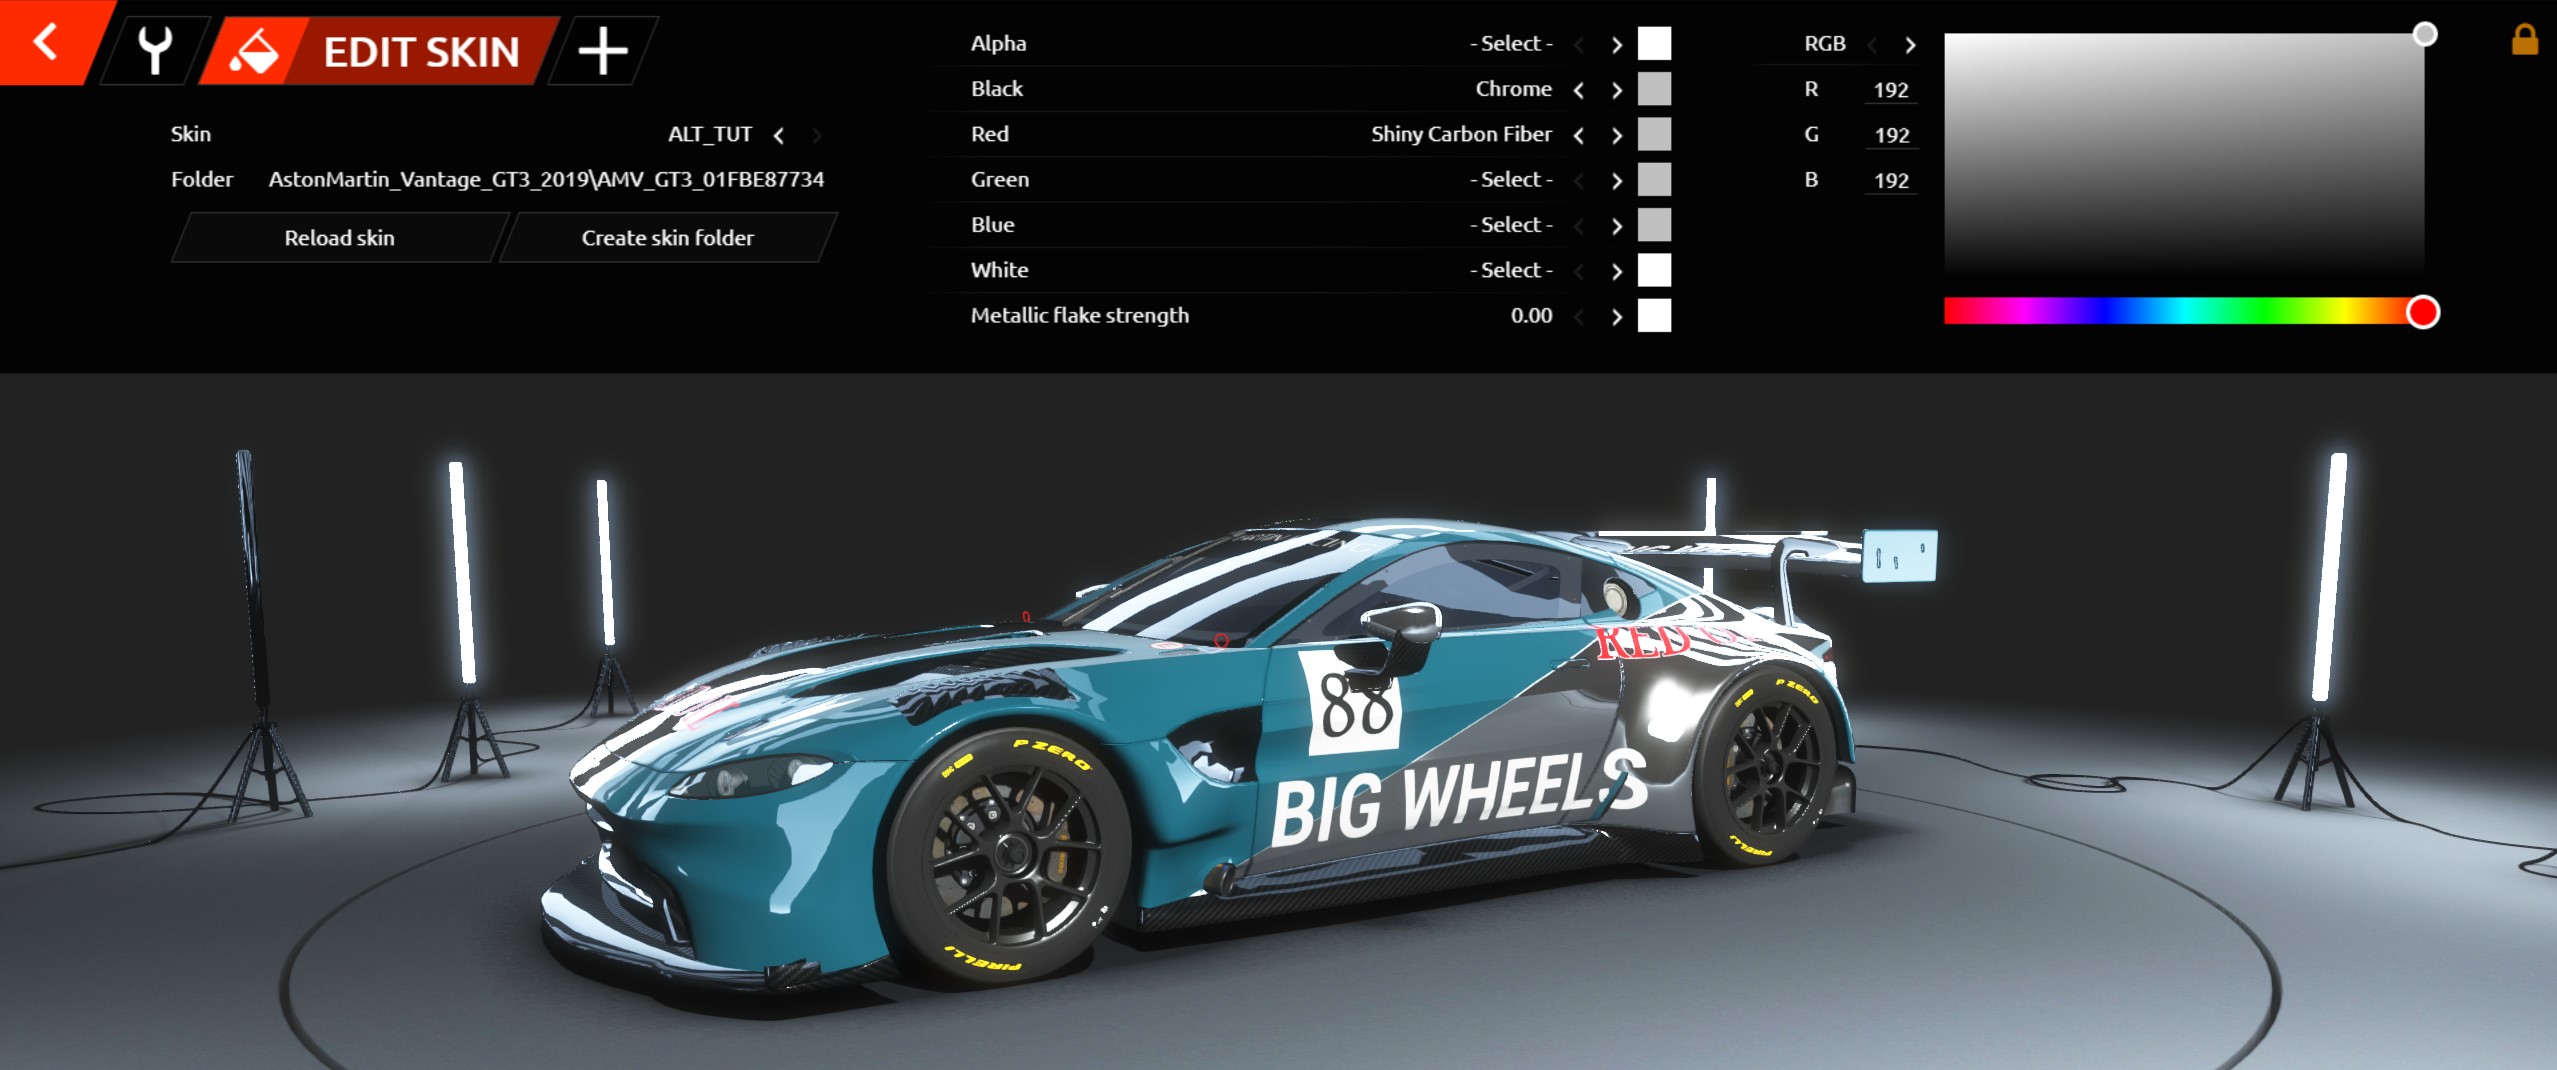
Next let's set up the RED region, choose Shiny Carbon Fibre:
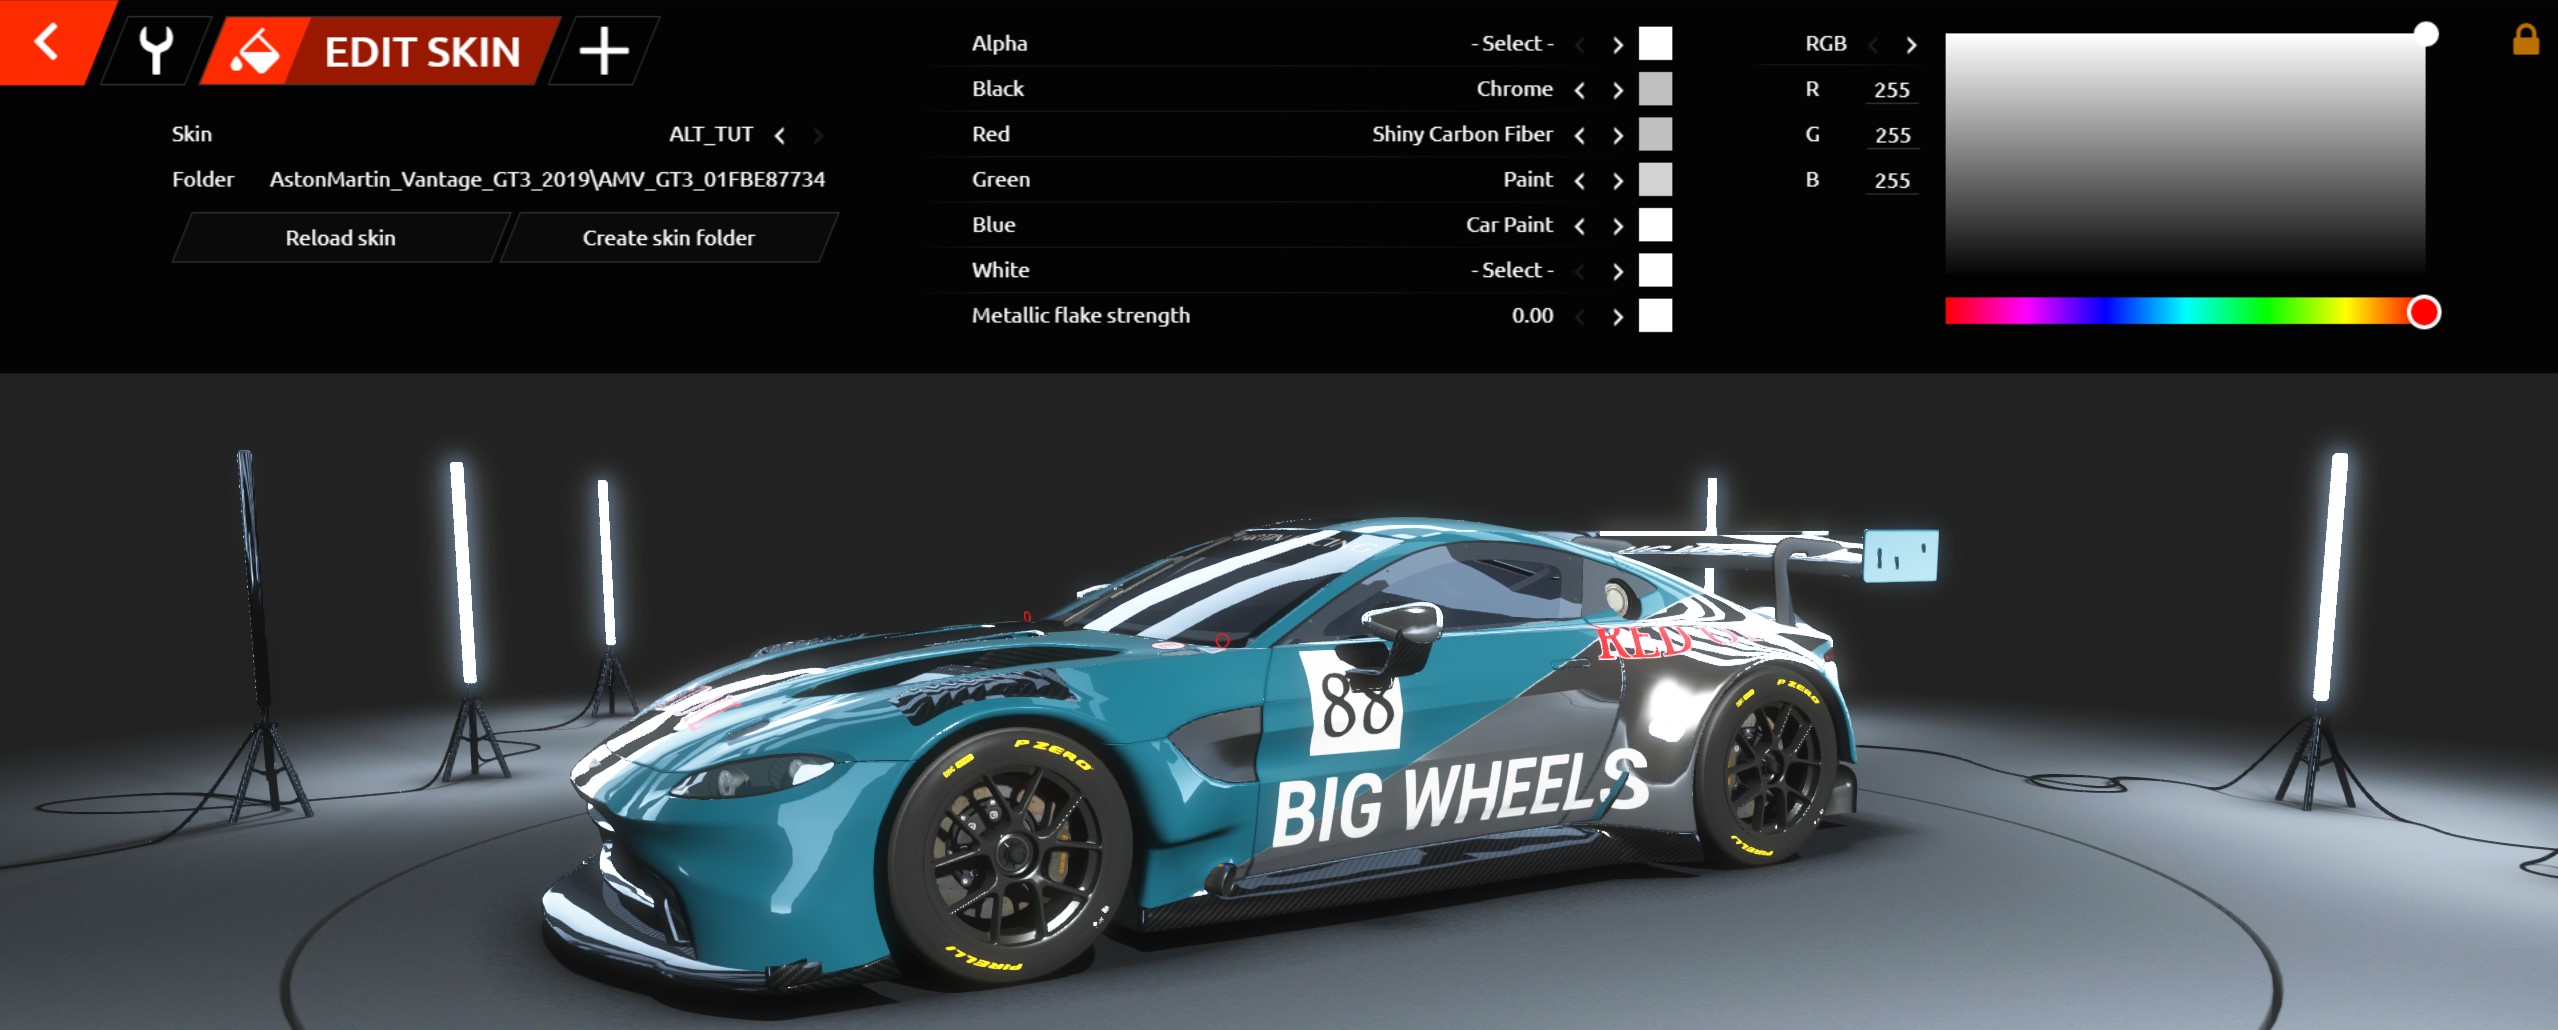
Now for the GREEN Region, select paint:

And now for the main car body paint we need to set up the BLUE region. Select Car Paint from the drop-down:
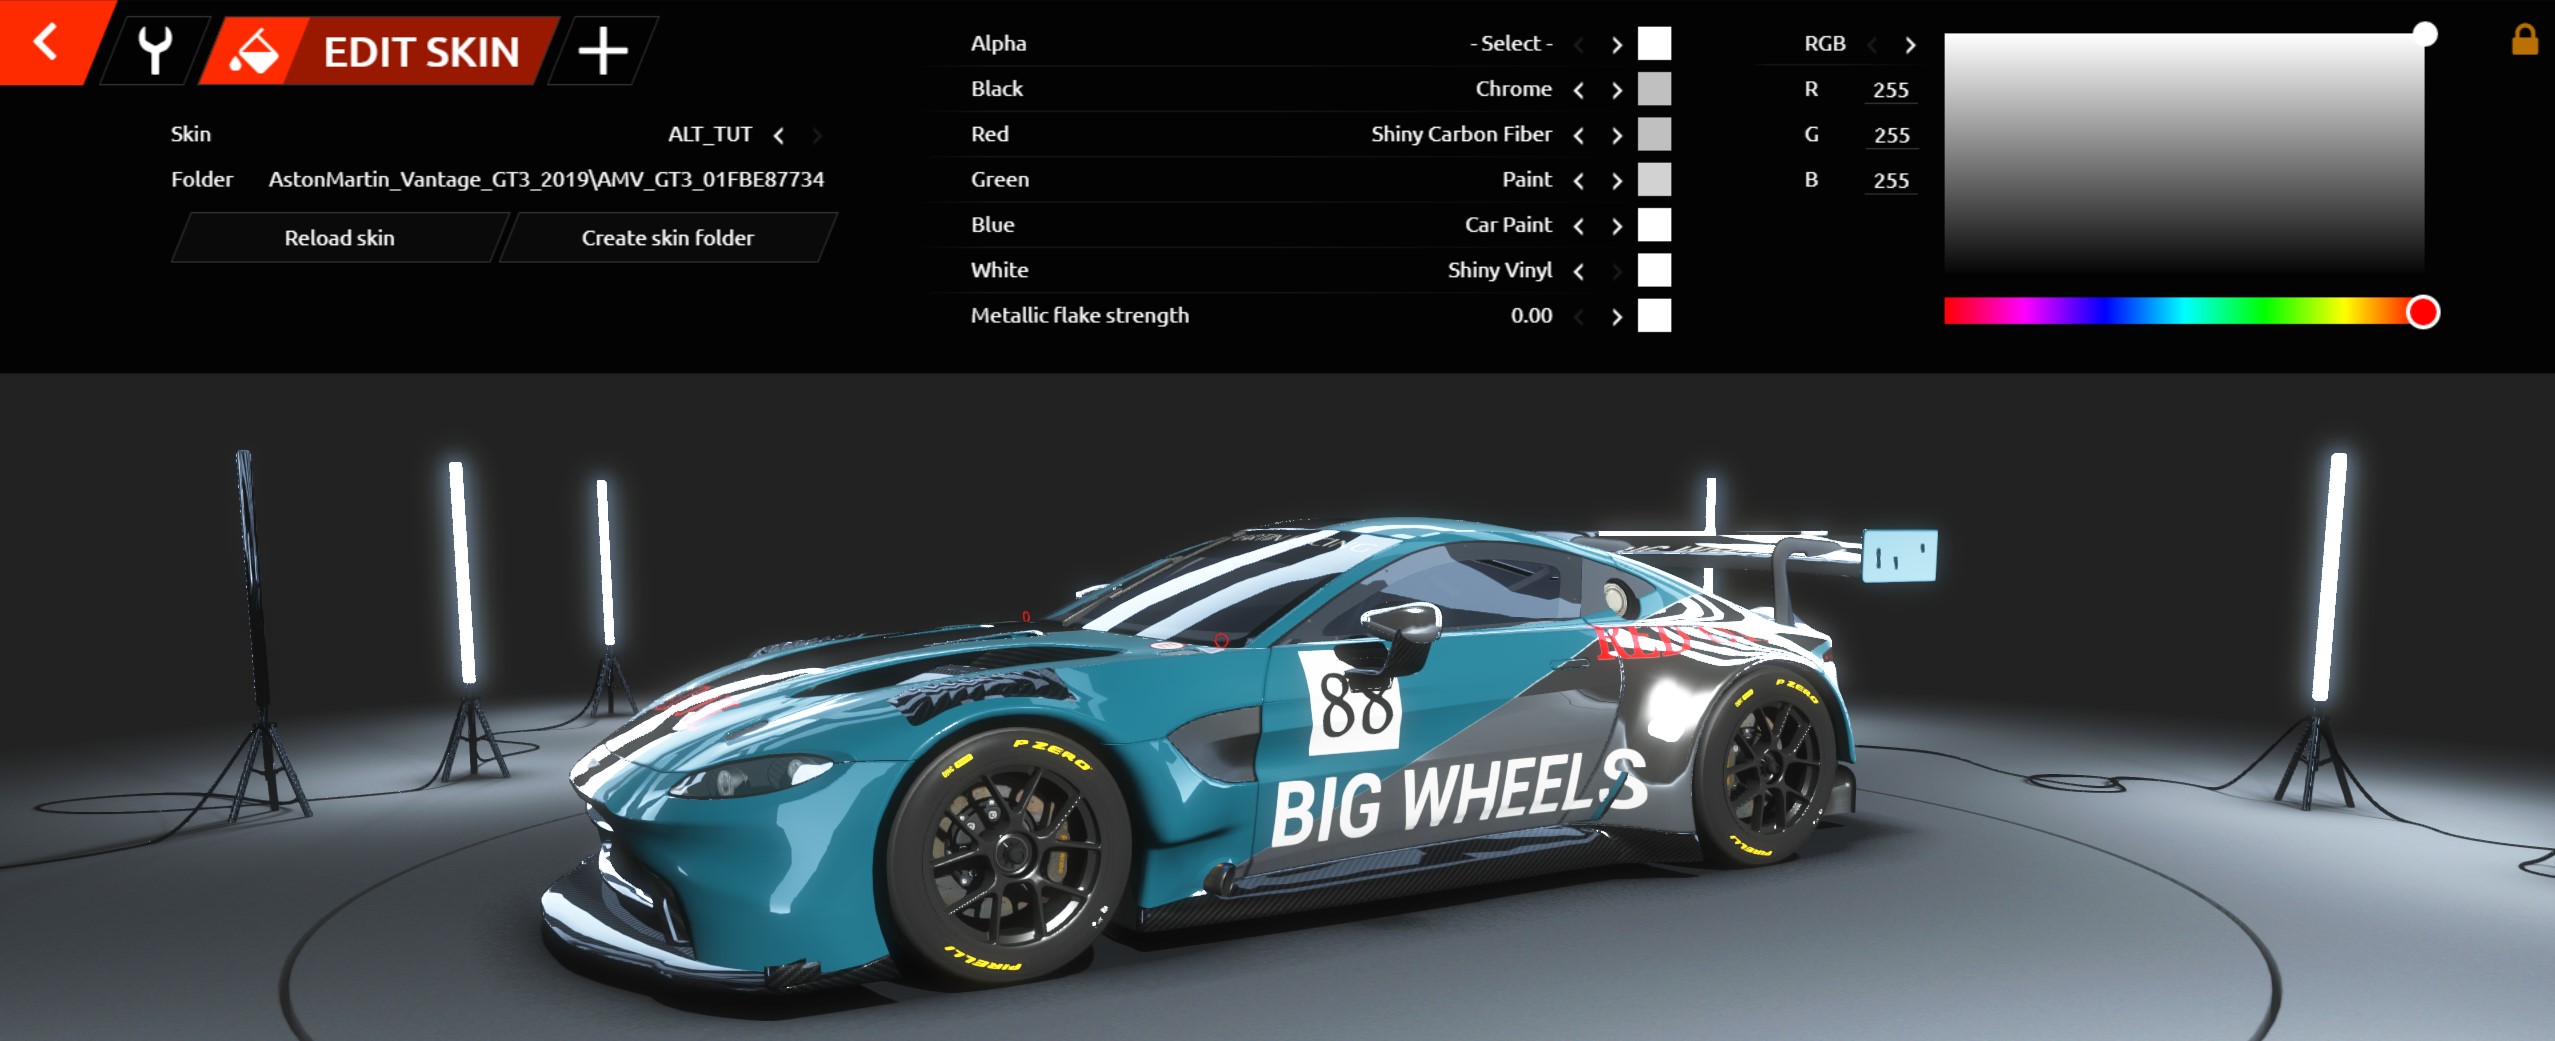
Last let's look at the WHITE region the large stripe on the middle of the car. Note that here you won't see a huge change in the showroom, but it's important that stickers and decals on the car are set up properly as 'vinyl'. Select Shiny Vinyl from the drop-down:
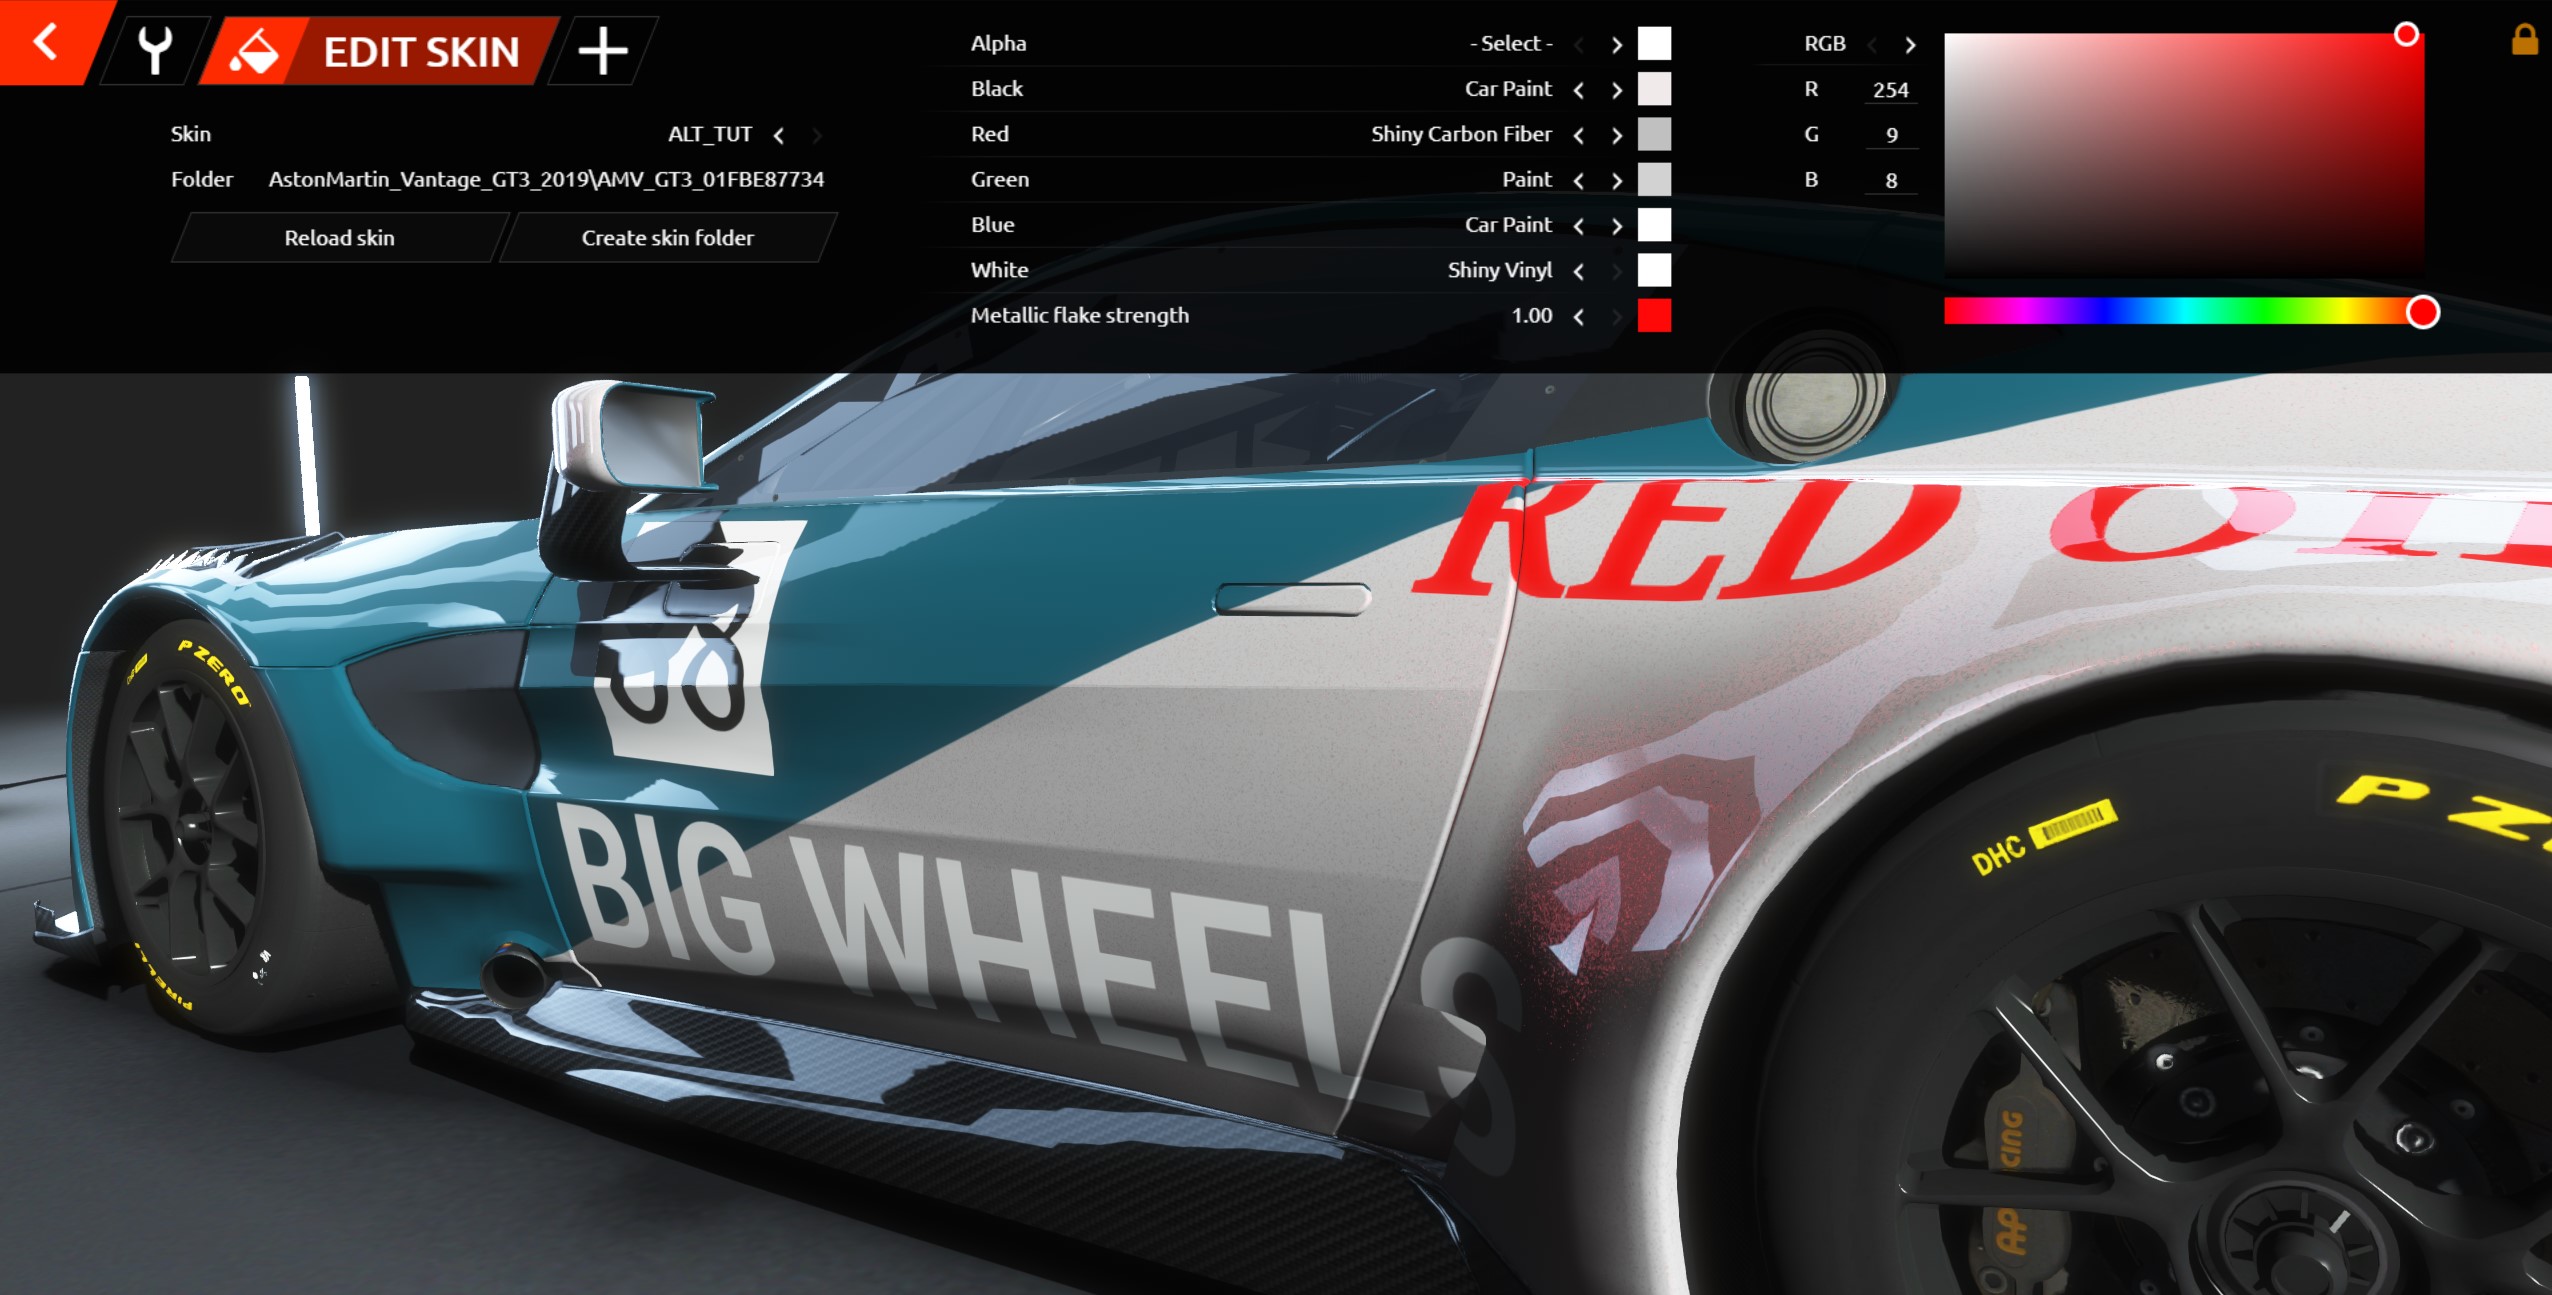
So now we have applied all materials, let's have a last look at how metallic flakes can be added and edited. We will use the Black channel to illustrate. First switch the Black to 'Car Paint'. Click the white box beside 'Metal Flake Strength'. Now you can use the colour palette on the right to change the colour.
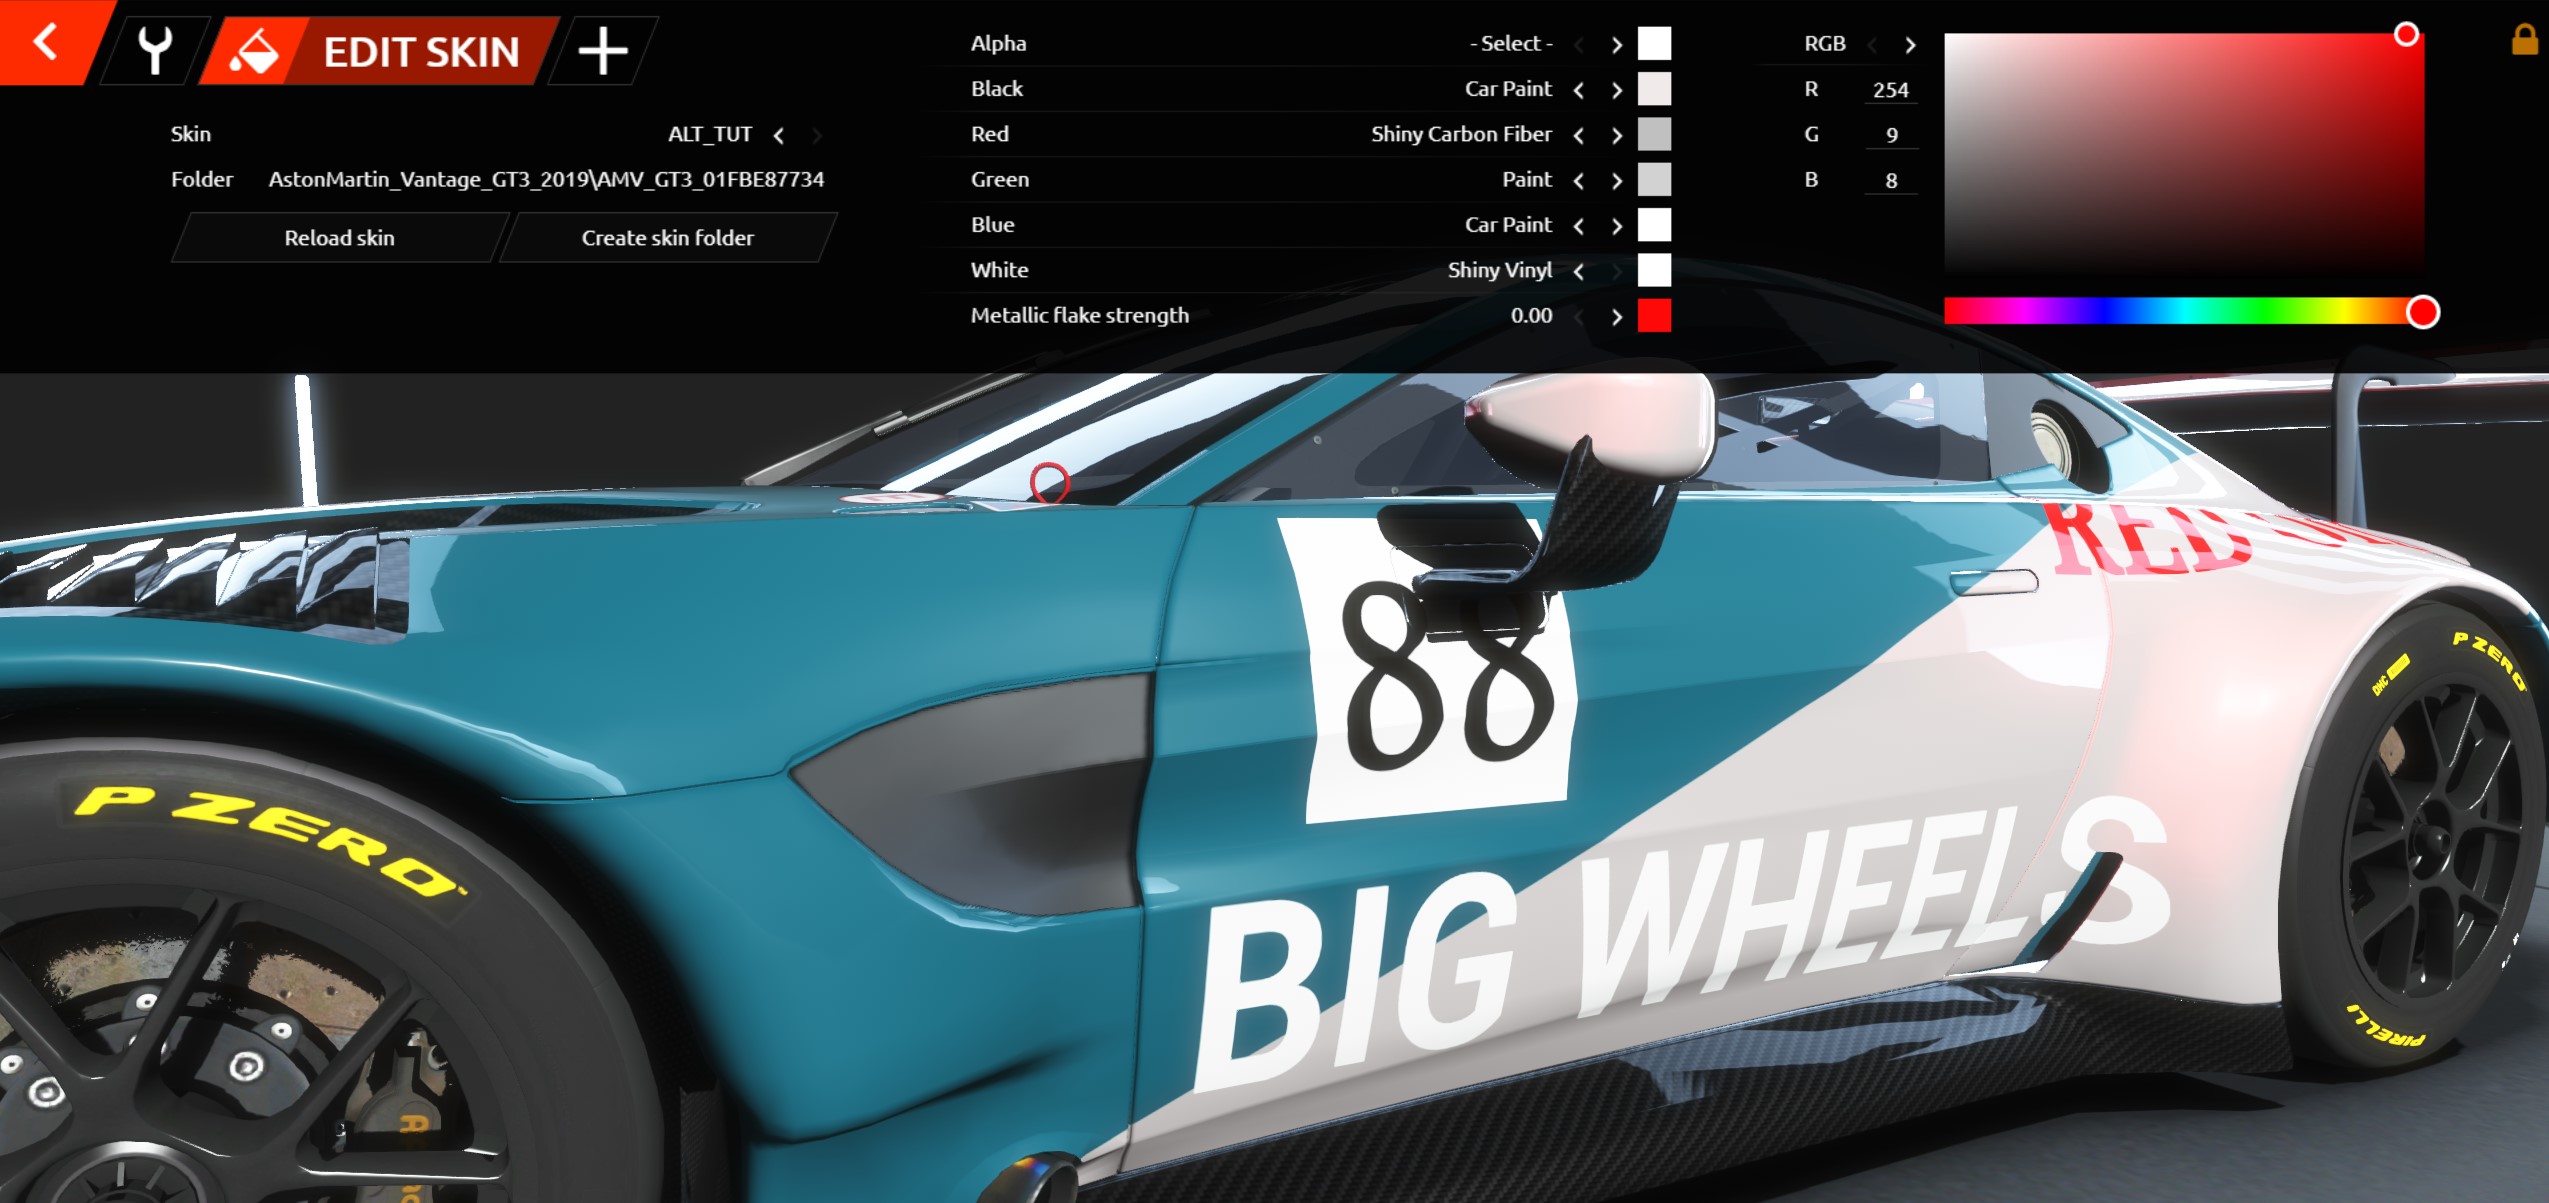
Try changing the Metallic Flake Strength value and watch it change.
Experiment and have fun!
One last thing to cover is the Lacquer Color, this is the box next to the region name.
With this color picker you can make subtle or extreme changes to any material's color. Some materials will react less than others but in general you should make sure your base color is set up more or less how you want it to come out - in the PSD and final DDS file.
Let's use Black region again to show what the Lacquer color picker does.
Click on the color picker and take a color, here we will be extreme and take the red swatch!
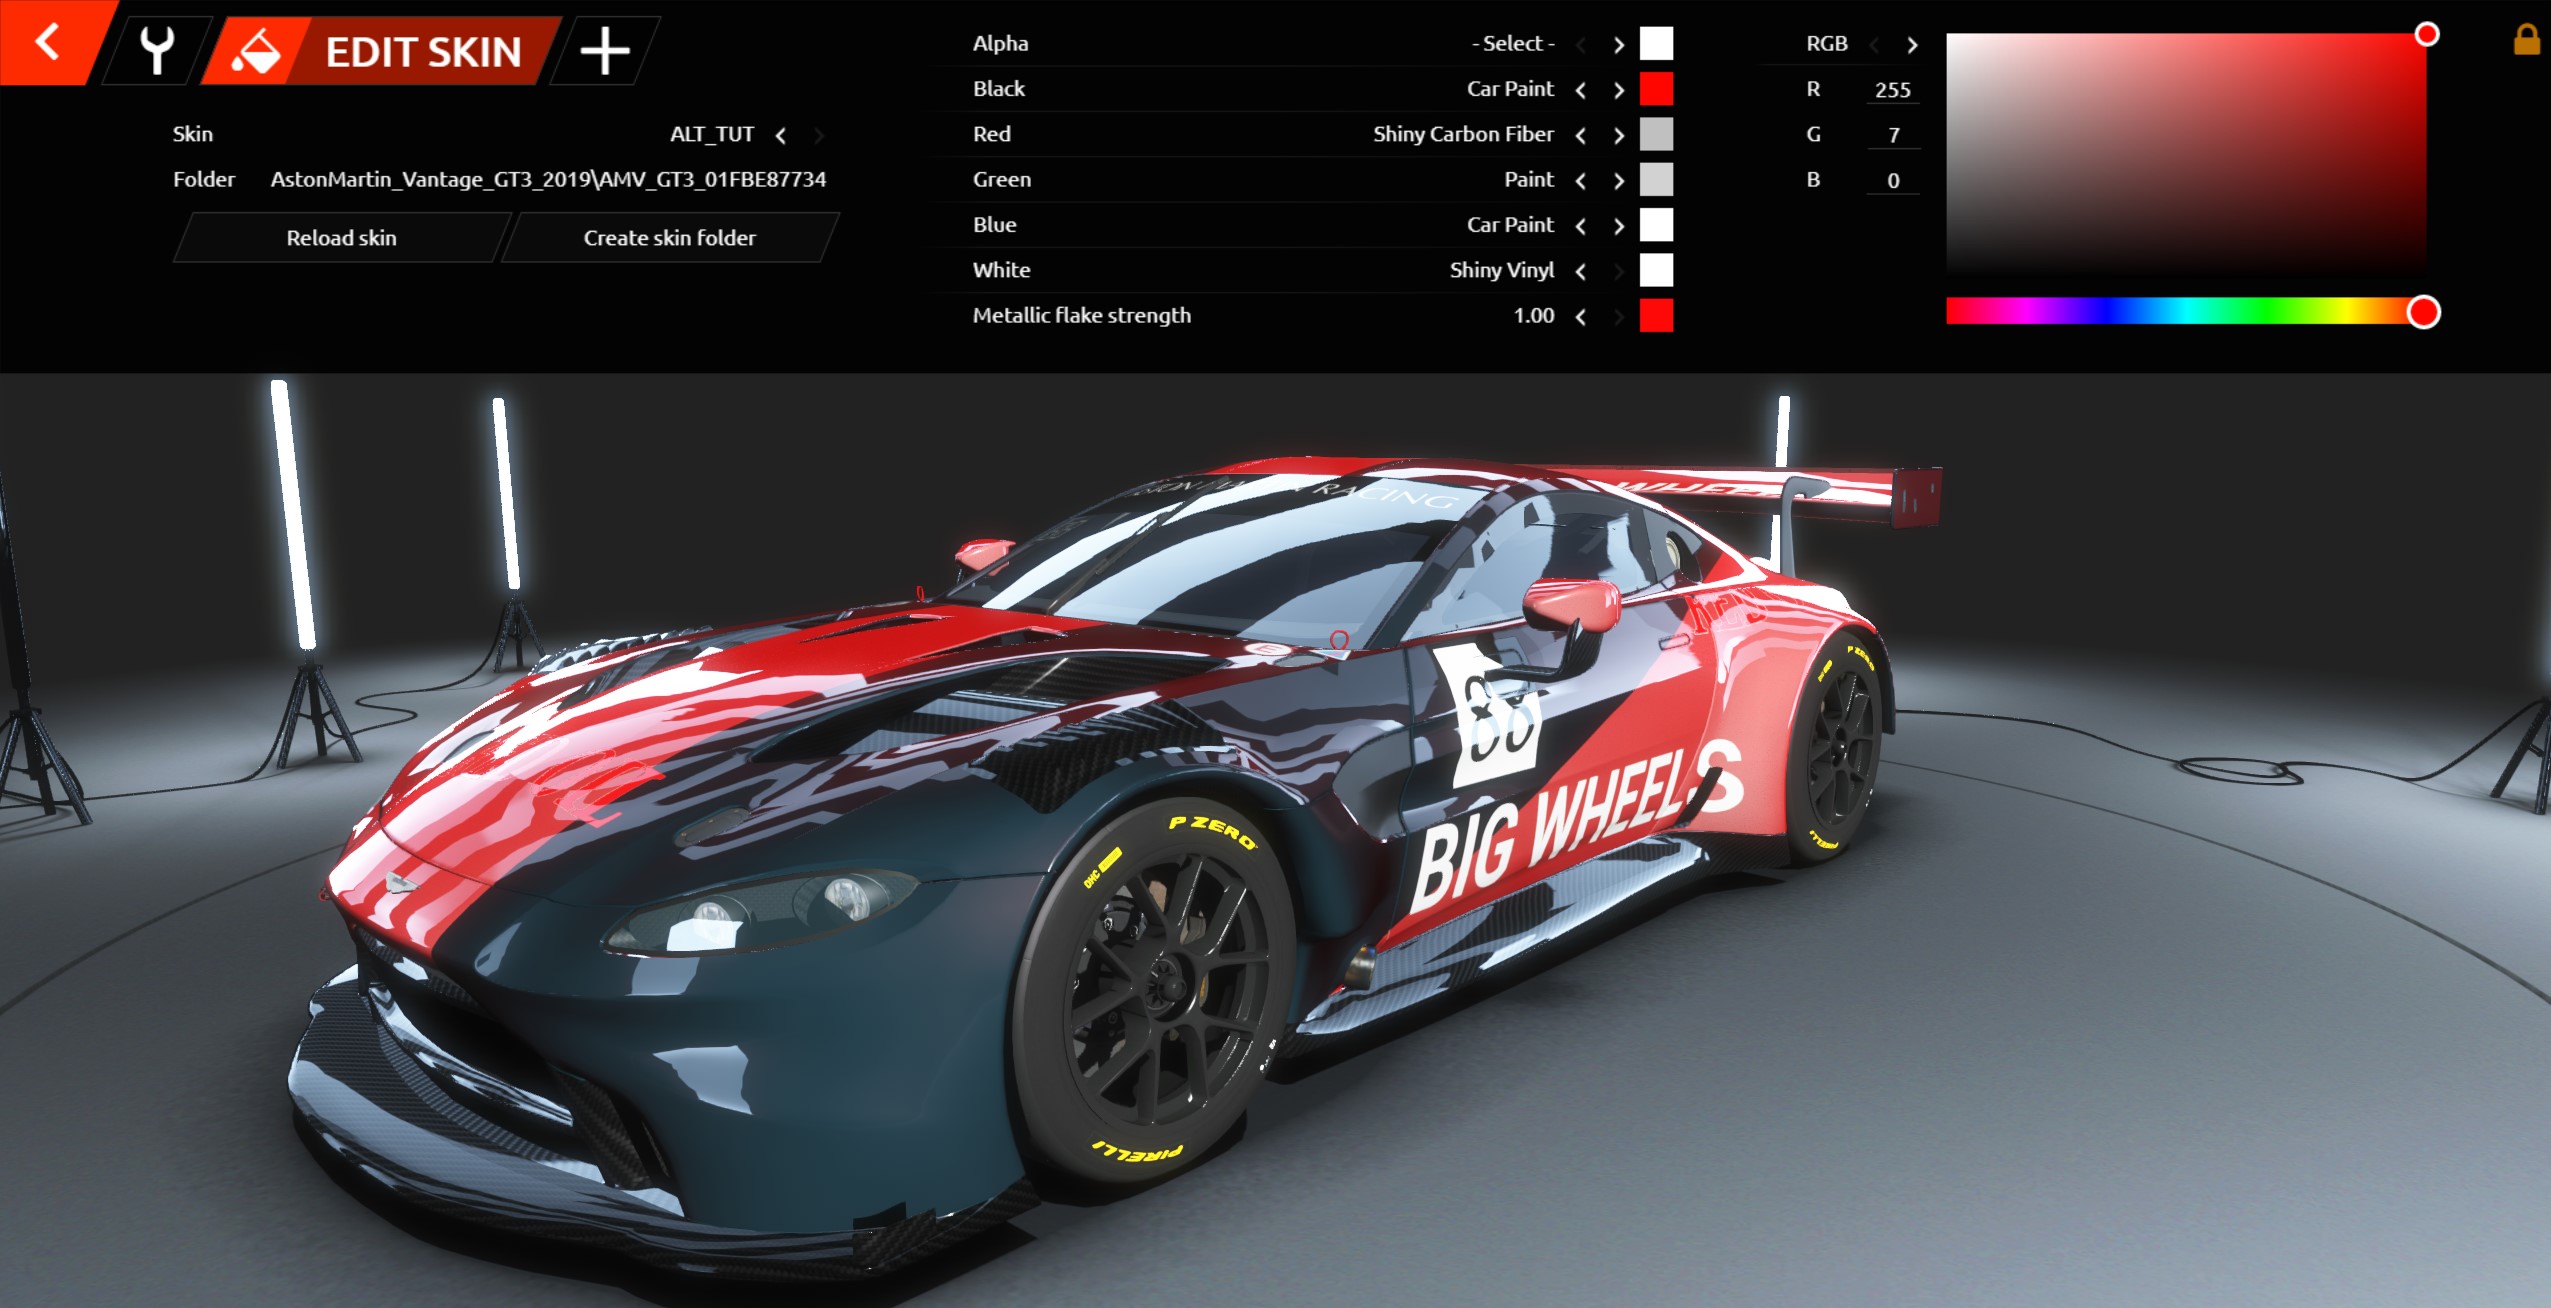
Probably not what we're after but it shows what it can do.
Important!
Make sure when you're all done to click on RELOAD once, that way you're sure it's all saved and ready to go!
Part 4: Sharing with Skin Transfer
Sharing you skin with anyone on a server doesn't require much if you've already followed the steps above. In theory, you don't need to do anything extra, just join the server and it will transfer.
However you might ask how do I share extra files, like windows, helmets etc
Start by opening:
...\Steam\steamapps\common\rFactor 2\UserData\player\Settings\AstonMartin_Vantage_GT3_2019
Open the folder that was created for your team:
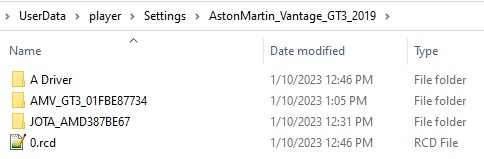
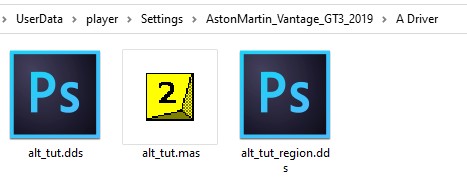
In this folder you will see 4 files
- alt_<myskin>.dds
- alt_<myskin>_Region.dds
- alt_<myskin>.mas (this is a compressed file that contains all three of the files about and is what will be transferred to the server)
In the folder simply drop in your extra files, like helmet, suit, windows.
Go back in rFactor 2, and load your car by clicking on TUNING in the main menu.
In showroom click RELOAD.
And that's it! Time to join a server!